Welcome to the Alpha model
We are the premium manufacturer of high-quality automotive scale model kits.
1/43 scale model car kits
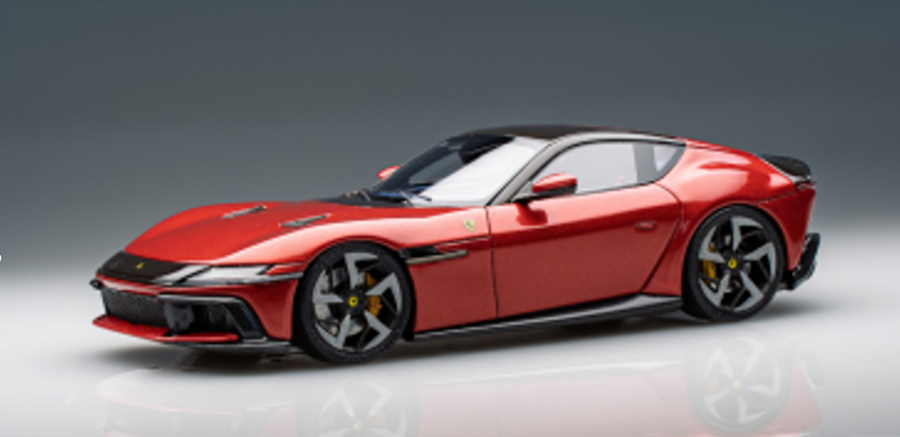
Ferrari 12 Cilindri - Alpha Model AM43-0001 1/43 Scale Final Assembly & Finished Model Build Guide
Ferrari 12 Cilindri 1/43 Scale Model Build Guide PART 2 (AlphaModel)
Ⅳ. Car body
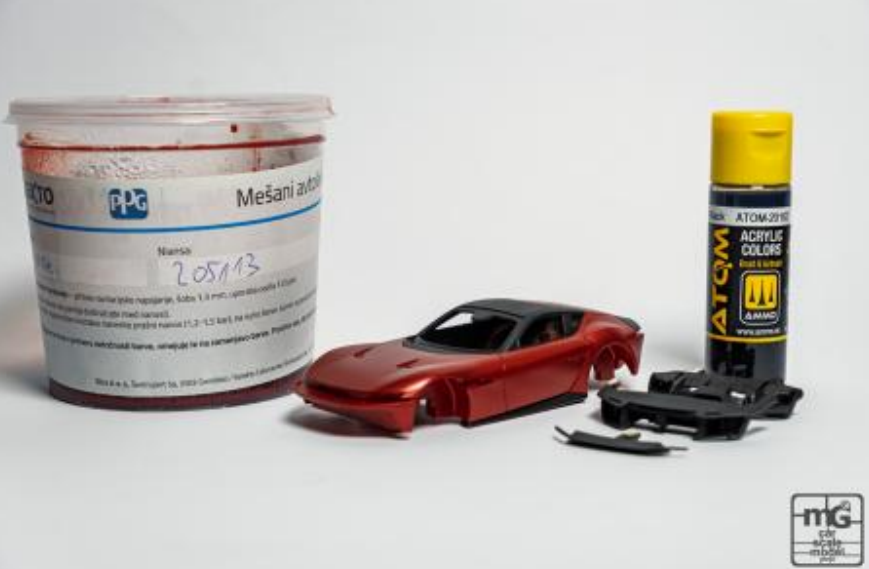
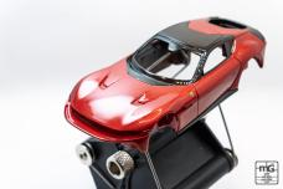
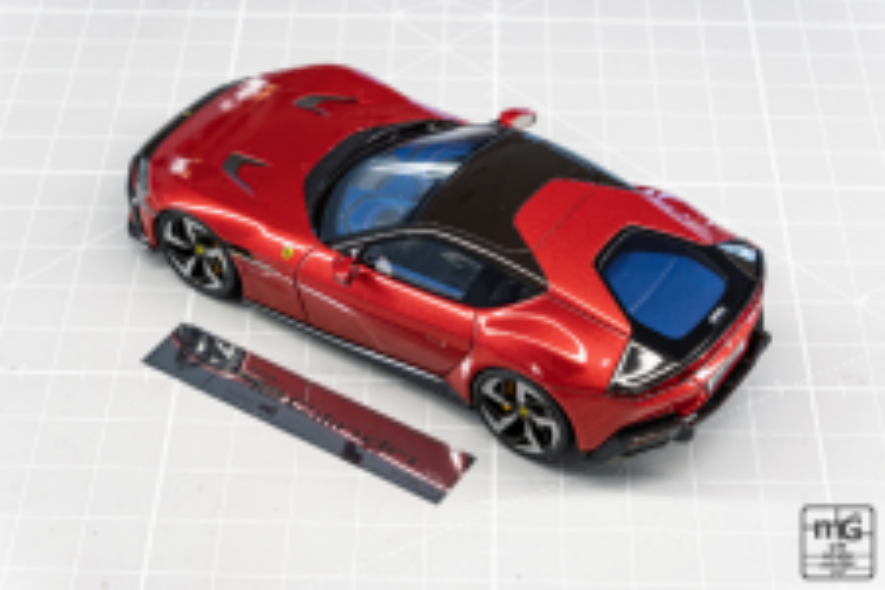
Like promised last time, I will show you how the 1/43 Scale little body of the 12Cilindri was painted. Once I saw the launch spec color of the Ferrari, I knew that color will be the go-to color for my build. But the problem was that the color was extremely hard to find. Upon asking multiple sources, I have contacted the Slovenian PPG distributor where they have prepared 205113, or better known as Rosso Imola paint, for me.
The paint laid down perfectly, and to replicate the two-tone pattern I masked off some parts of the body and painted the rest with AMMO by Mig Jimenez Atom Semi Gloss Black paint supplied by Back To Basics.
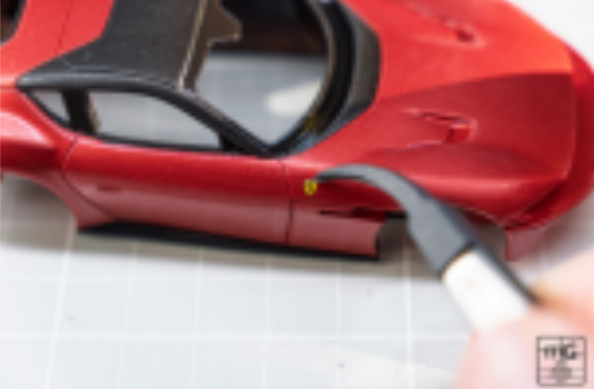
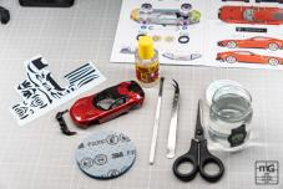
The last two major components that need to be finished before final assembly can begin are the wheels and finalizing the body. I have already painted it and applied one coat of clear in the past, so this time I sanded the complete body with a 2000 grit sanding sponge to make it as flat as possible. Next I have applied all the tiny decals, which are by the way really good in detail, and the carbon fibre is in just the right scale so it looks really good in the end. Since the decals are small and some surfaces have quite a curve in them, I helped myself with the Decal Fix solution from AMMO by Mig Jimenez supplied by Back To Basics.
Once all the decals were applied, I have put one final coat of clear over it to make sure all the decals are protected and the Alpha Model body is nice and shiny. No polishing this time since there were no dust particles in the paint and it is also without any visible orange peel.
Ⅴ. Final assembly
All in all, it was a really fun build. The details are for this scale amazing, the fitment is superb, so the final assembly for Ferrari 12 Cilindri didn't cause any issues.
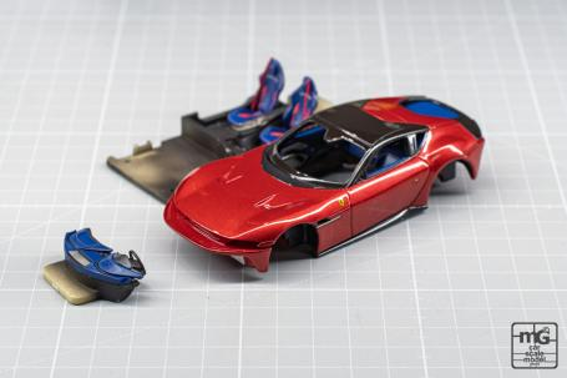
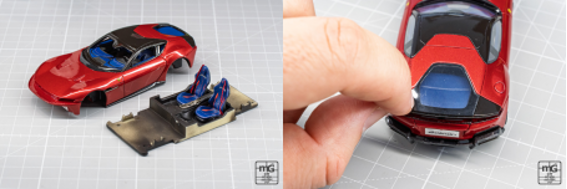
First both bumpers were attached, then the dashboard and door cards were attached to the body, and after that the interior tub was "married" to the body.
After that the wheels got attached, and to prevent dust from entering the interior, all the windows were glued on.
Final steps were lights, door mirrors and wipers.
The final part of the puzzle was the "license plate" on the back.
0users like this.
1/24 scale model car kit Related Products
-
OUT OF STOCK
![Alpha Model,resin car body parts,Photo-ethed detail parts,Lamborghini URUS,1/24 Lamborghini URUS,1/24 scale model car kits,model car resin bodies]()
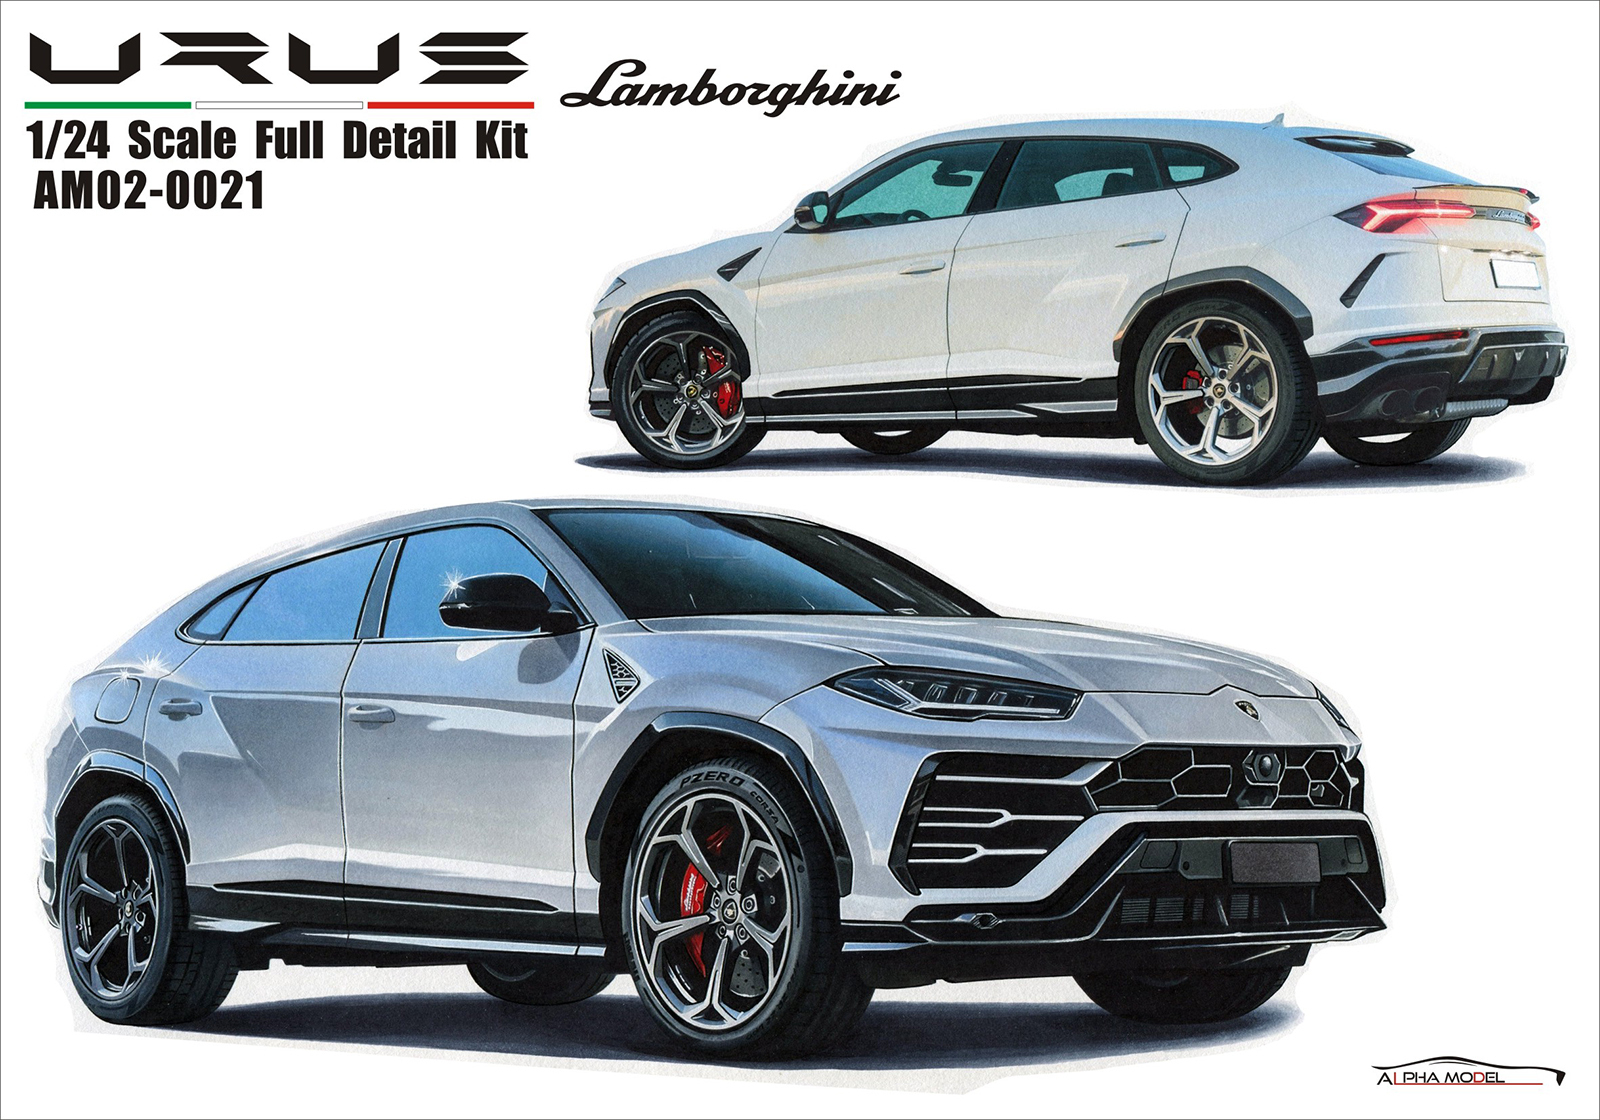
-
OUT OF STOCK
![Alpha Model,1/24 scale model car kits,build car models,Audi]()
-
OUT OF STOCK
![Alpha Model,resin car body parts,Photo-ethed detail parts,Porsche 911 Carrera 2021,1/24 Porsche 911 Carrera 2021,1/24 scale model car kits,model car resin bodies]()
-
OUT OF STOCK
![Alpha Model,1/24 scale model car kits,build car models,BMW]()
-
OUT OF STOCK
![Alpha Model,1/24 scale model car kits,build car models]()
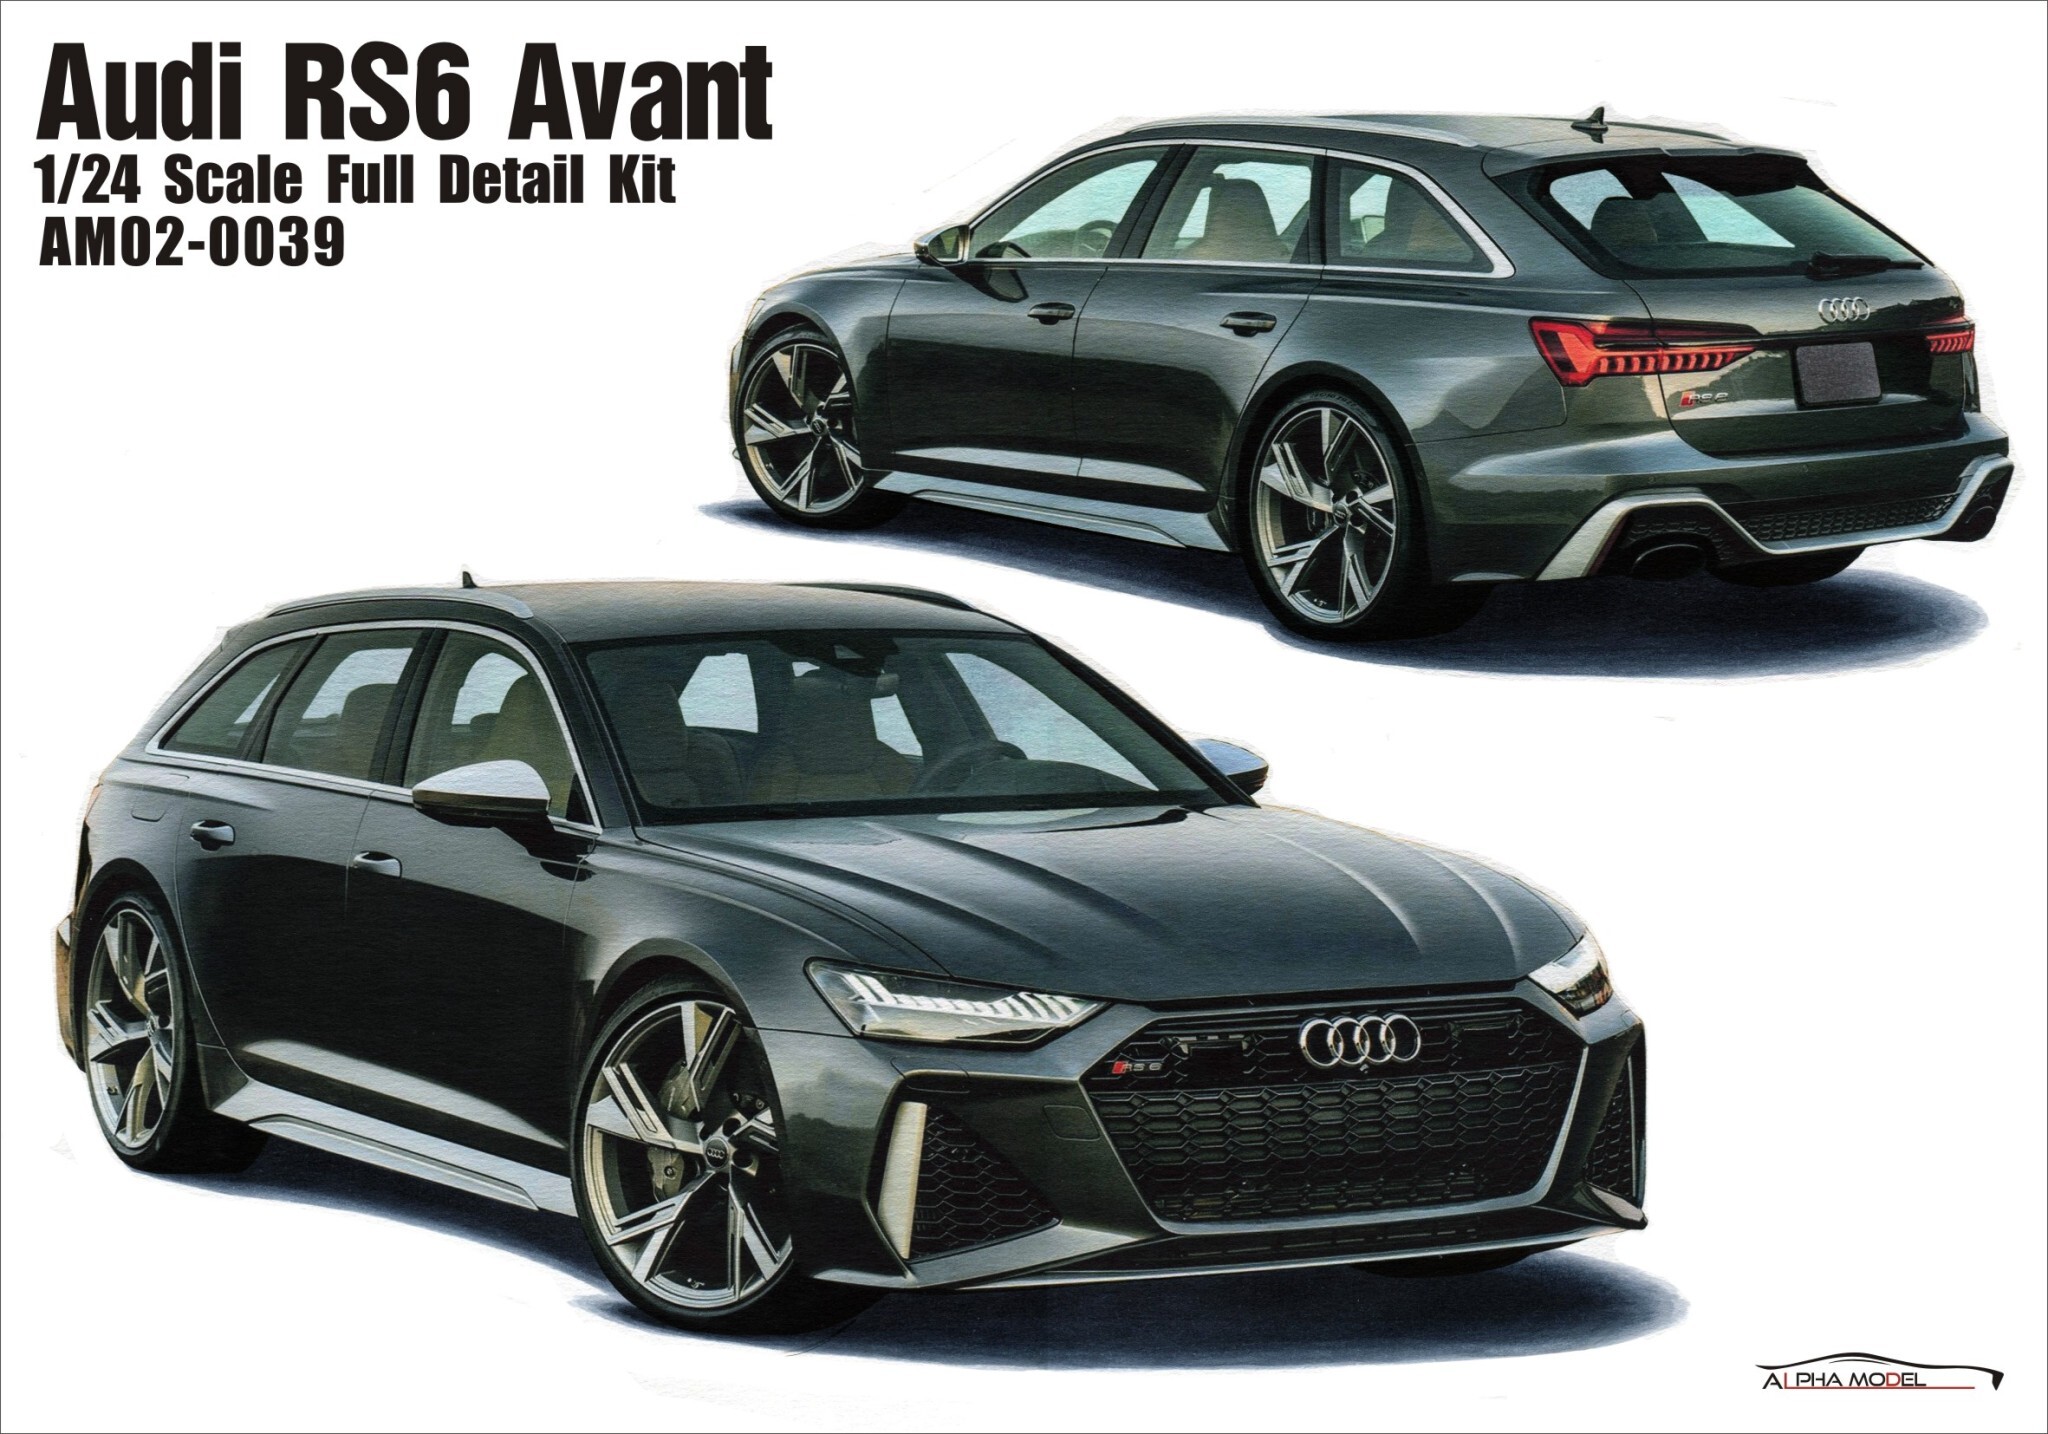
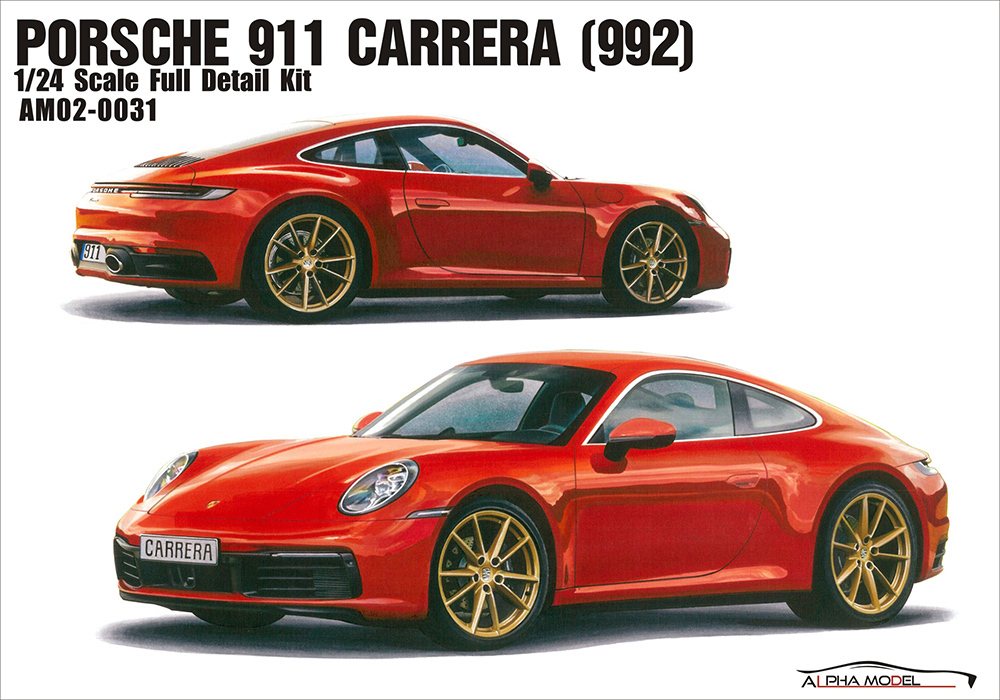
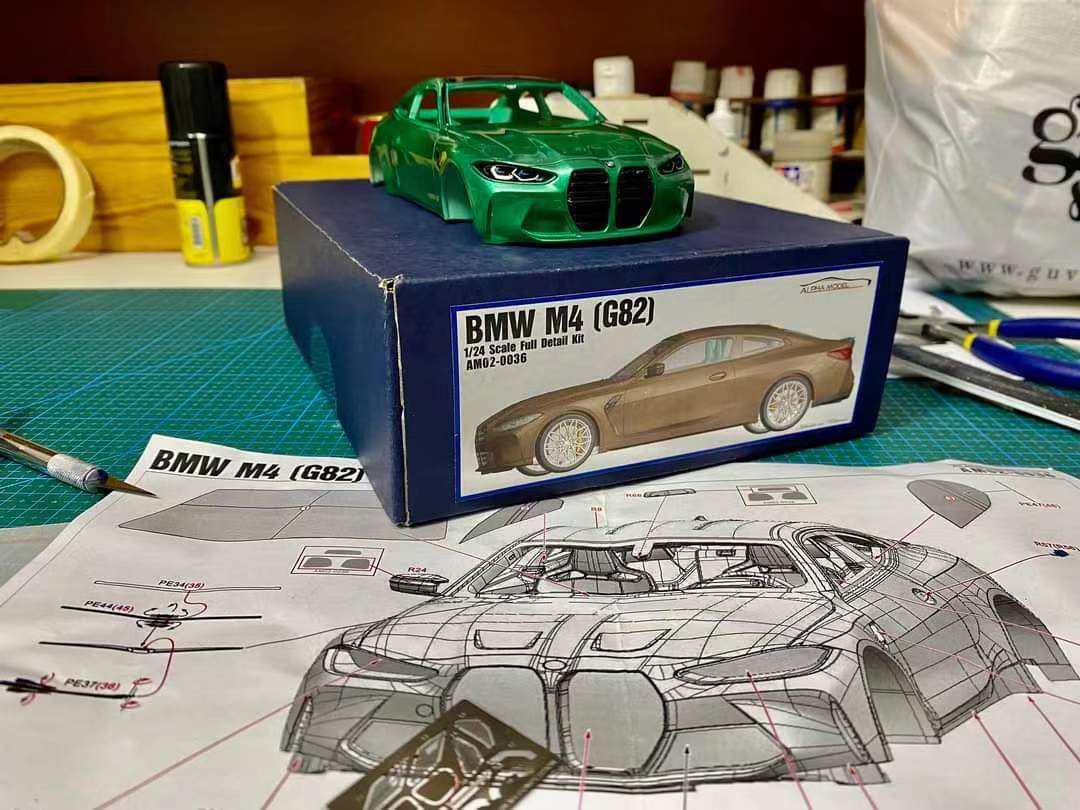
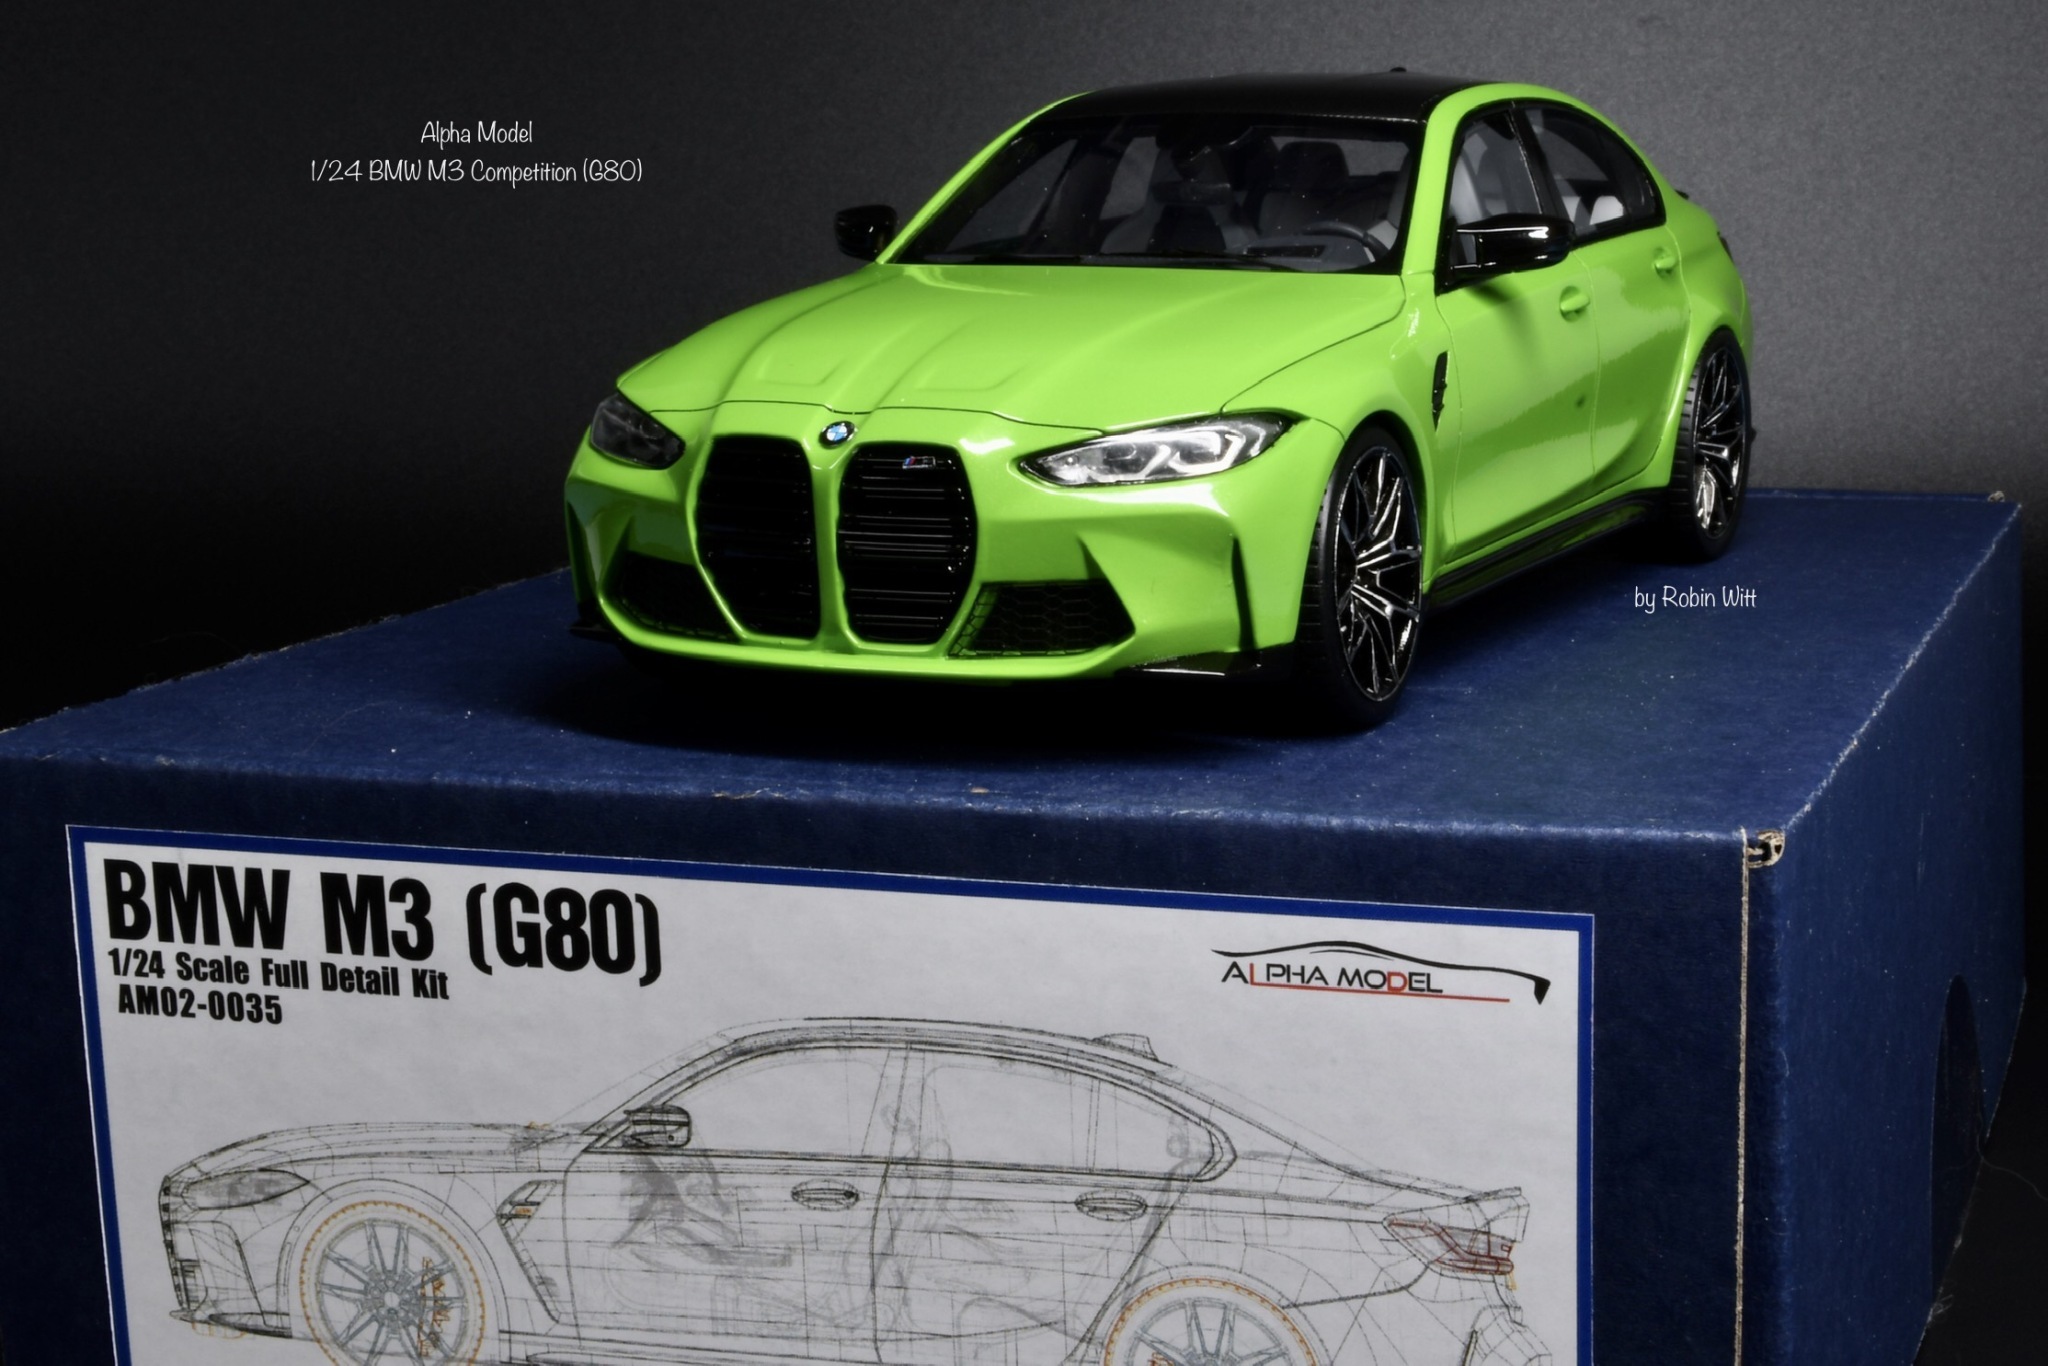
-
OUT OF STOCK
![Alpha Model,1/24 scale model car kits,build car models]()
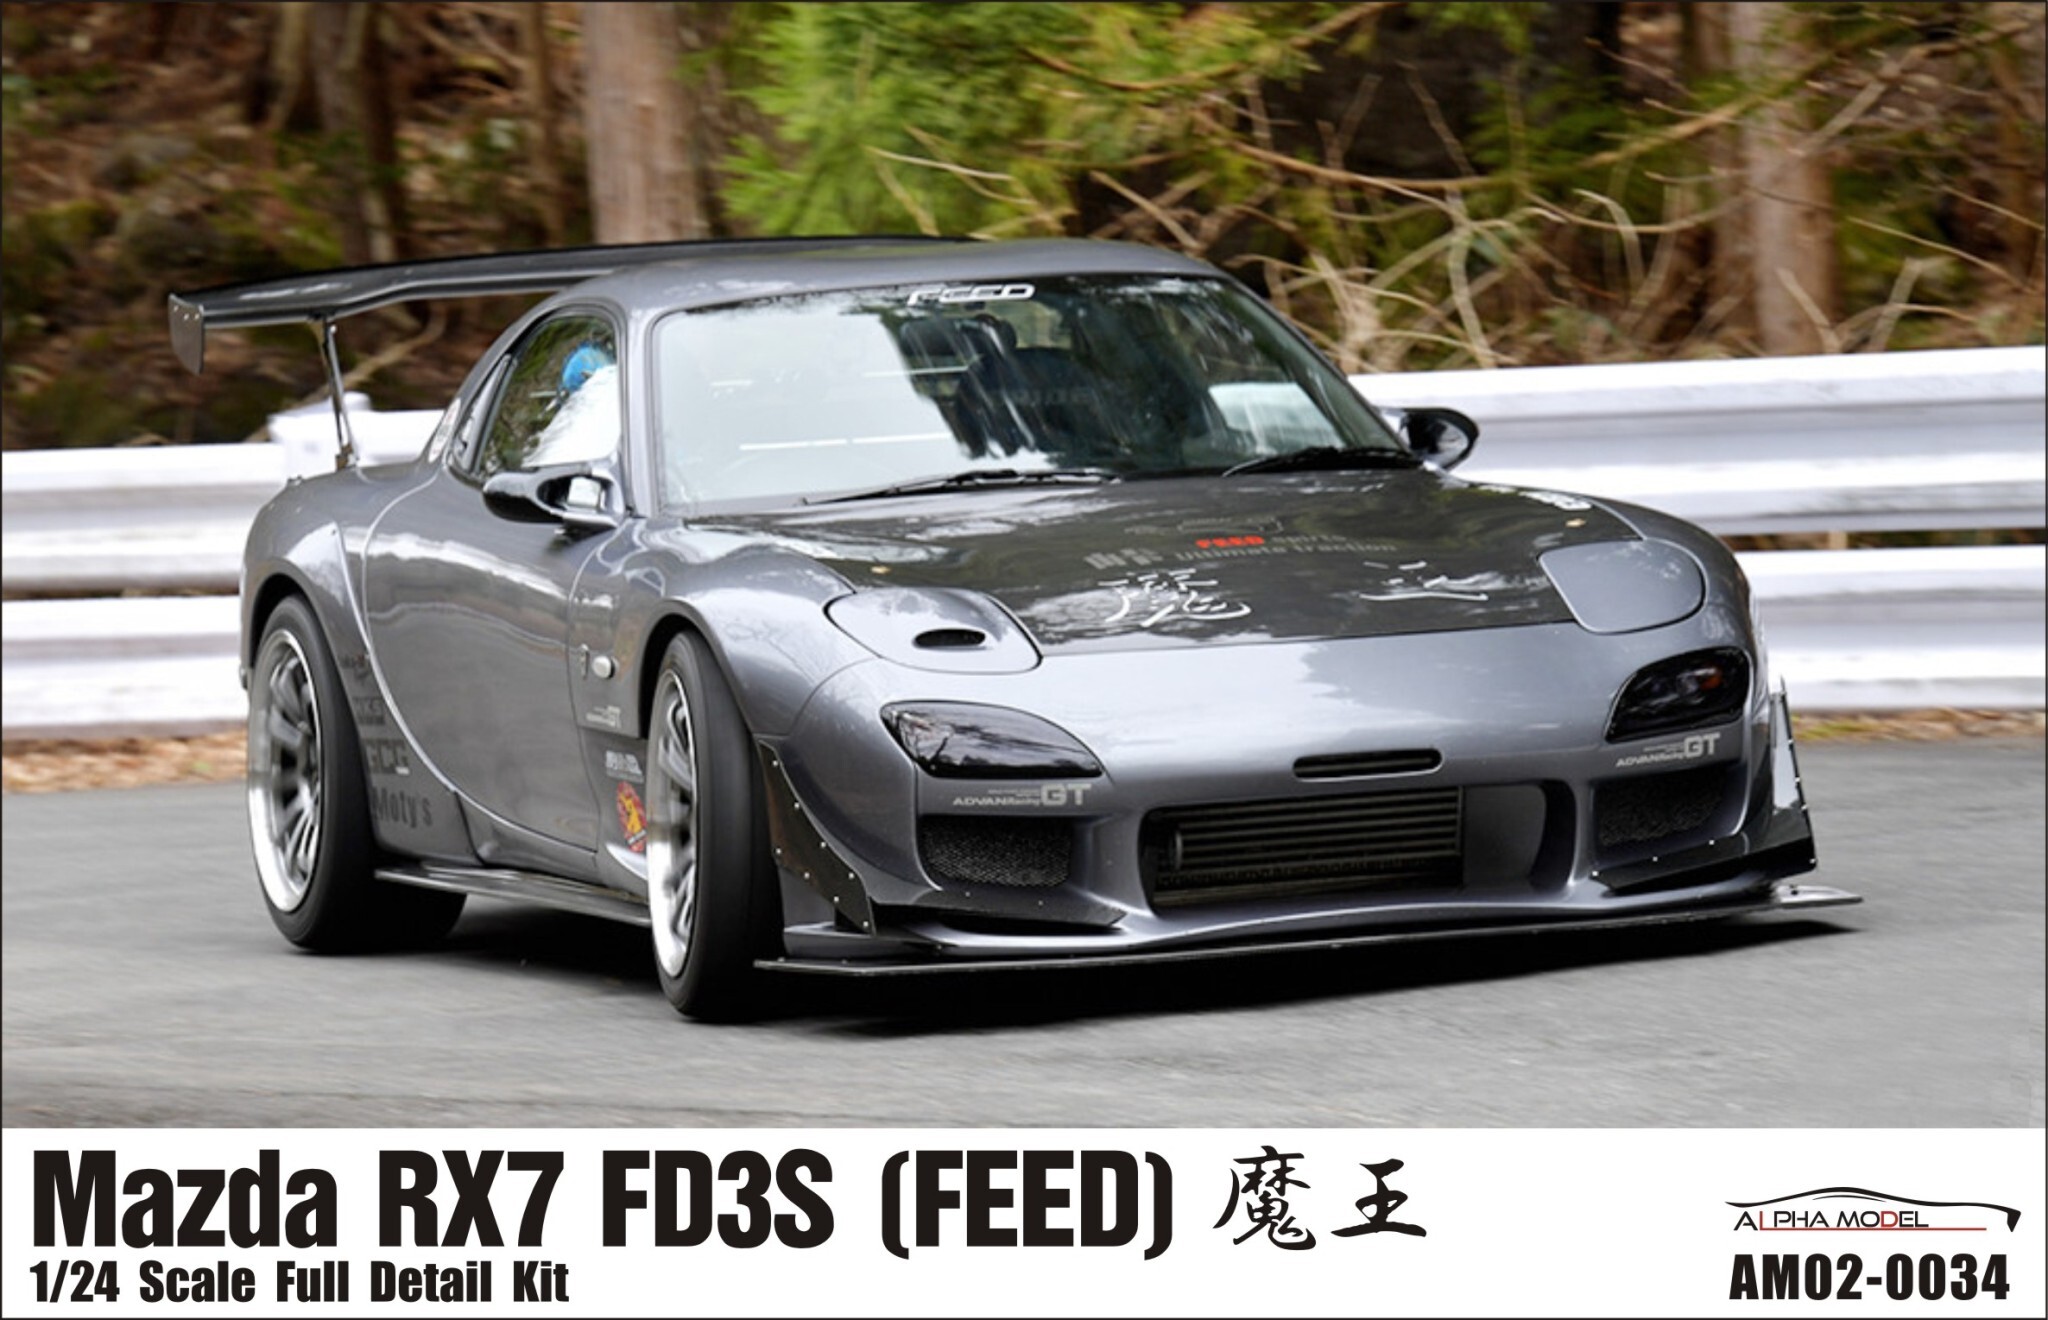
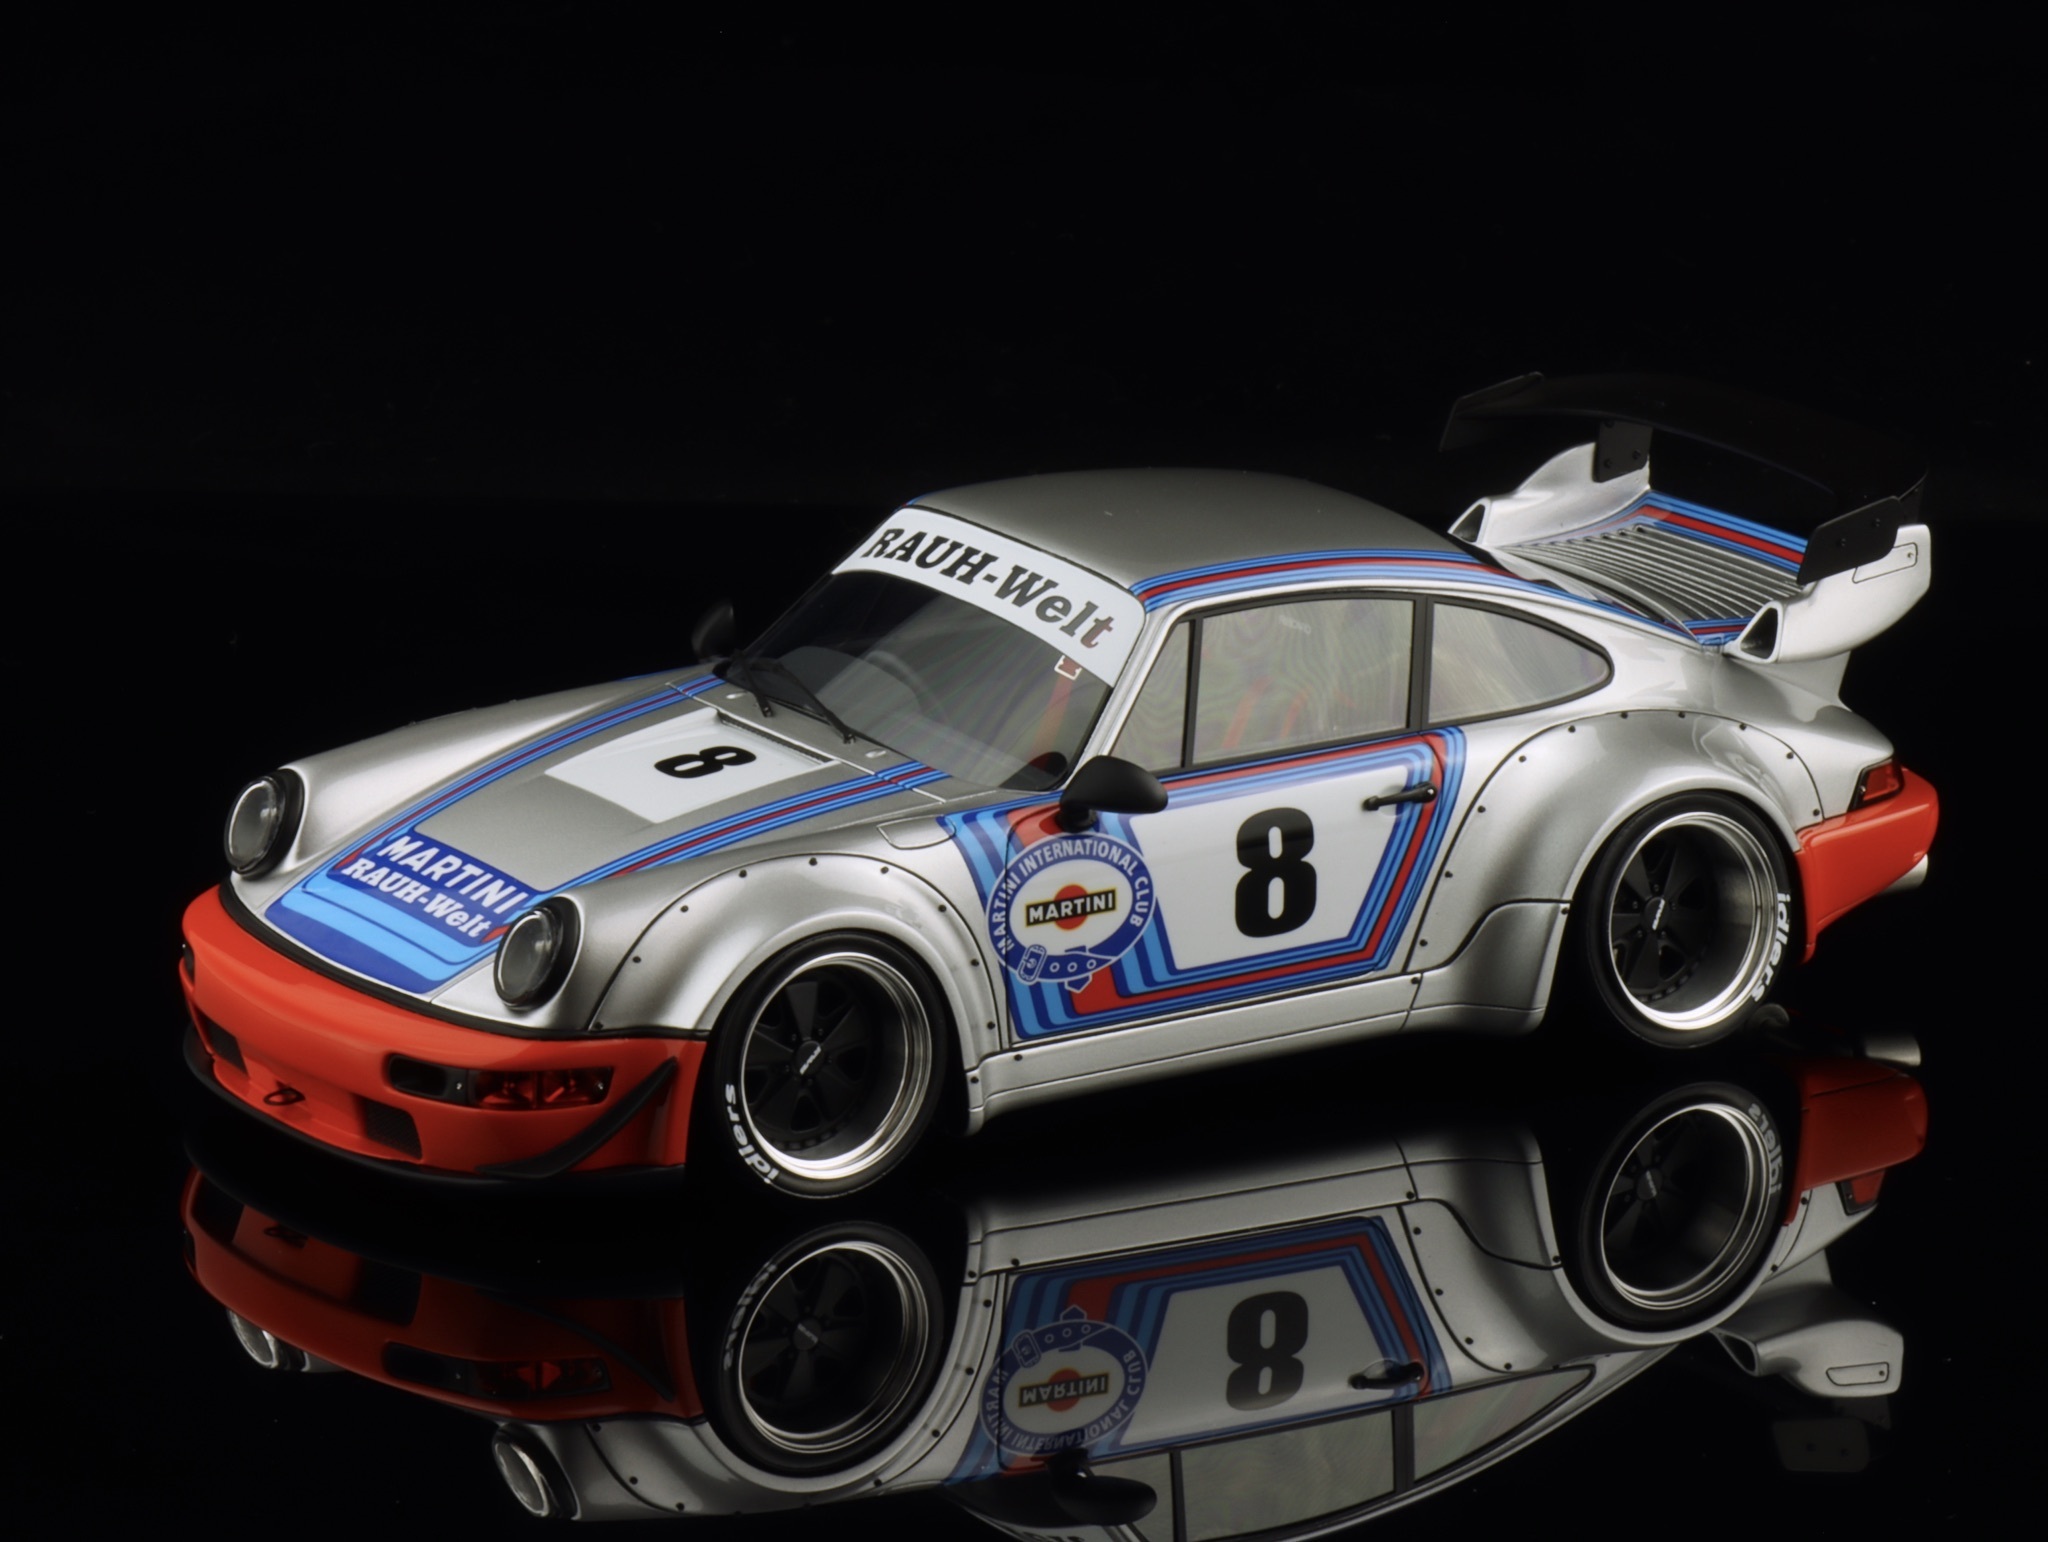
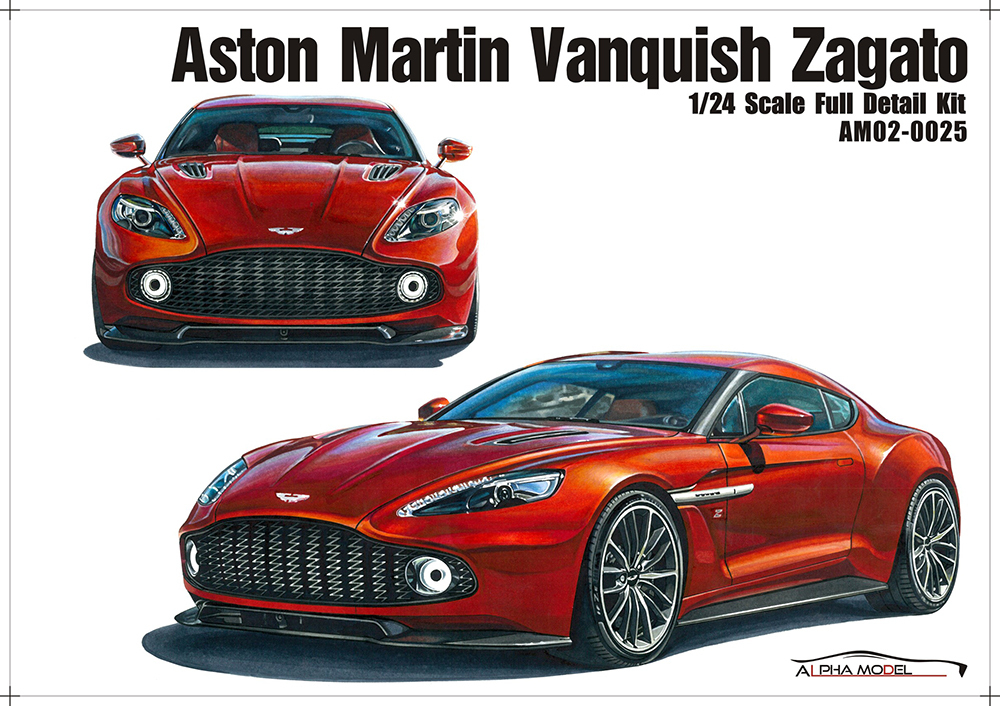
-
OUT OF STOCK
![Alpha Model,Mclaren,build car models,1/24 scale model car kit]()
-
OUT OF STOCK
![1/24 scale model car kit Porsche 911 GT3-Alpha Model 1/24 scale model car kit Porsche 911 GT3-Alpha Model]()



 USD

Your cart is currently empty.