About the Car
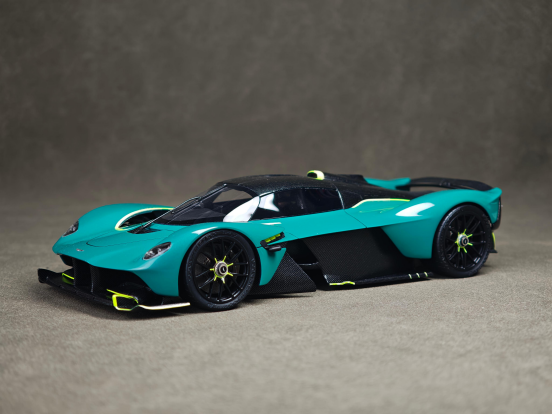
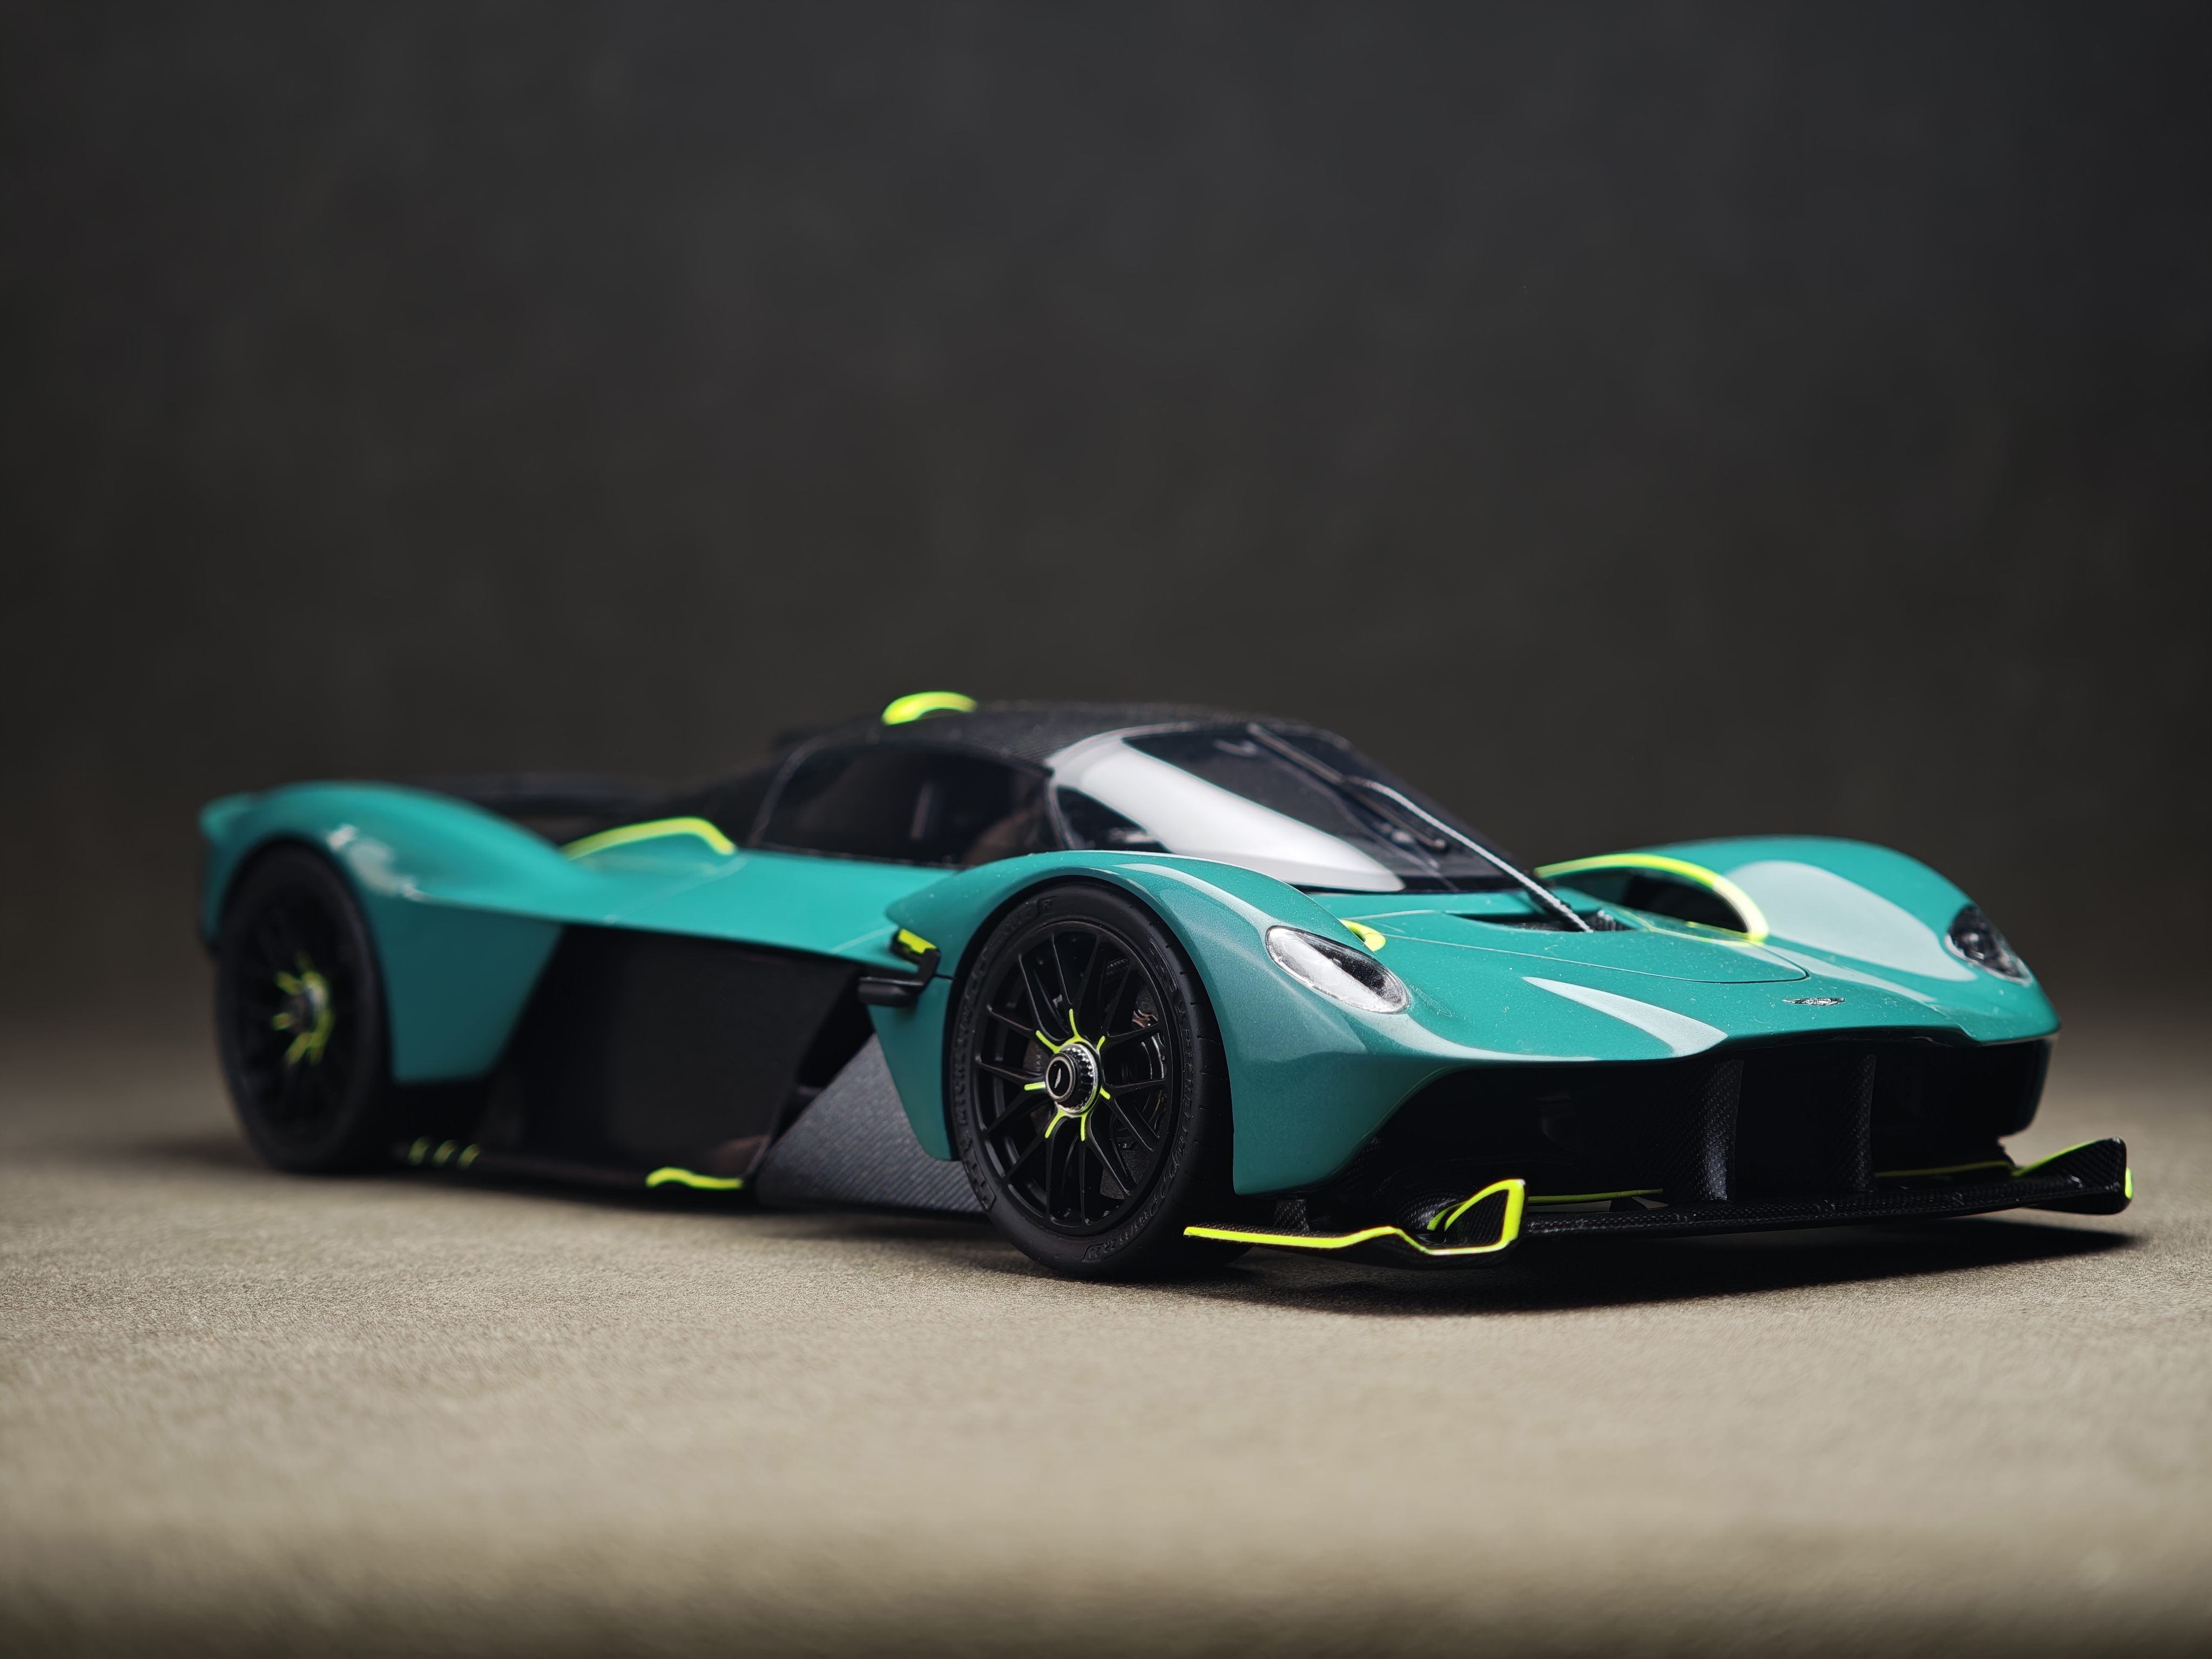
The Aston Martin Valkyrie is a limited production hybrid sports car collaboratively built by Aston Martin, Red Bull Racing Advanced Technologies, and several other parties — conceived to develop a track-oriented car entirely usable and enjoyable as a road car.
Conceived by Adrian Newey, Andy Palmer, Christian Horner, and Simon Sproule, the Valkyrie represents the pinnacle of automotive engineering. Newey, who was Red Bull Racing's Chief Technical Officer at the time, contributed directly to the design of the car, bringing Formula 1 aerodynamic philosophy to the road.
Technical Specifications
| Spec | Detail |
|---|---|
| Engine | 6.5L Aston Martin-Cosworth RA Naturally-Aspirated V12 |
| Electric Motor | 160 hp Integral Powertrain Ltd. Permanent Magnet Synchronous |
| Total Power | 1,160 hp (865 kW / 1,176 PS) |
| Transmission | 7-Speed Ricardo Single-Clutch Automated Manual |
| Hybrid Drivetrain | Full Hybrid |
| Battery | 1.3 kWh Rimac KERS Hybrid Battery System |
Unboxing & Inspection
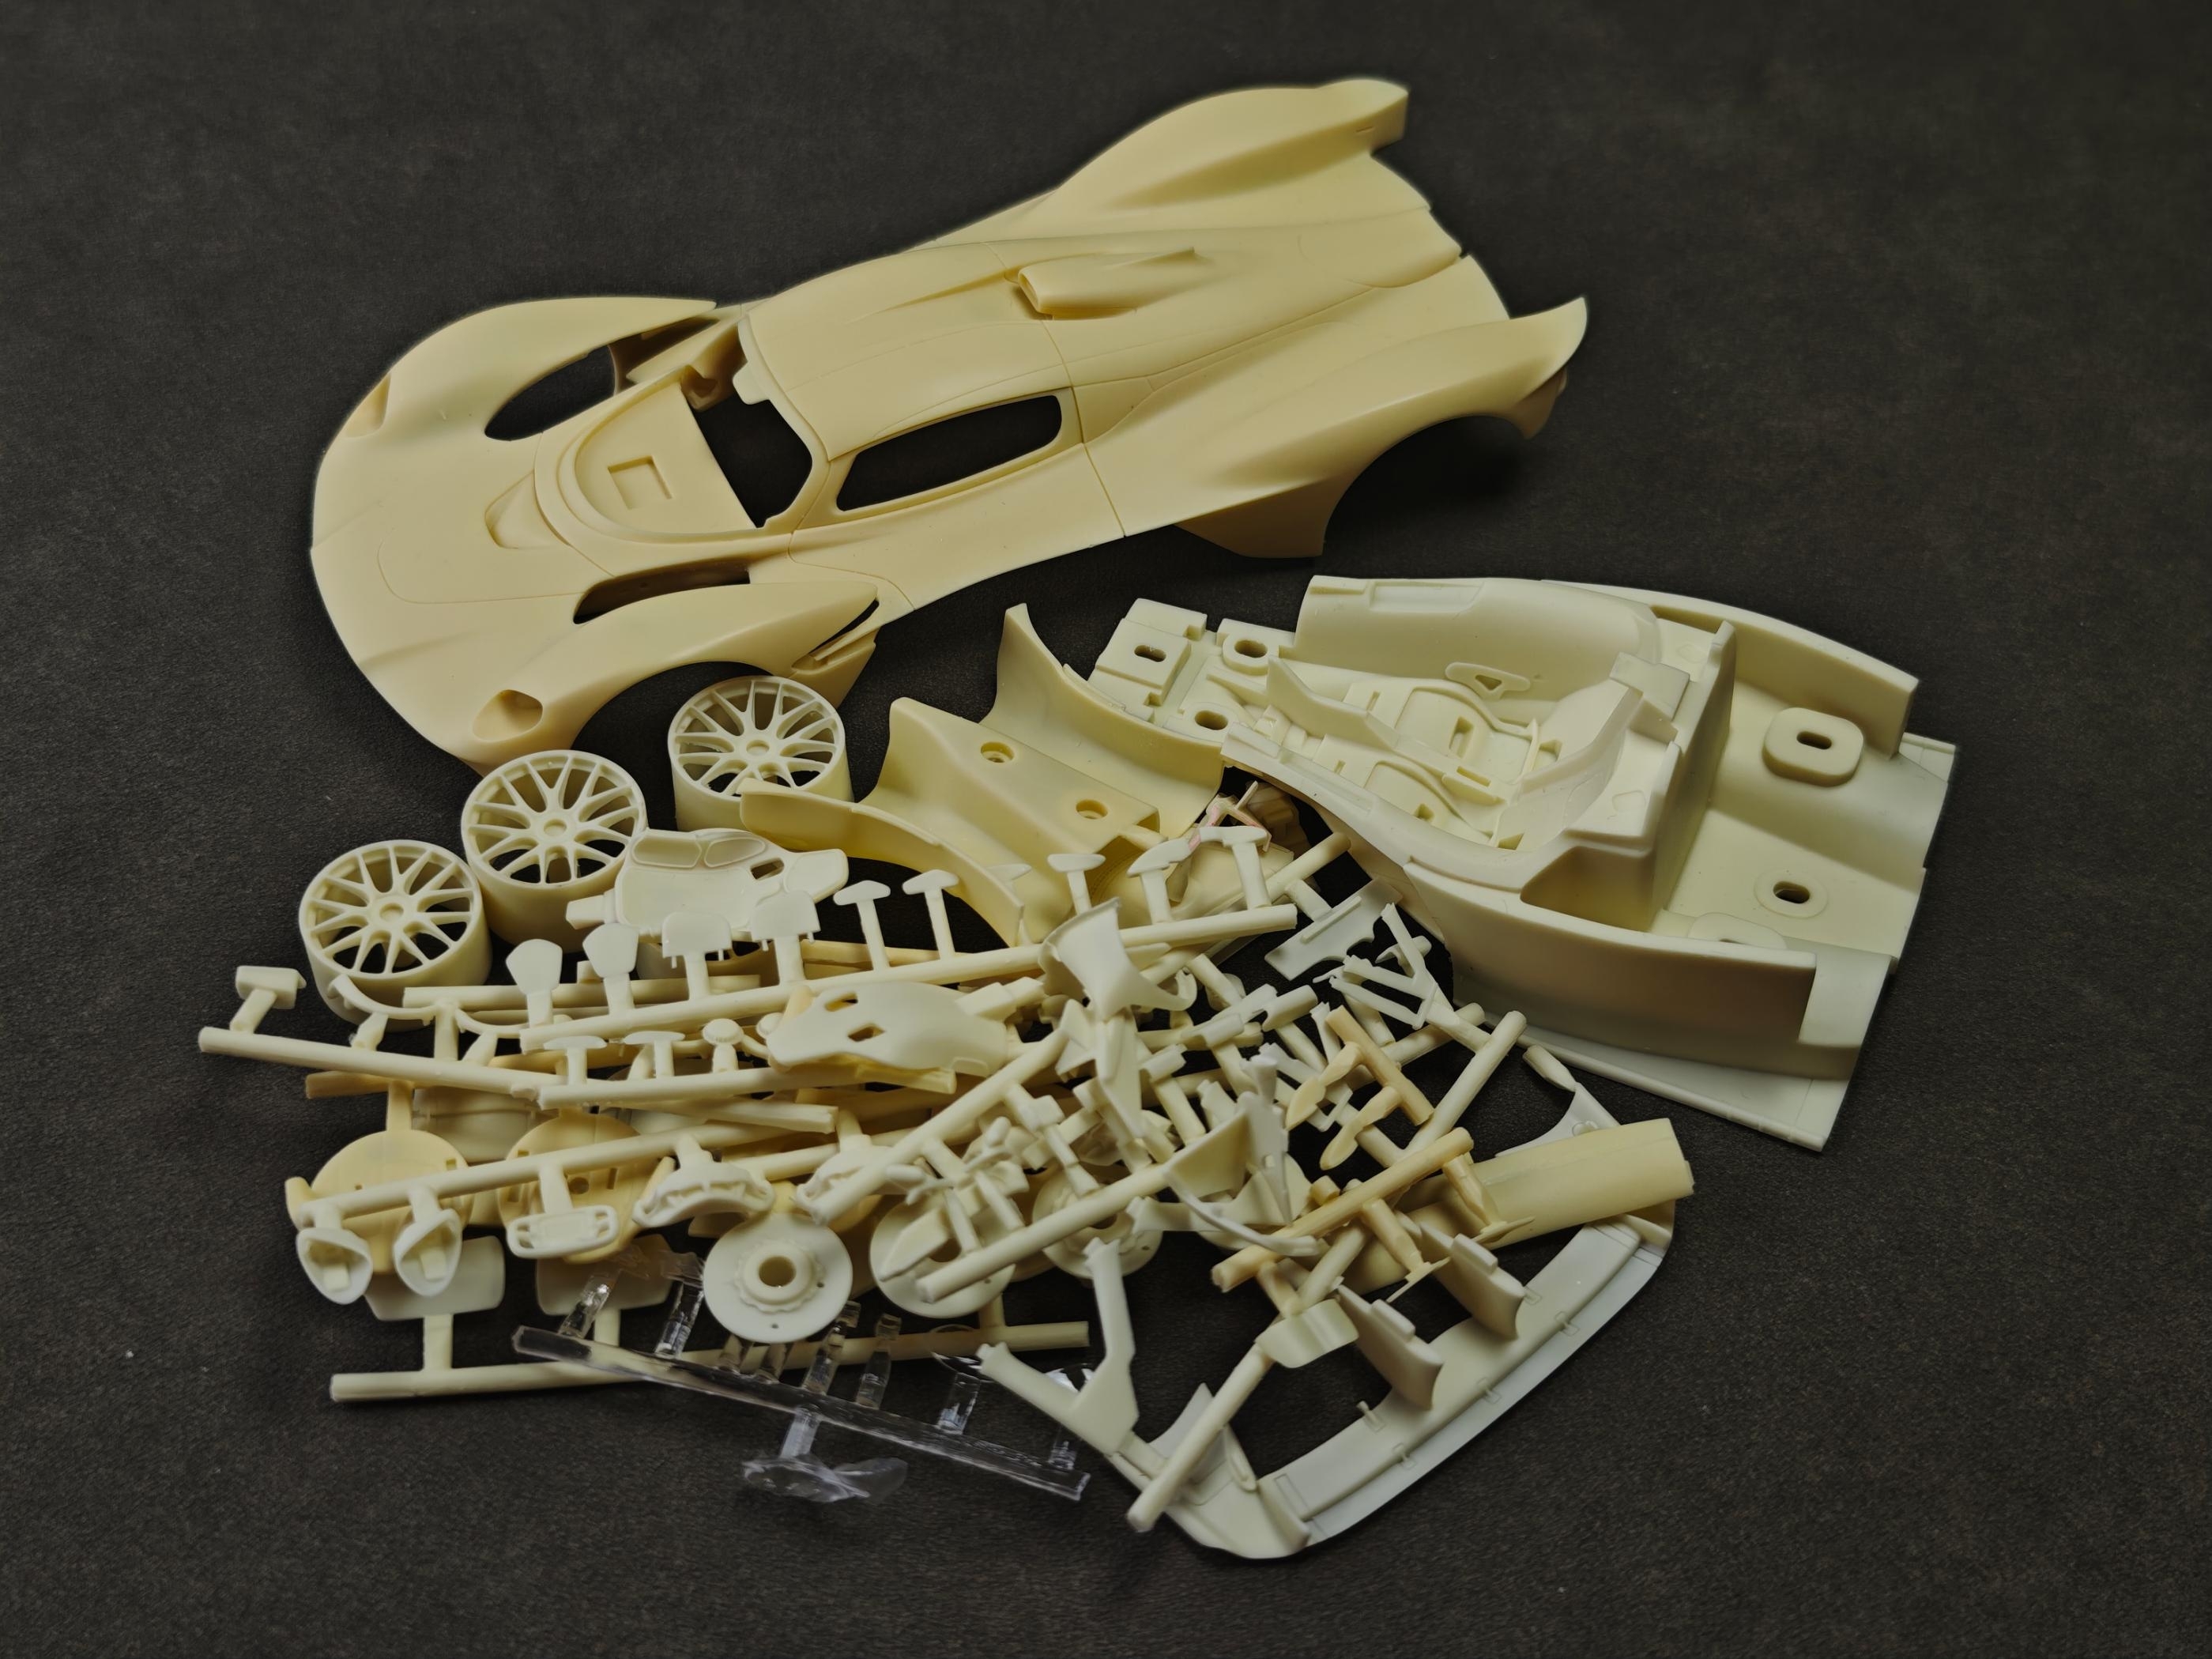
After opening the box, remove all the parts bags and the main car body. Since the kit is at risk of damage during shipping, your first step is to carefully inspect all parts for any breakage or missing pieces. Once you have confirmed the main parts are intact, check the photo-etched (PE) parts for bends and the water-slide decals for stains. After verifying that everything is in perfect condition, you are ready to begin build preparation.
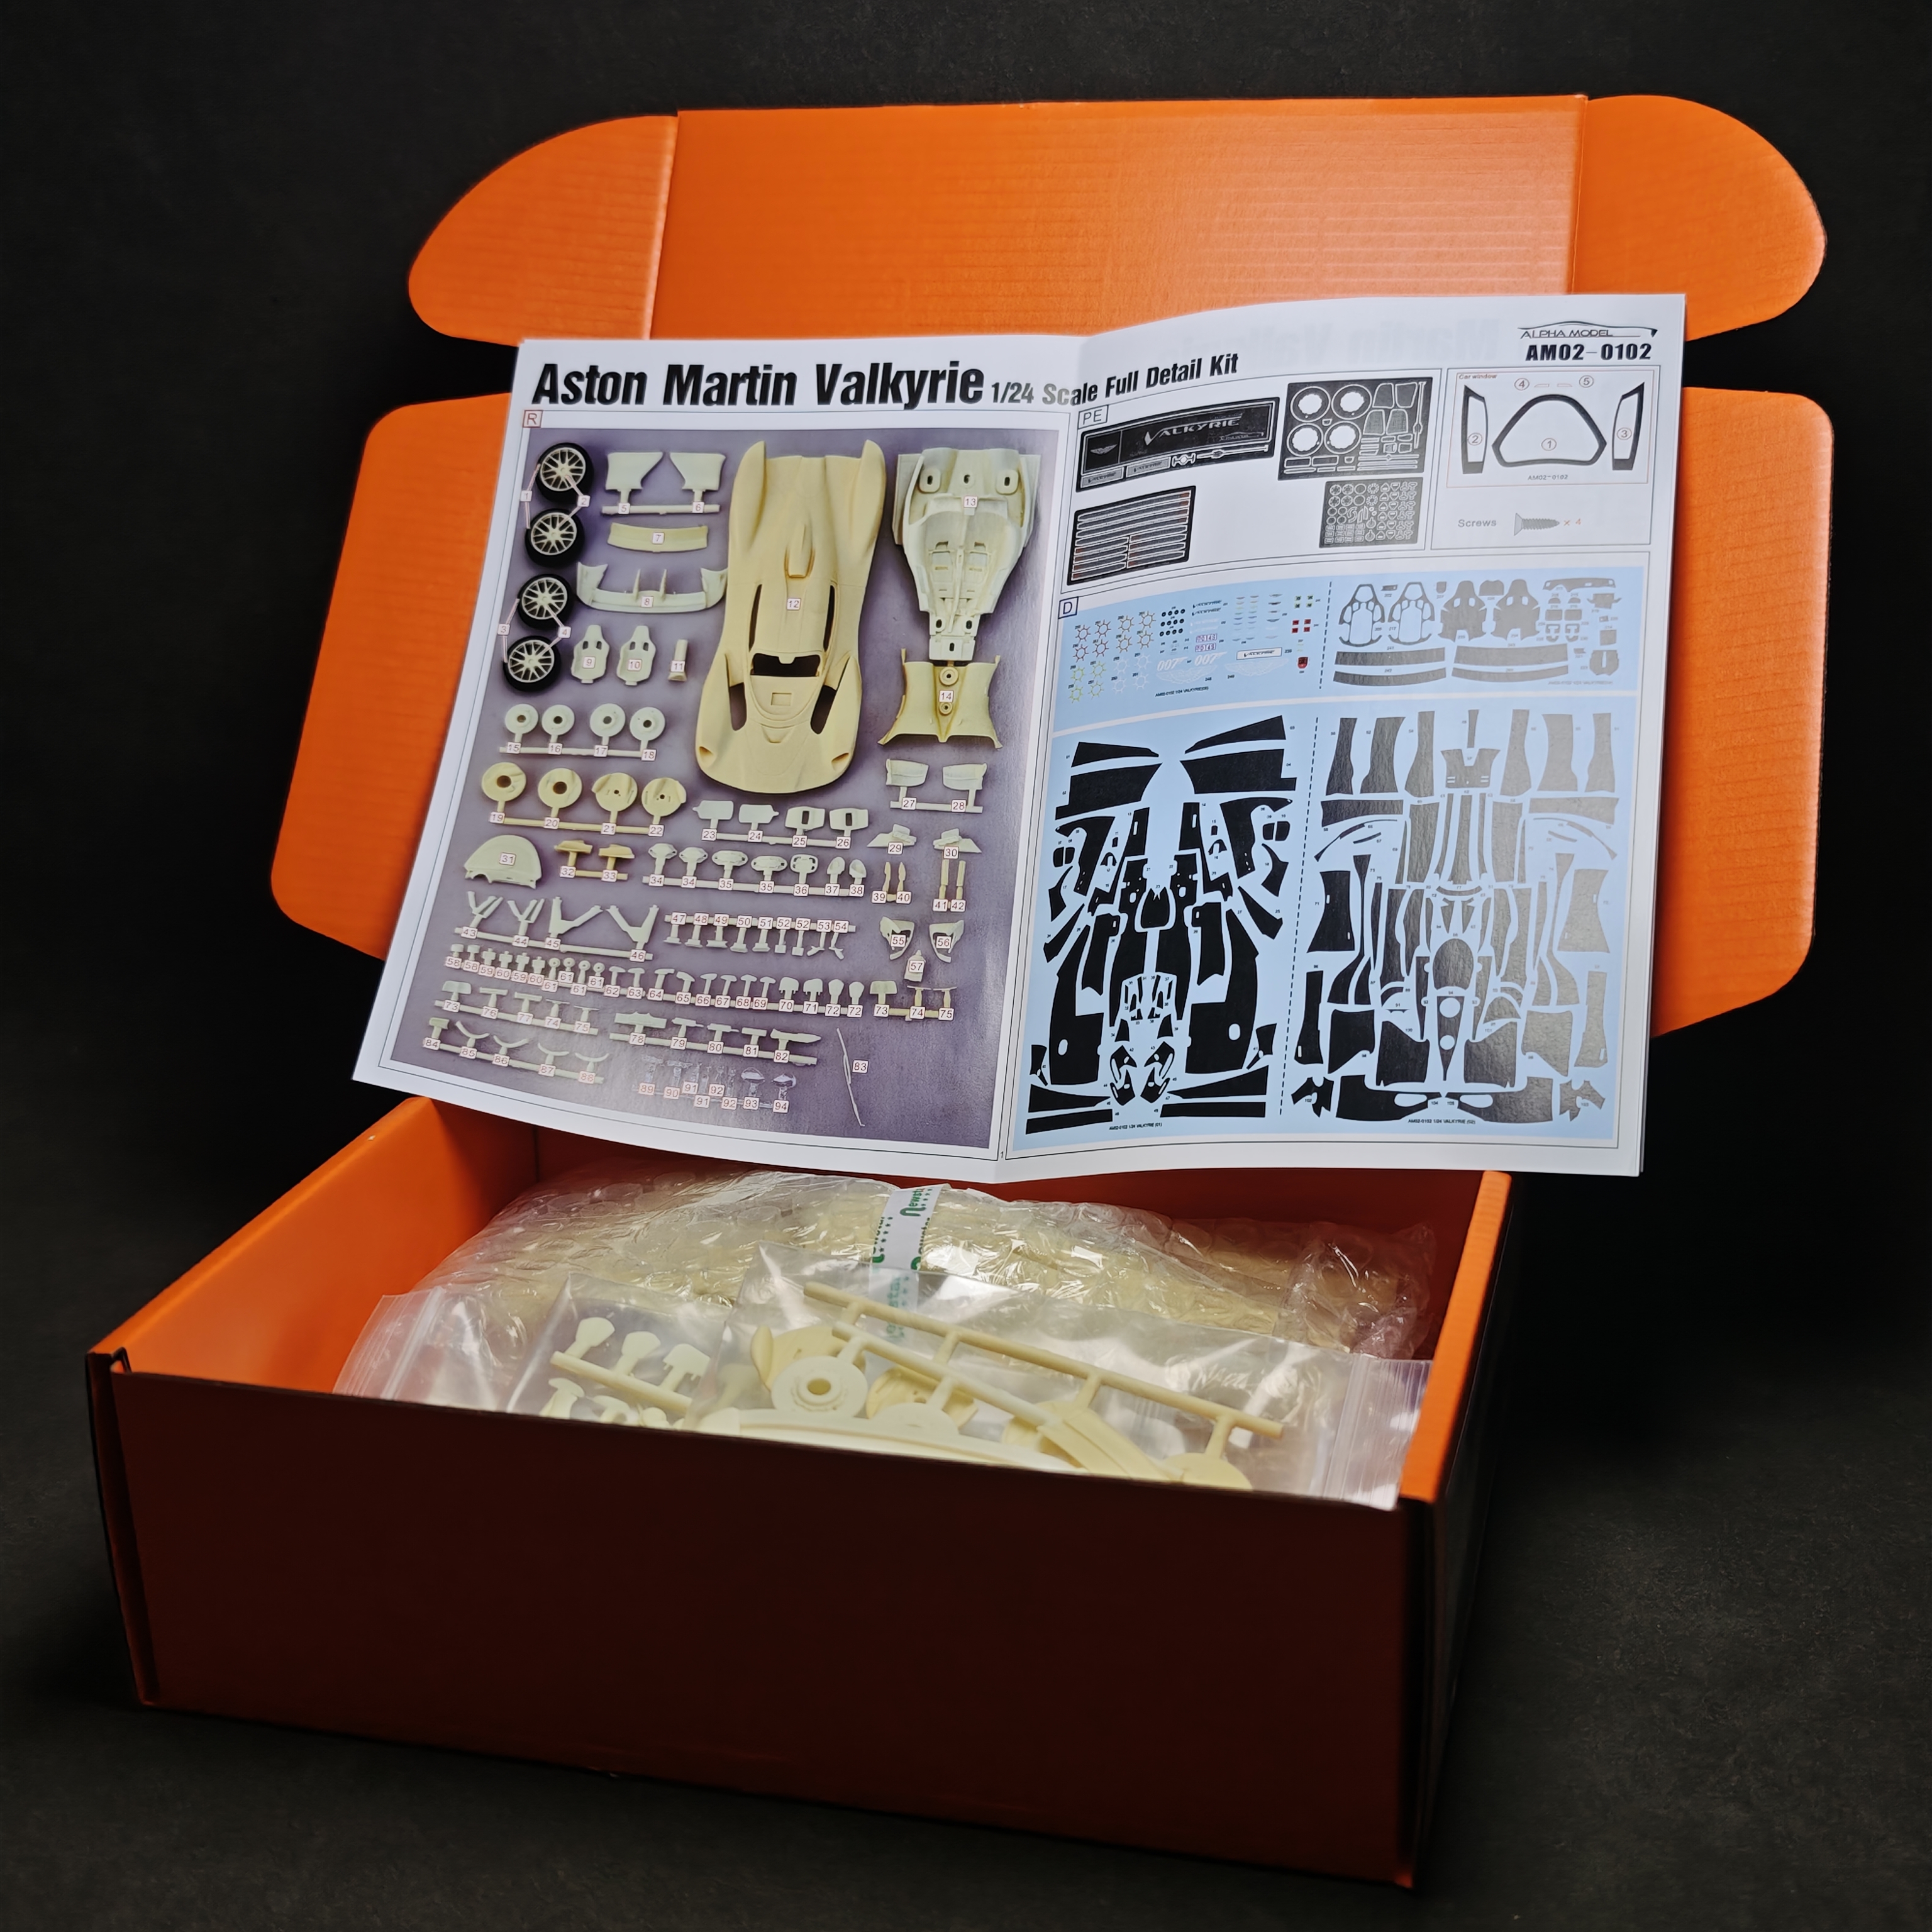
⚠️ Pay special attention to highly fragile components: body shell A-pillars, brake calipers, rims, and other small details. Check photo-etched (PE) parts for bends and water-slide decals for stains.
What's Inside the Box
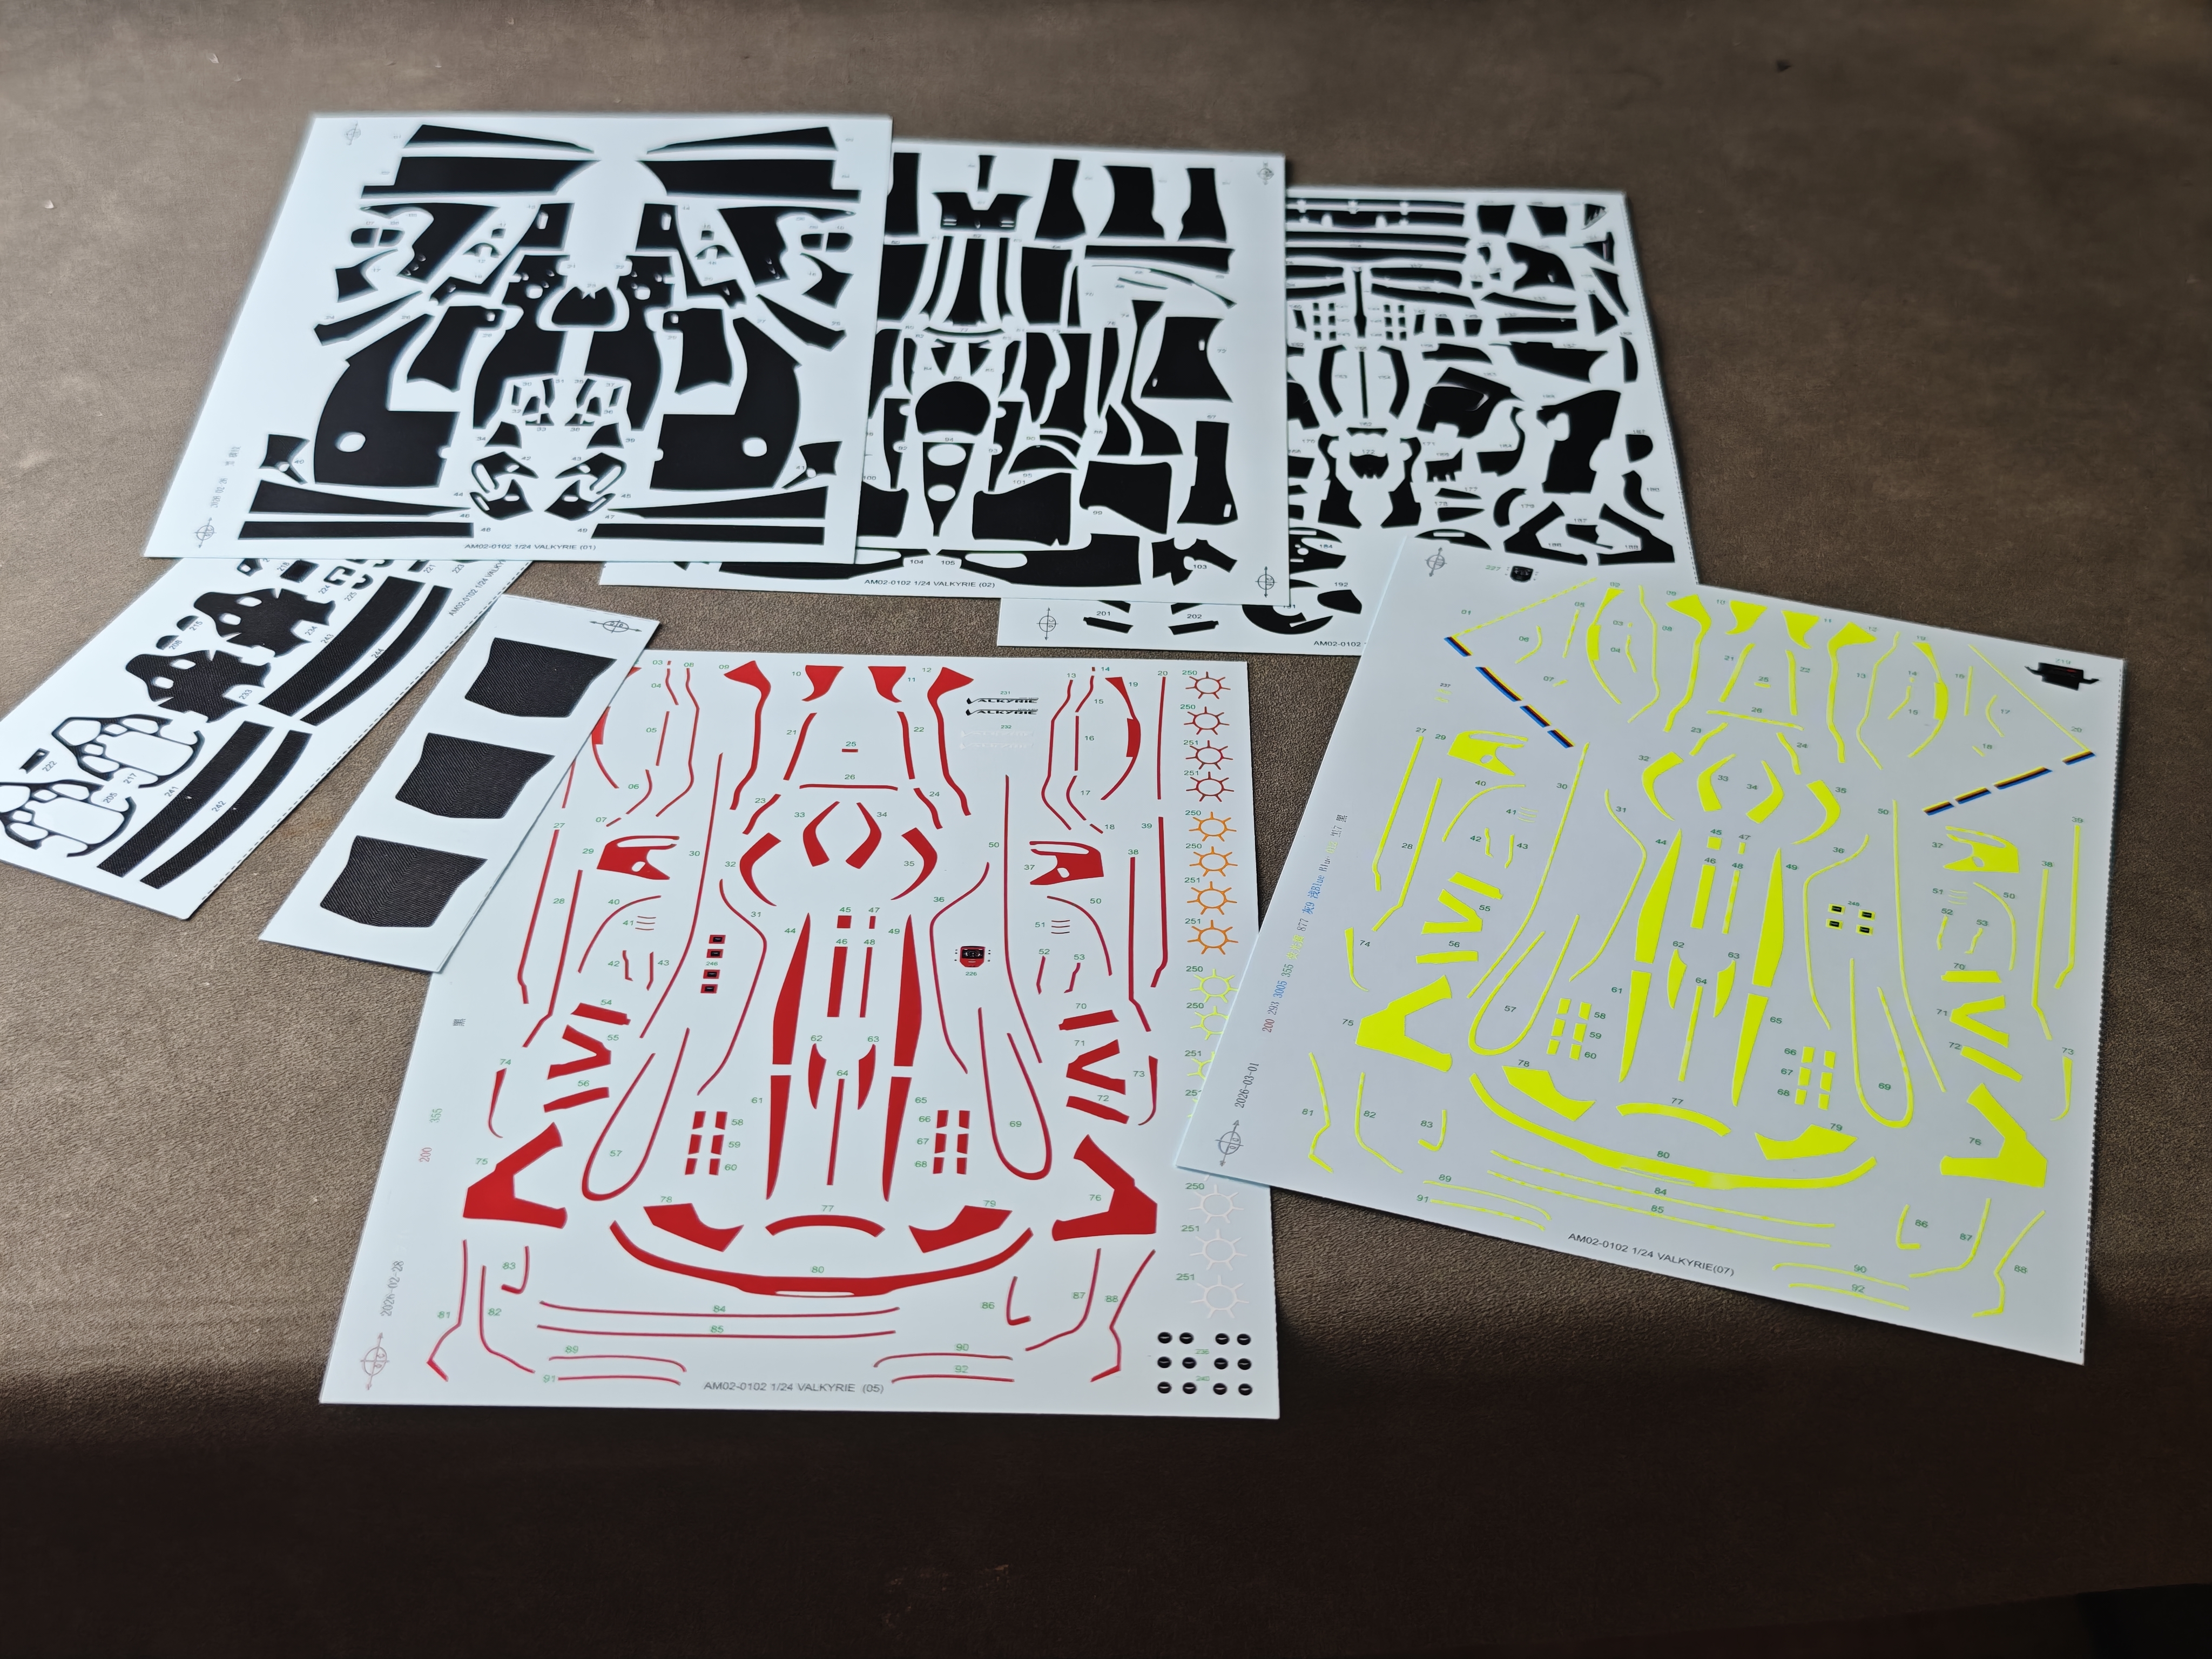
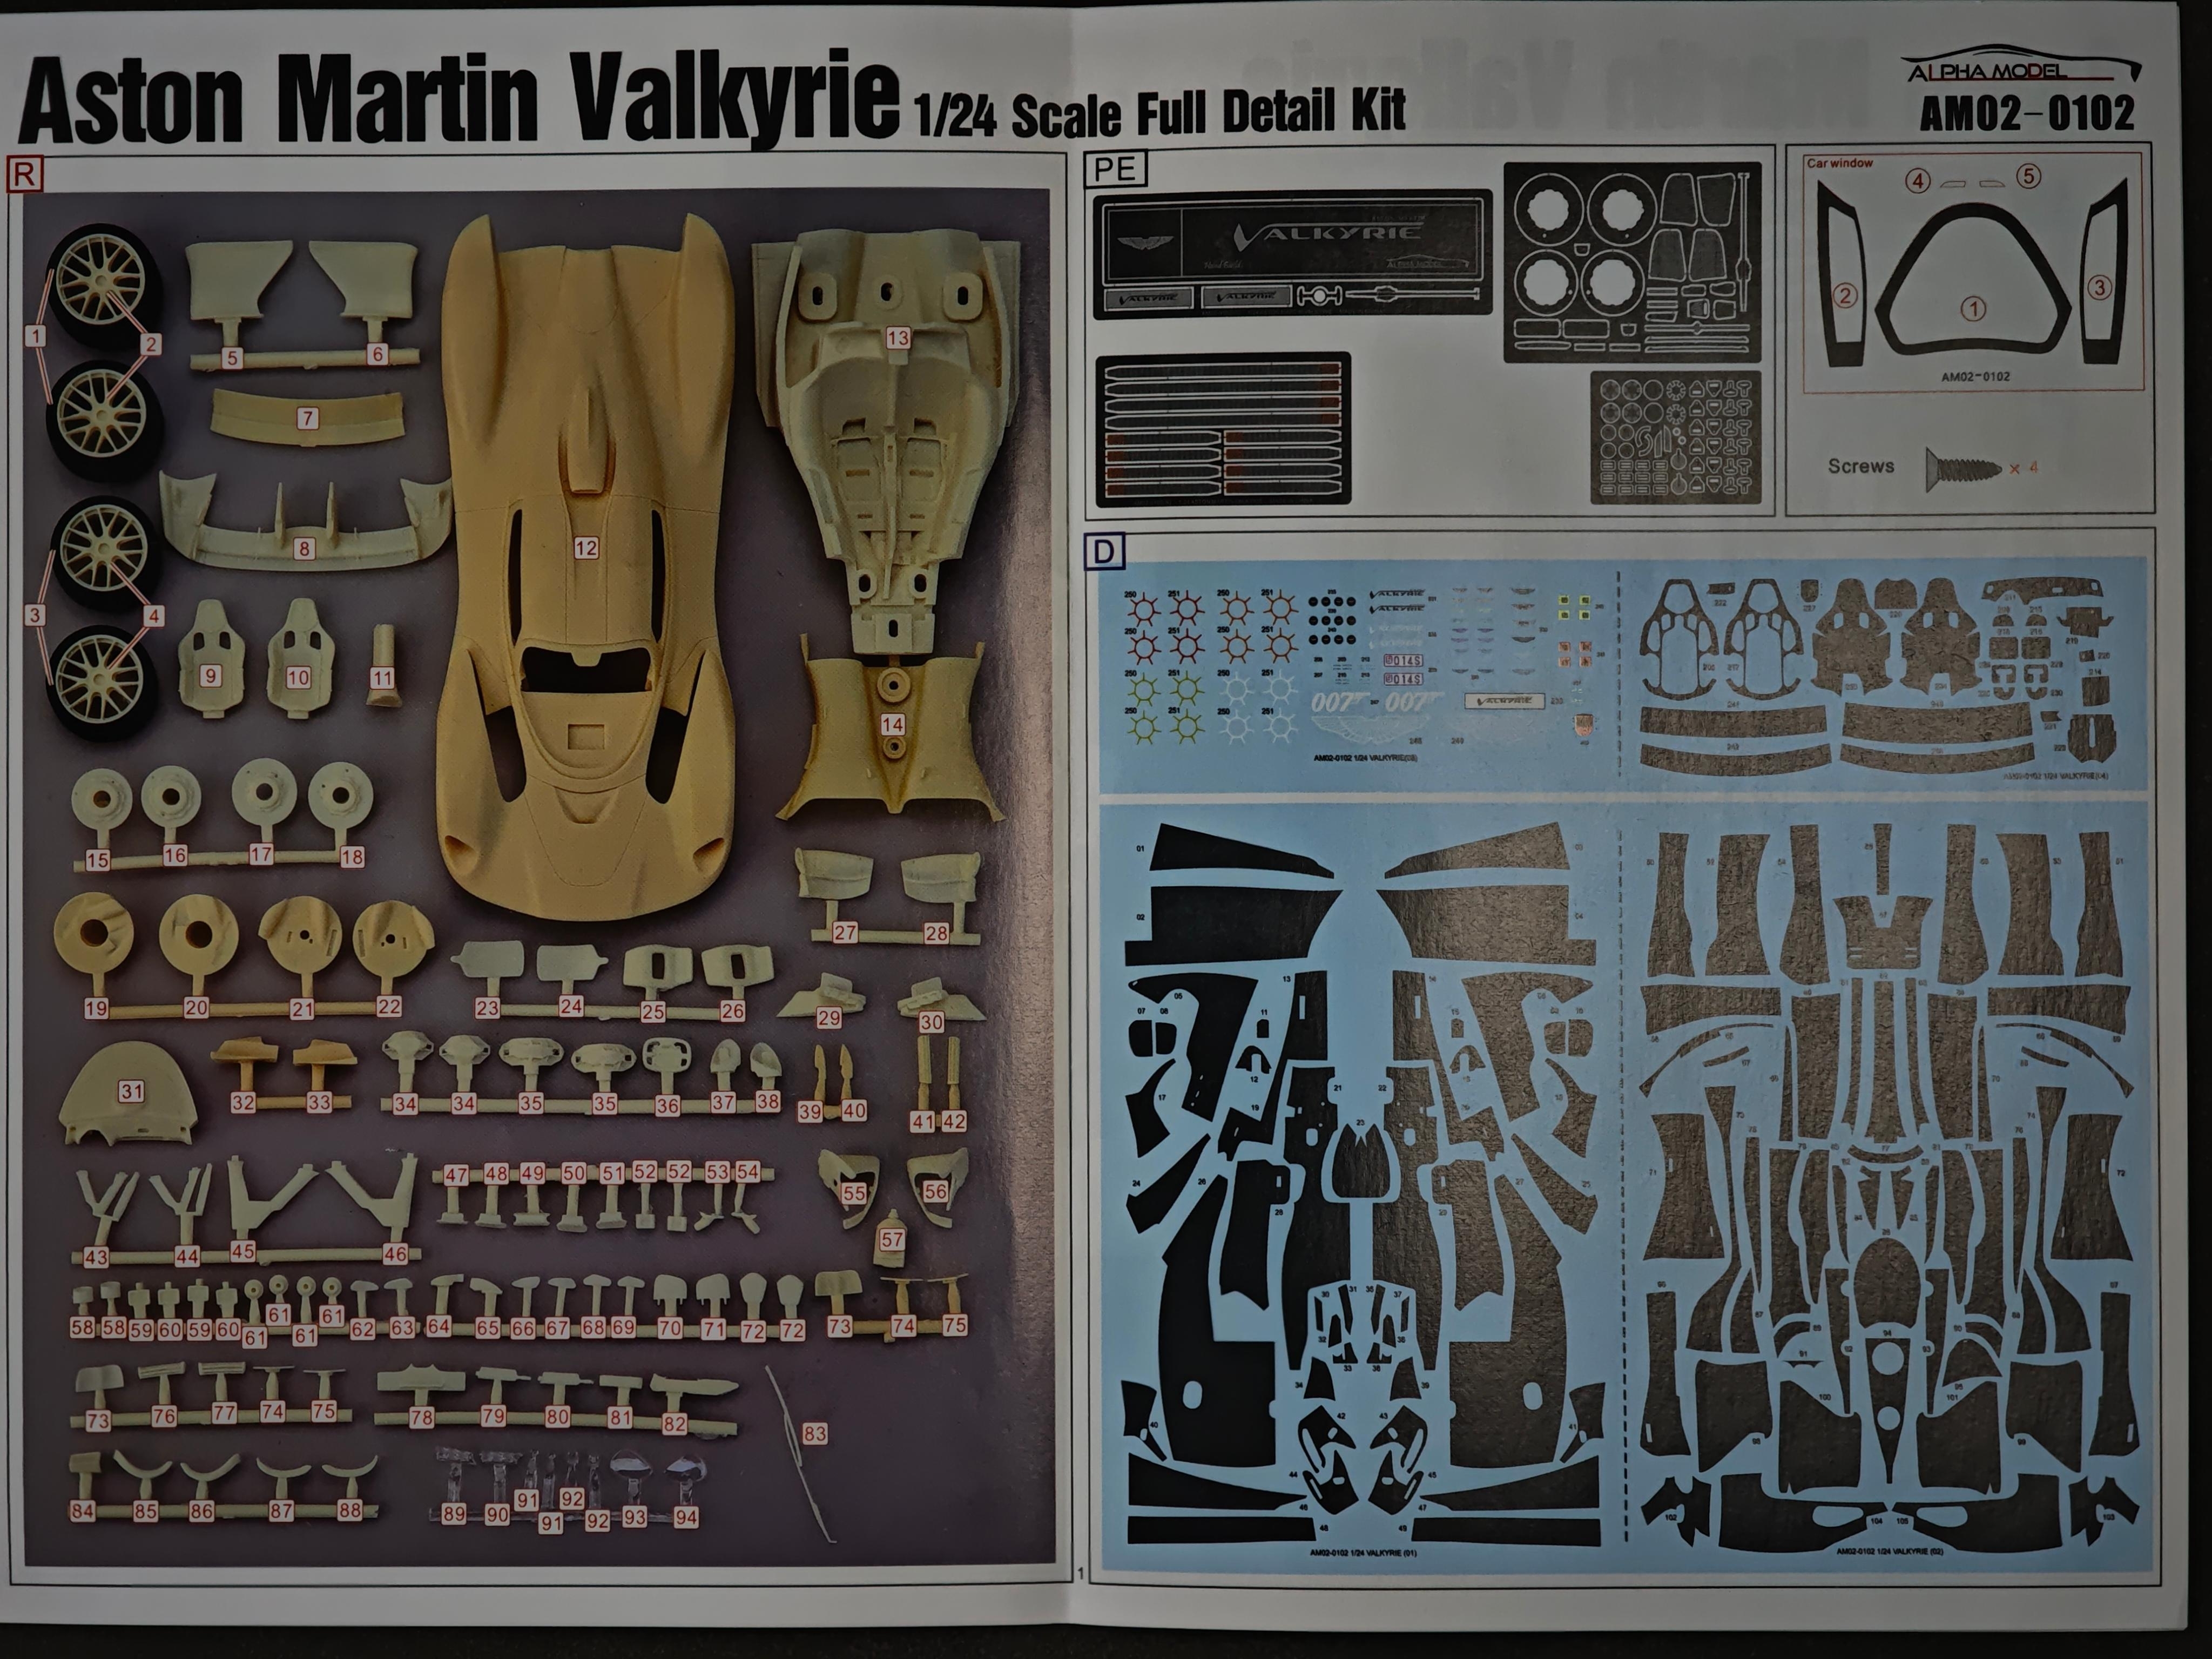
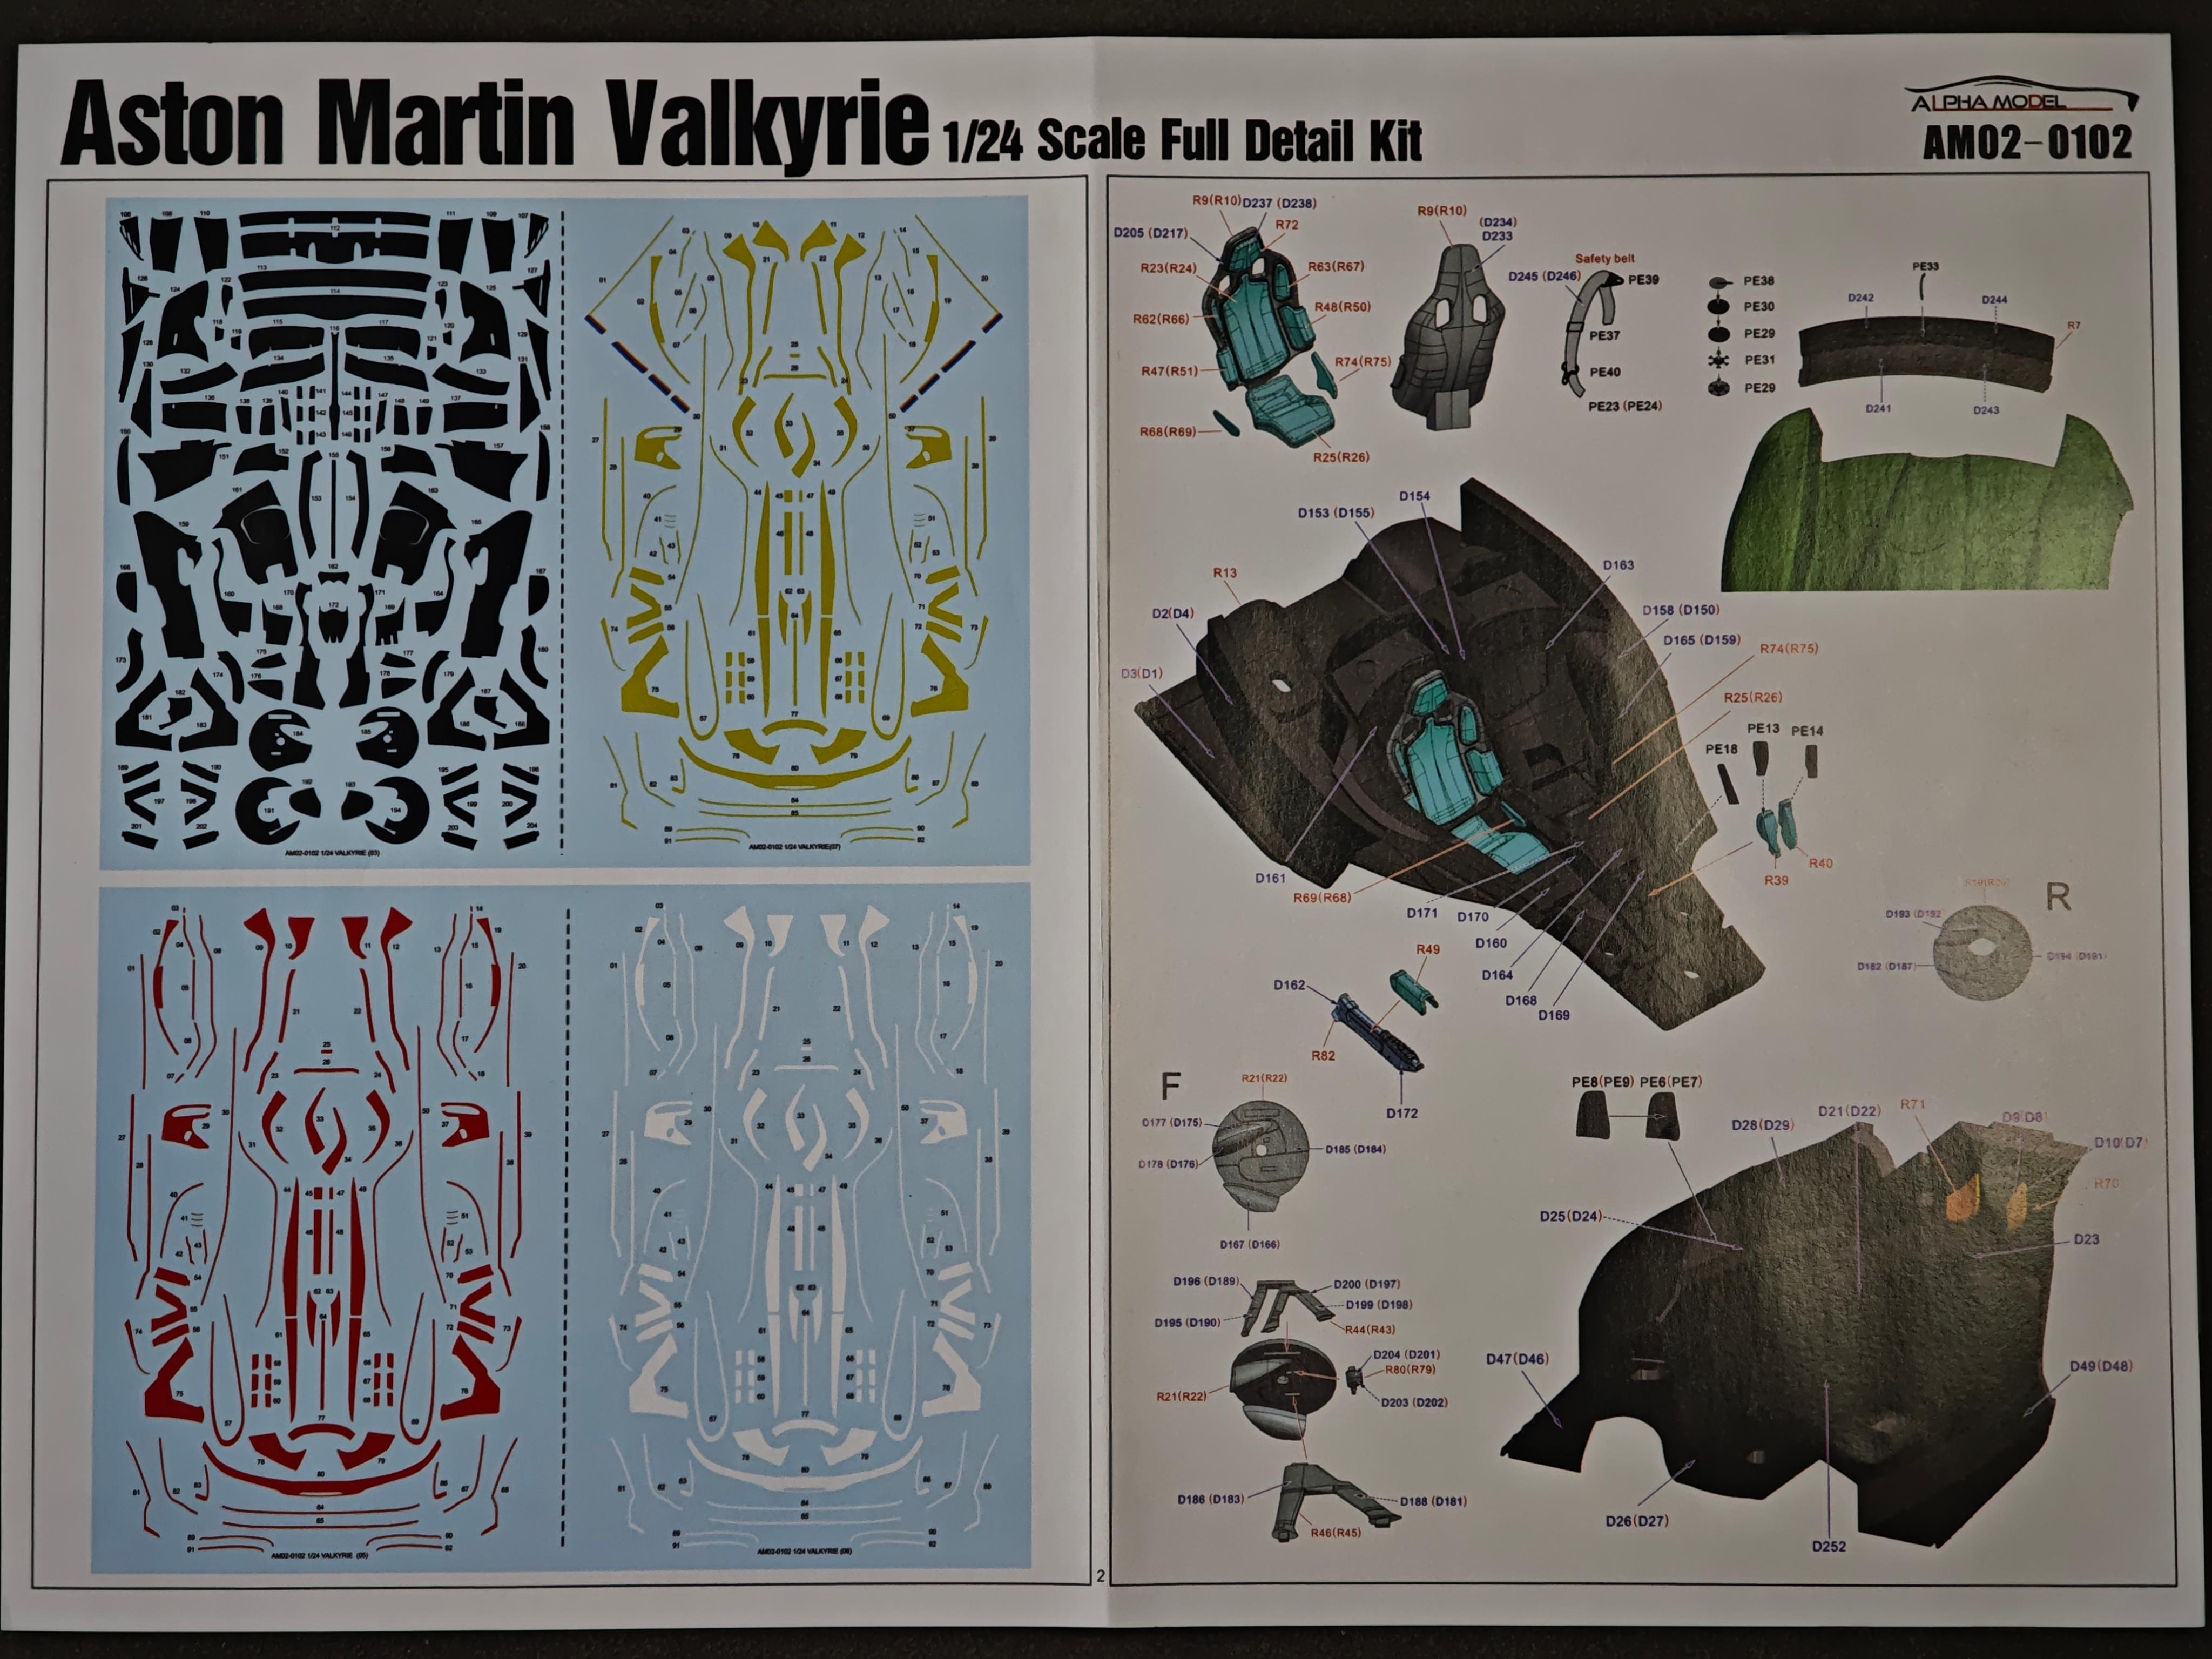
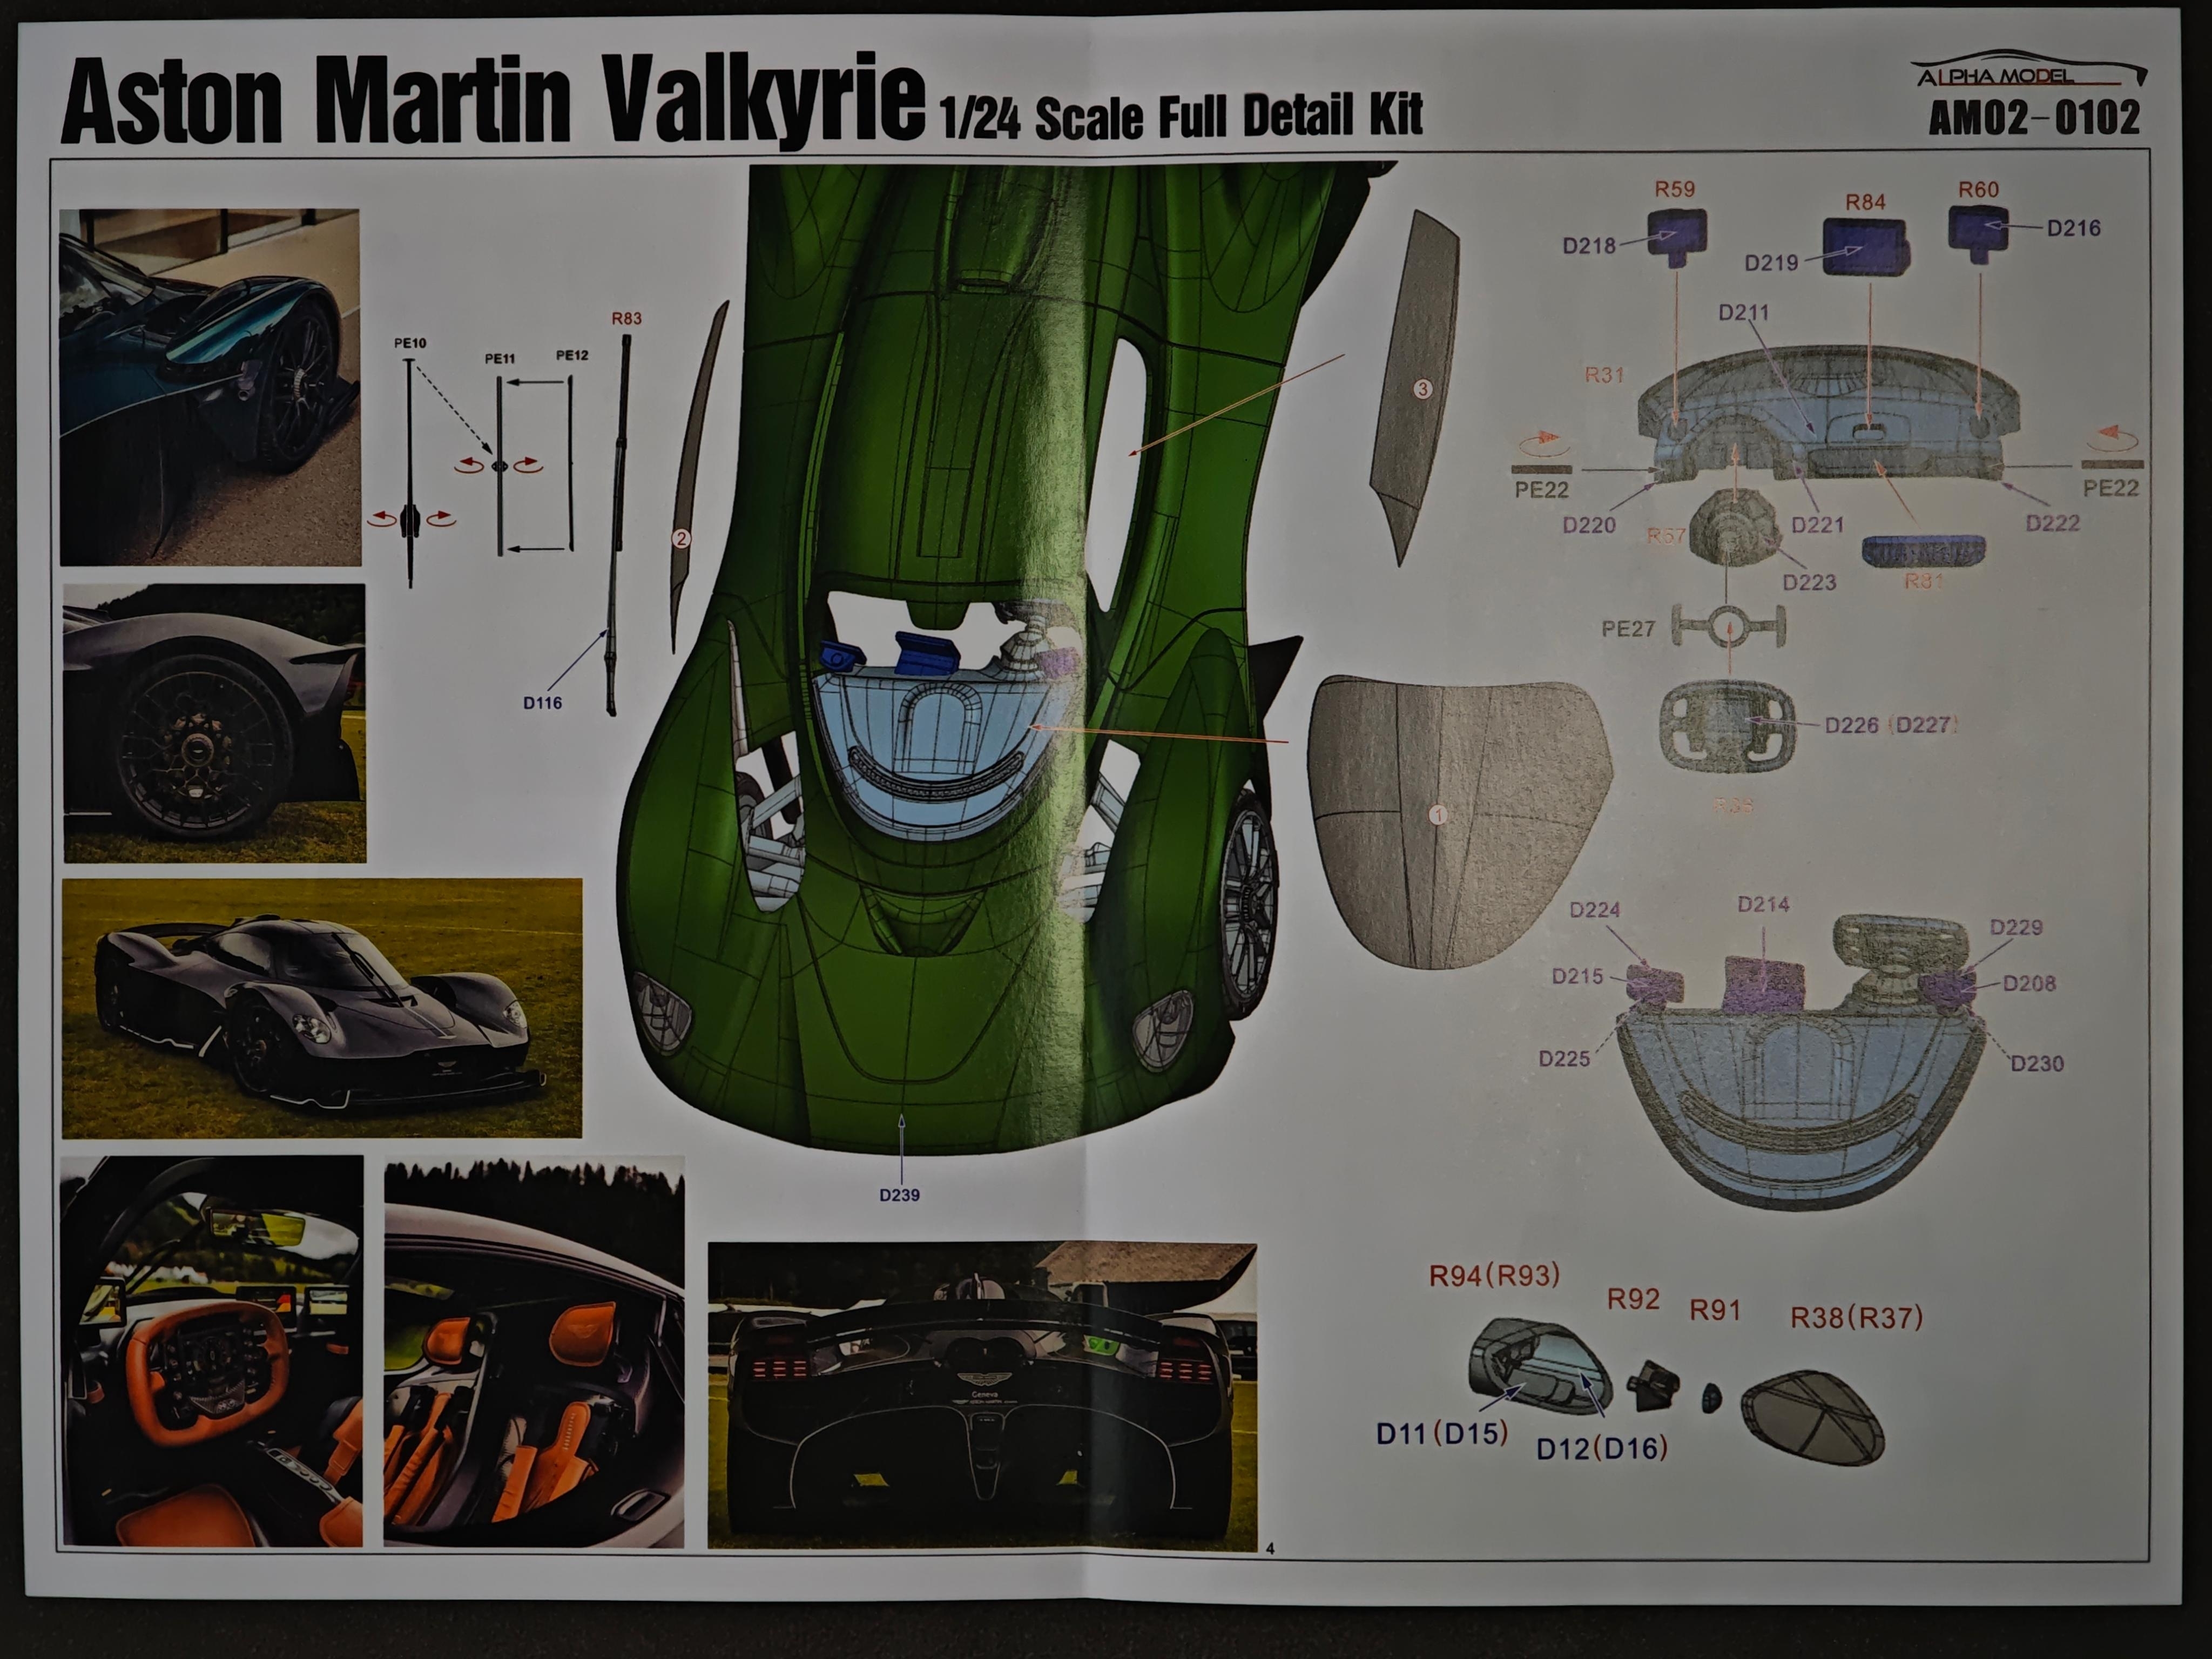
AM02-0102 is a full-detail multi-media kit. Throughout the guide, parts carry short codes worth learning up front: R numbers are resin components, PE numbers are photo-etched metal, D and CD numbers are waterslide decals (carbon weave and detail / lime accent markings), F marks clear parts, while K and M denote turned-metal and machined items such as wheel hubs and centre-lock hardware.
Tools & Preparation
Alpha Model produces precisely tooled kits with accurate shapes, smooth surfaces, no flash or sink marks, deep panel lines, and sharp edges. These features lower building difficulty, making them ideal for beginners. Each car has unique colours and liveries — refer to reference photos before painting; the manual indicates part colours for convenience.
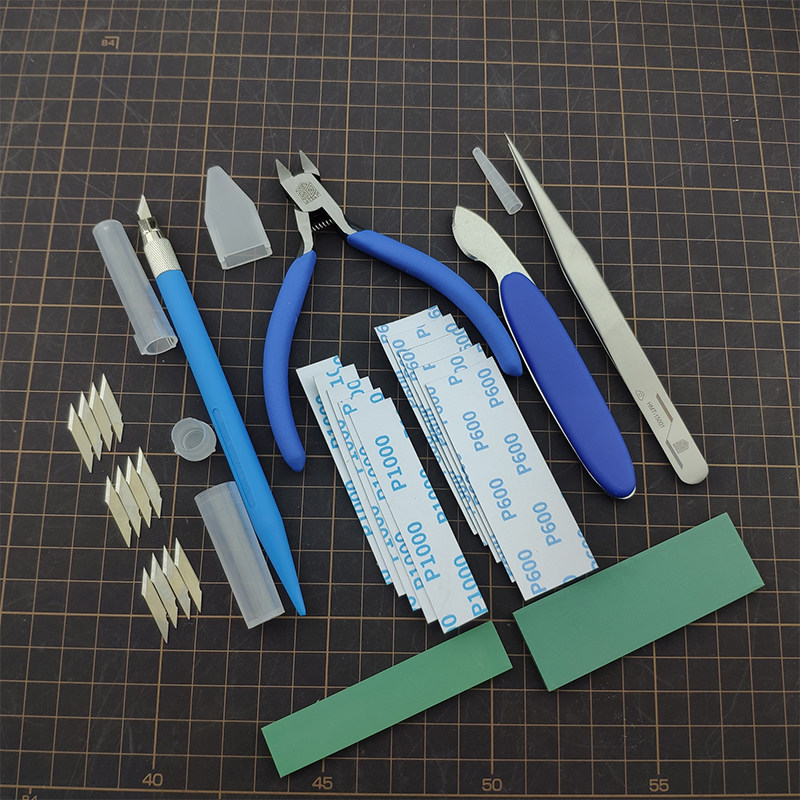
🔧 Essential tools: panel-line pens, sandpaper (various grits), sanding sponge, instant glue, tweezers, scribers, hobby knives, photo-etch bending pliers, airbrush (0.5mm), masking tape.
Wash all parts with dish soap or suitable resin cleaner to remove mold-release grease. Skipping this may cause fisheyes or poor paint adhesion. Rinse and dry thoroughly.
Build Process
Step 1: Primer & Flaw Detection
After washing, spray a thin coat of grey primer on the body shell to reveal flaws and aid in sanding. Apply just enough to cover the bare resin — applying it too thickly will slow drying and make sanding difficult. Once fully dry, begin deepening the panel lines.
Step 2: Deepen Panel Lines
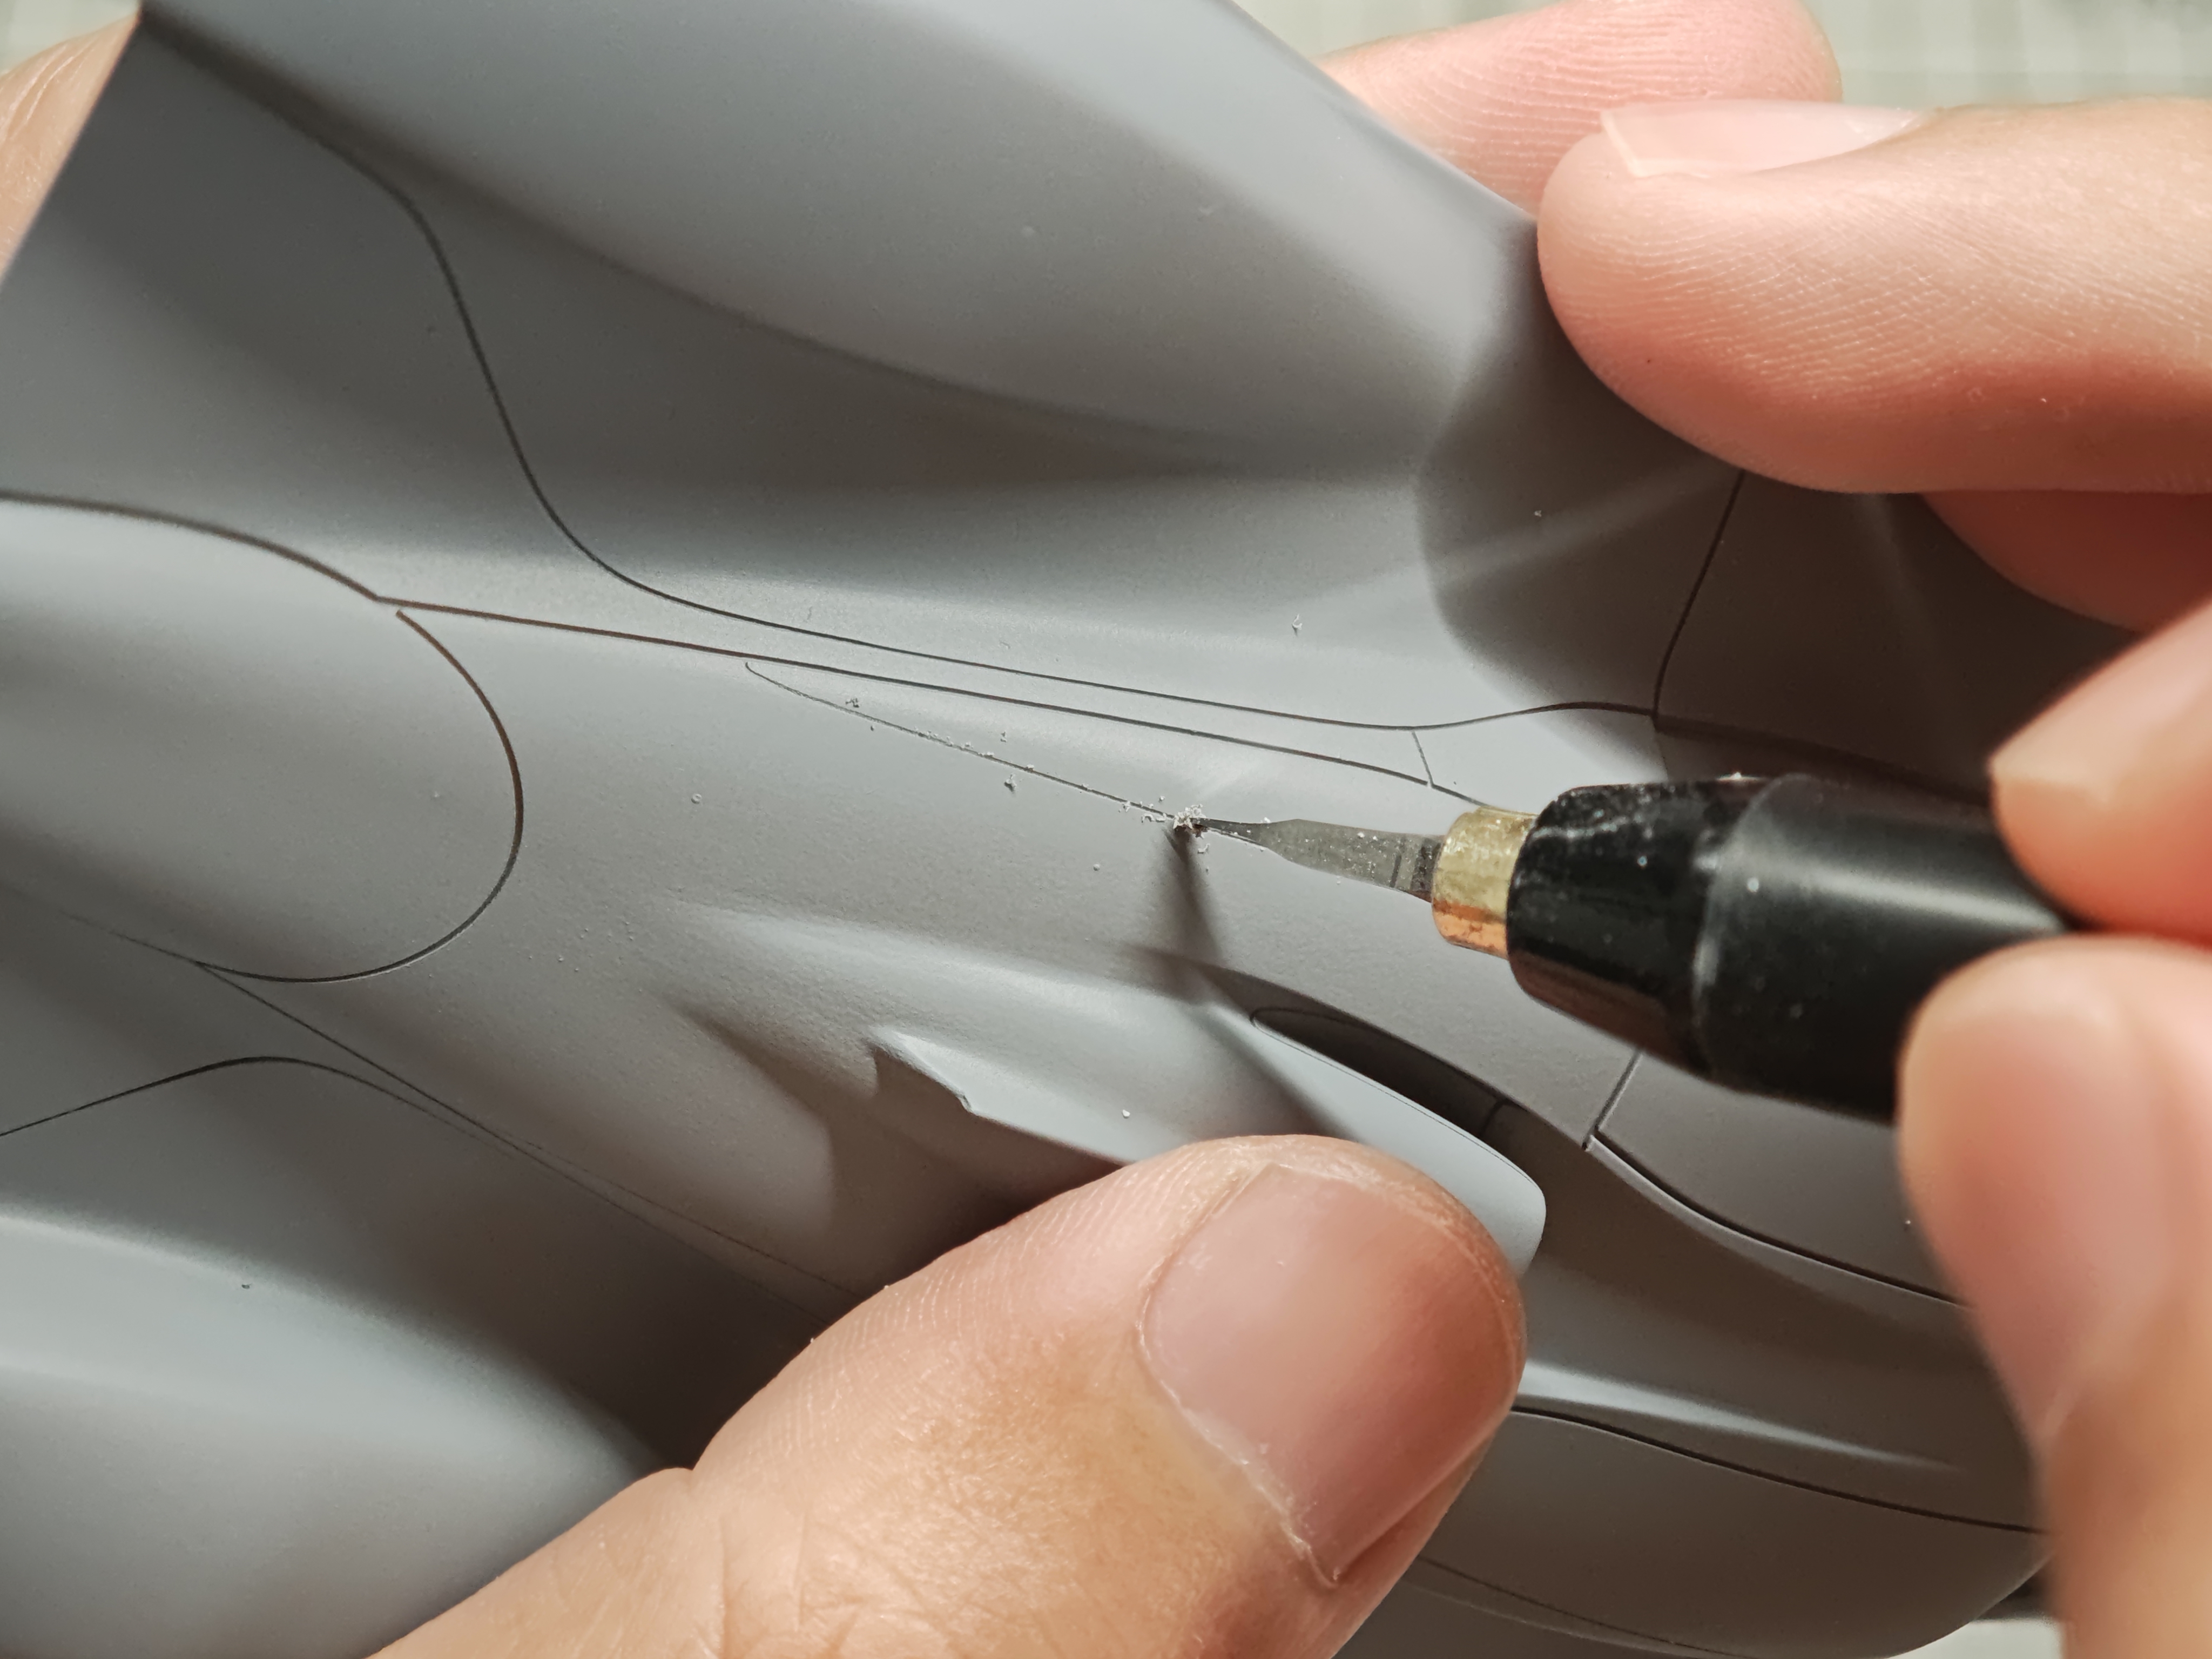
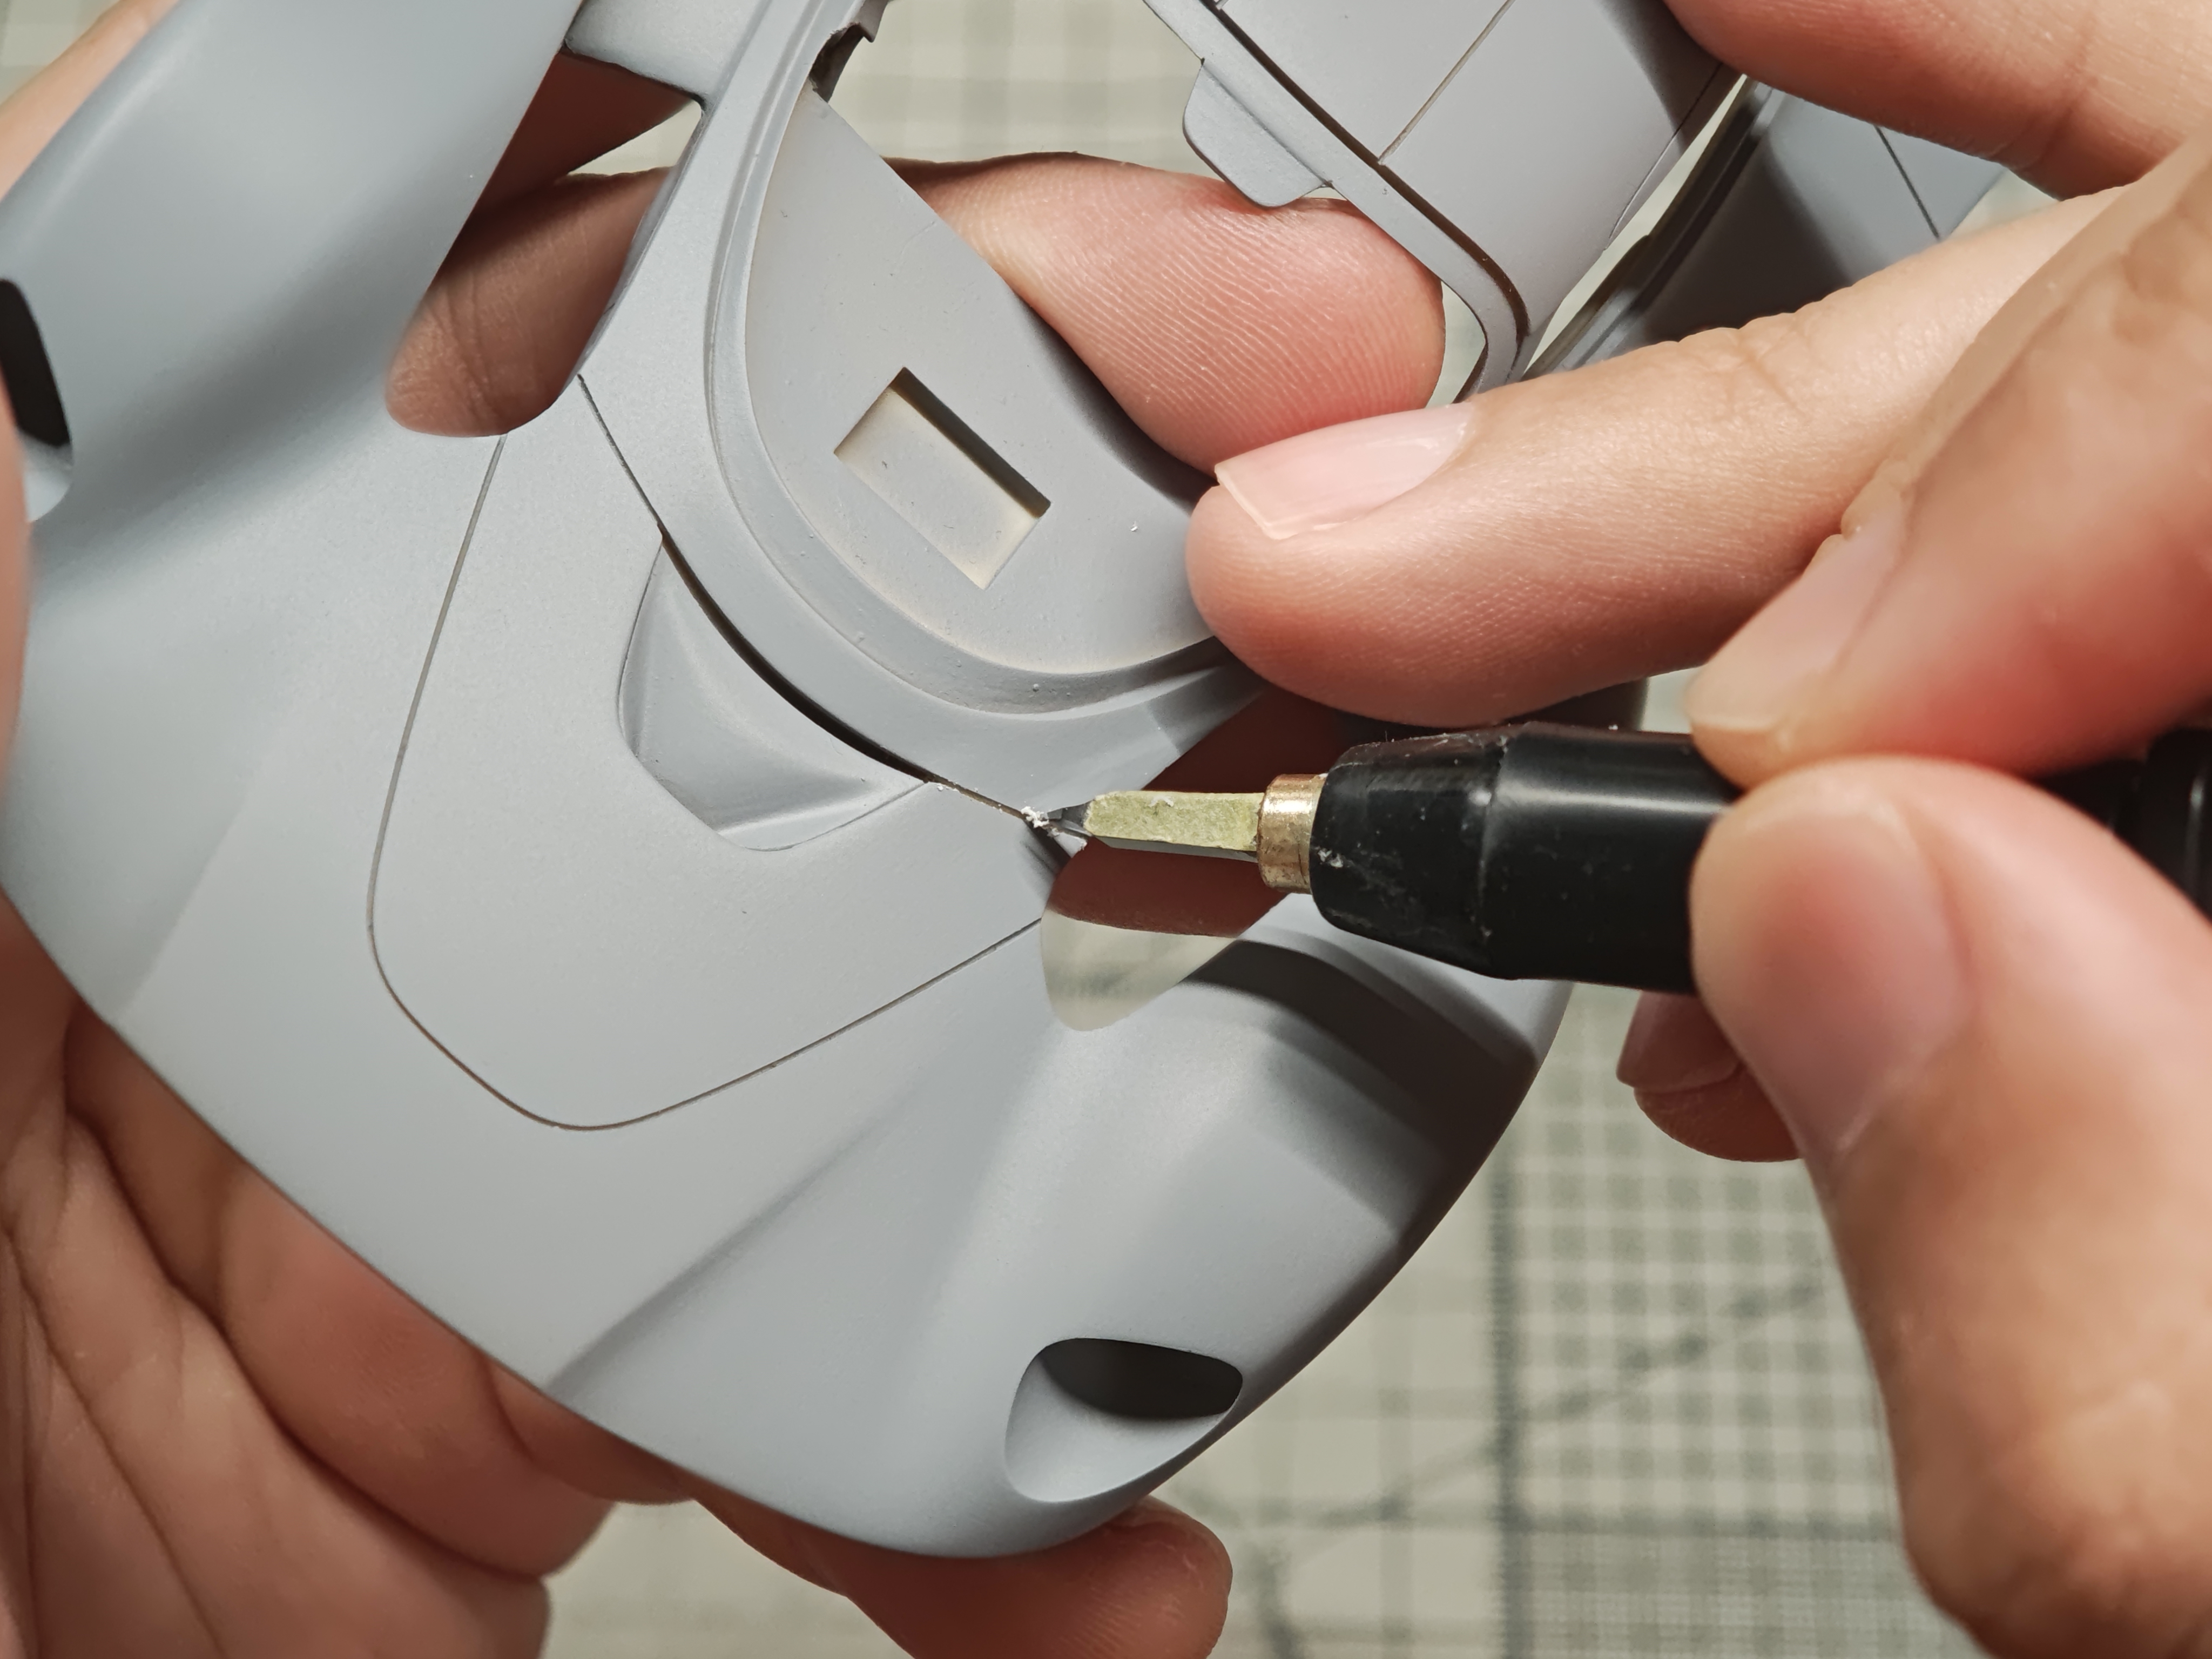
Use a 0.15mm scriber to deepen the panel lines. While the molded lines are already crisp, deepening them manually adds greater 3D depth. This also allows you to skip panel line washes later, relying on natural shadows for a realistic look.
When scribing, increase pressure gradually — start with light passes along the line, then slowly apply more pressure. Use a curved scriber for the Valkyrie's many flowing lines; if using a straight scriber, work carefully to avoid slipping, and watch the blade angle so curves don't turn into straight lines.
Step 3: Sanding & Surface Prep
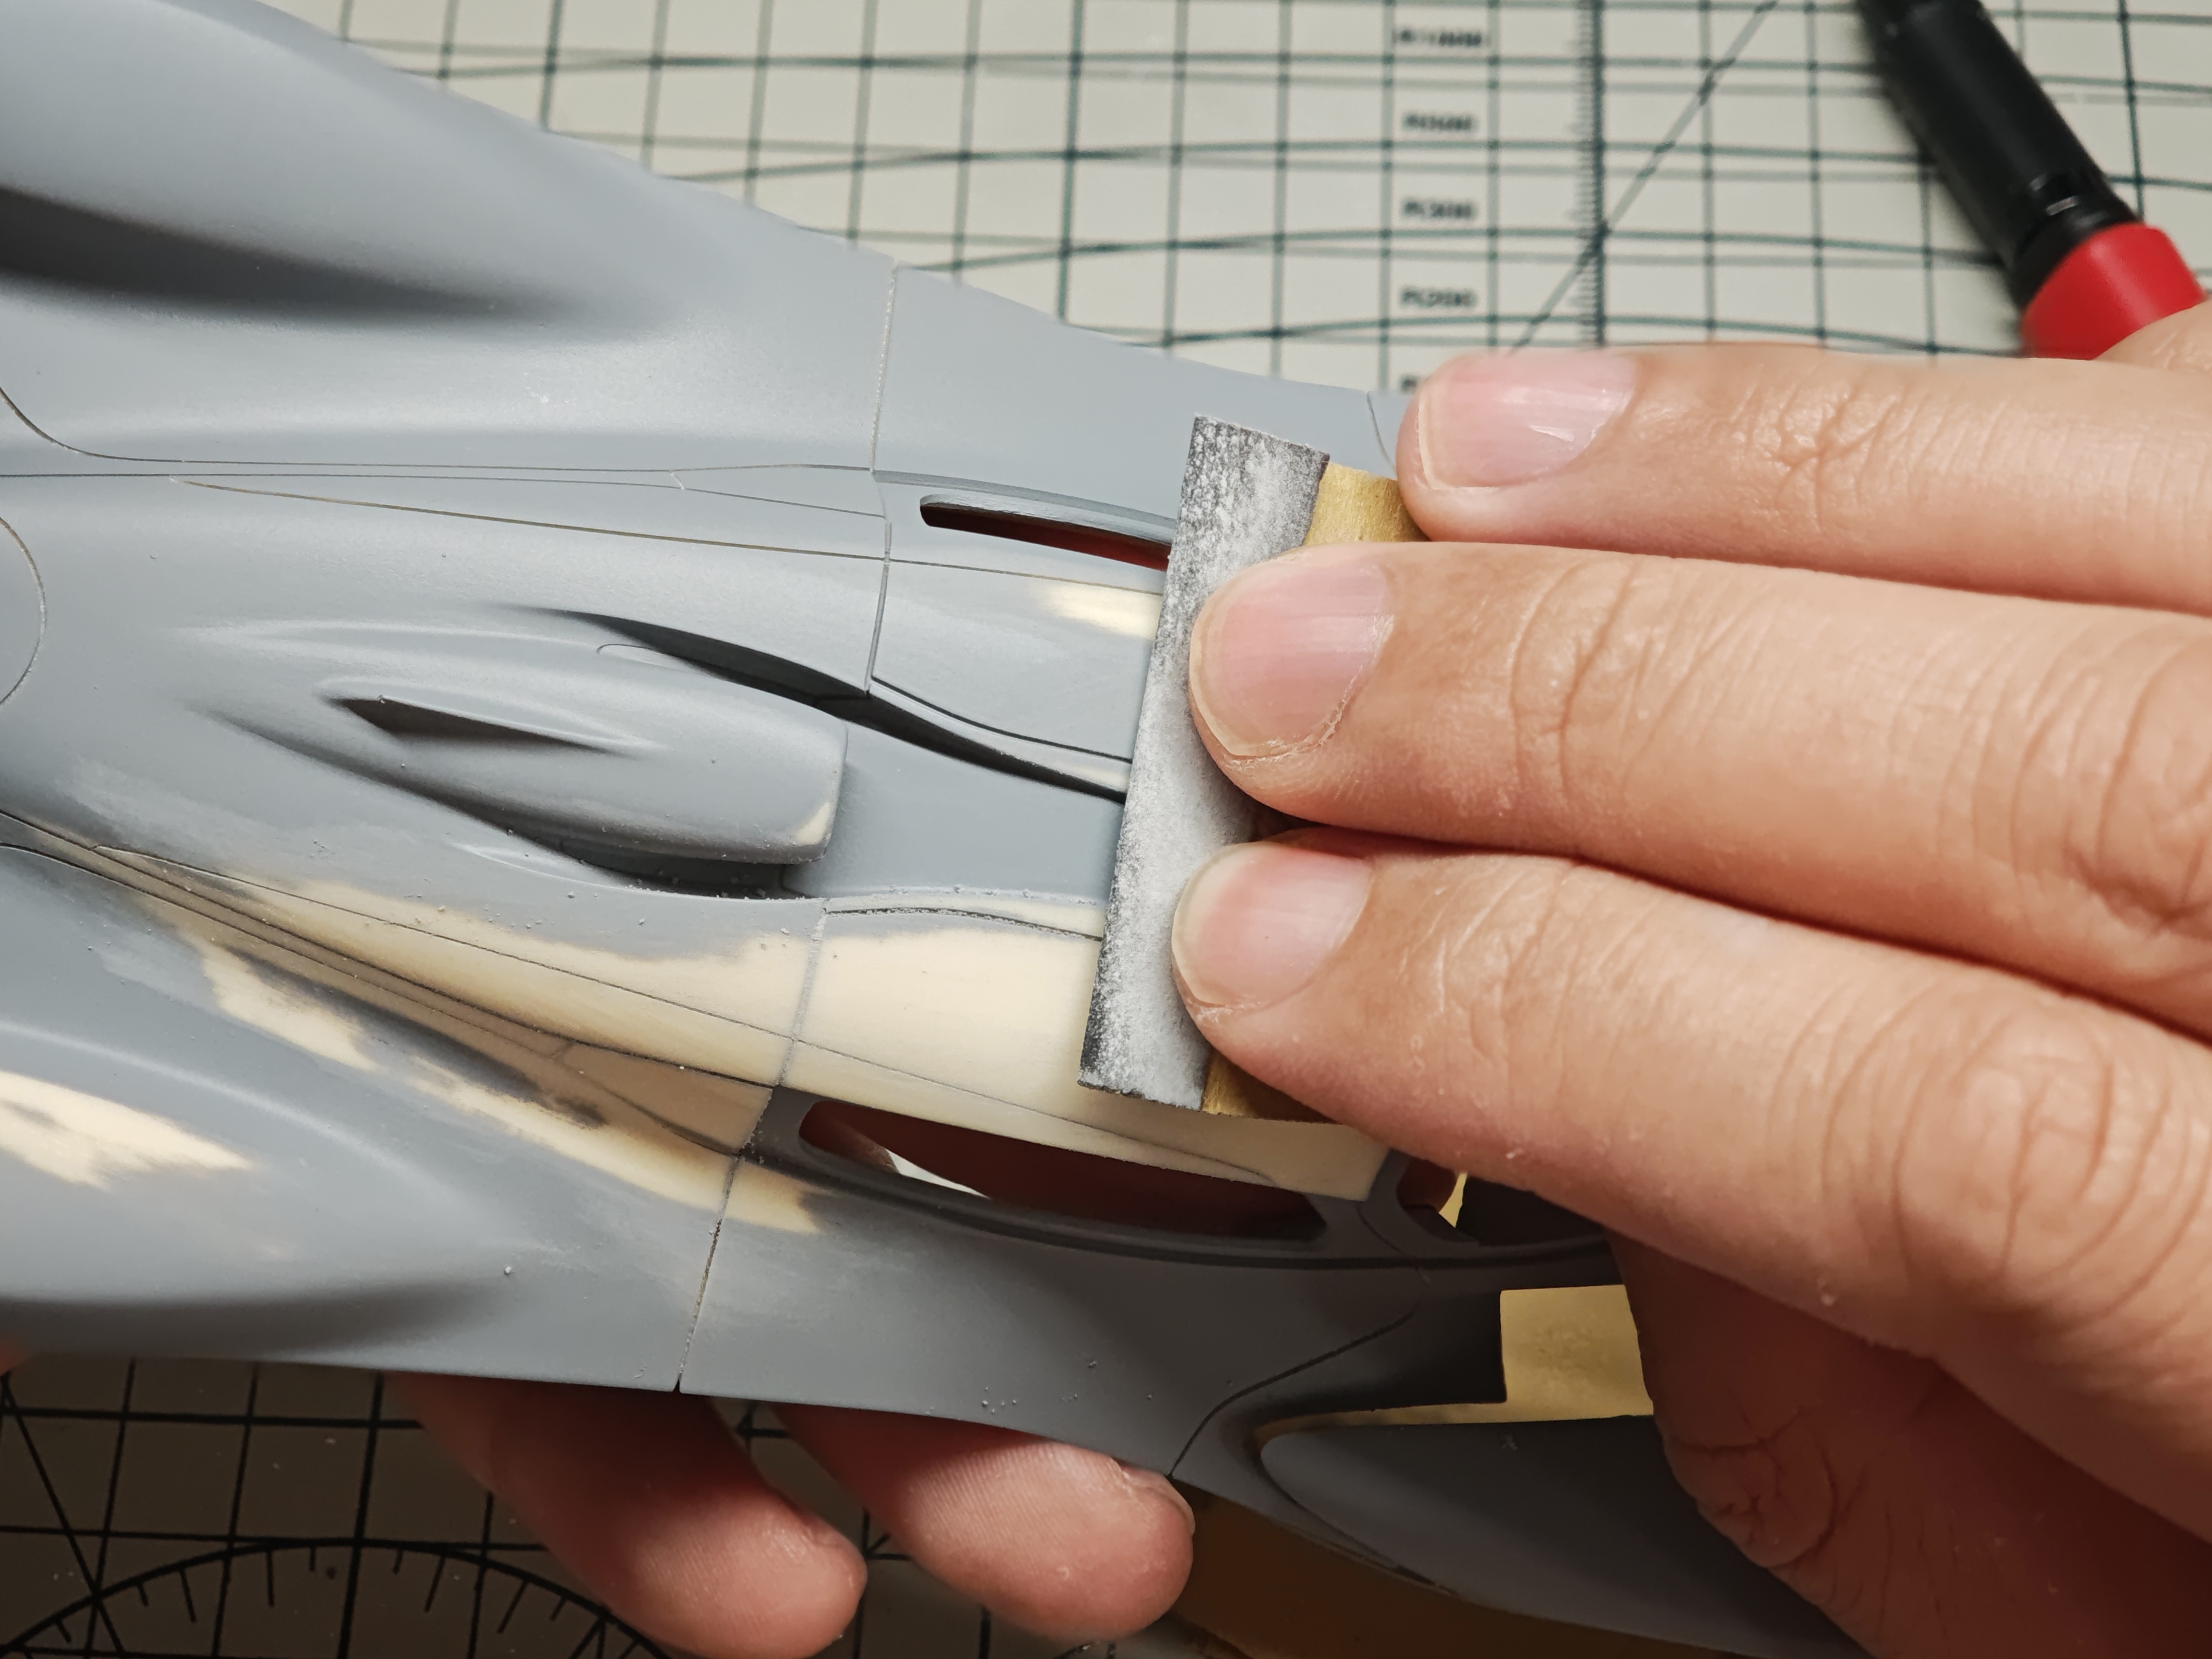
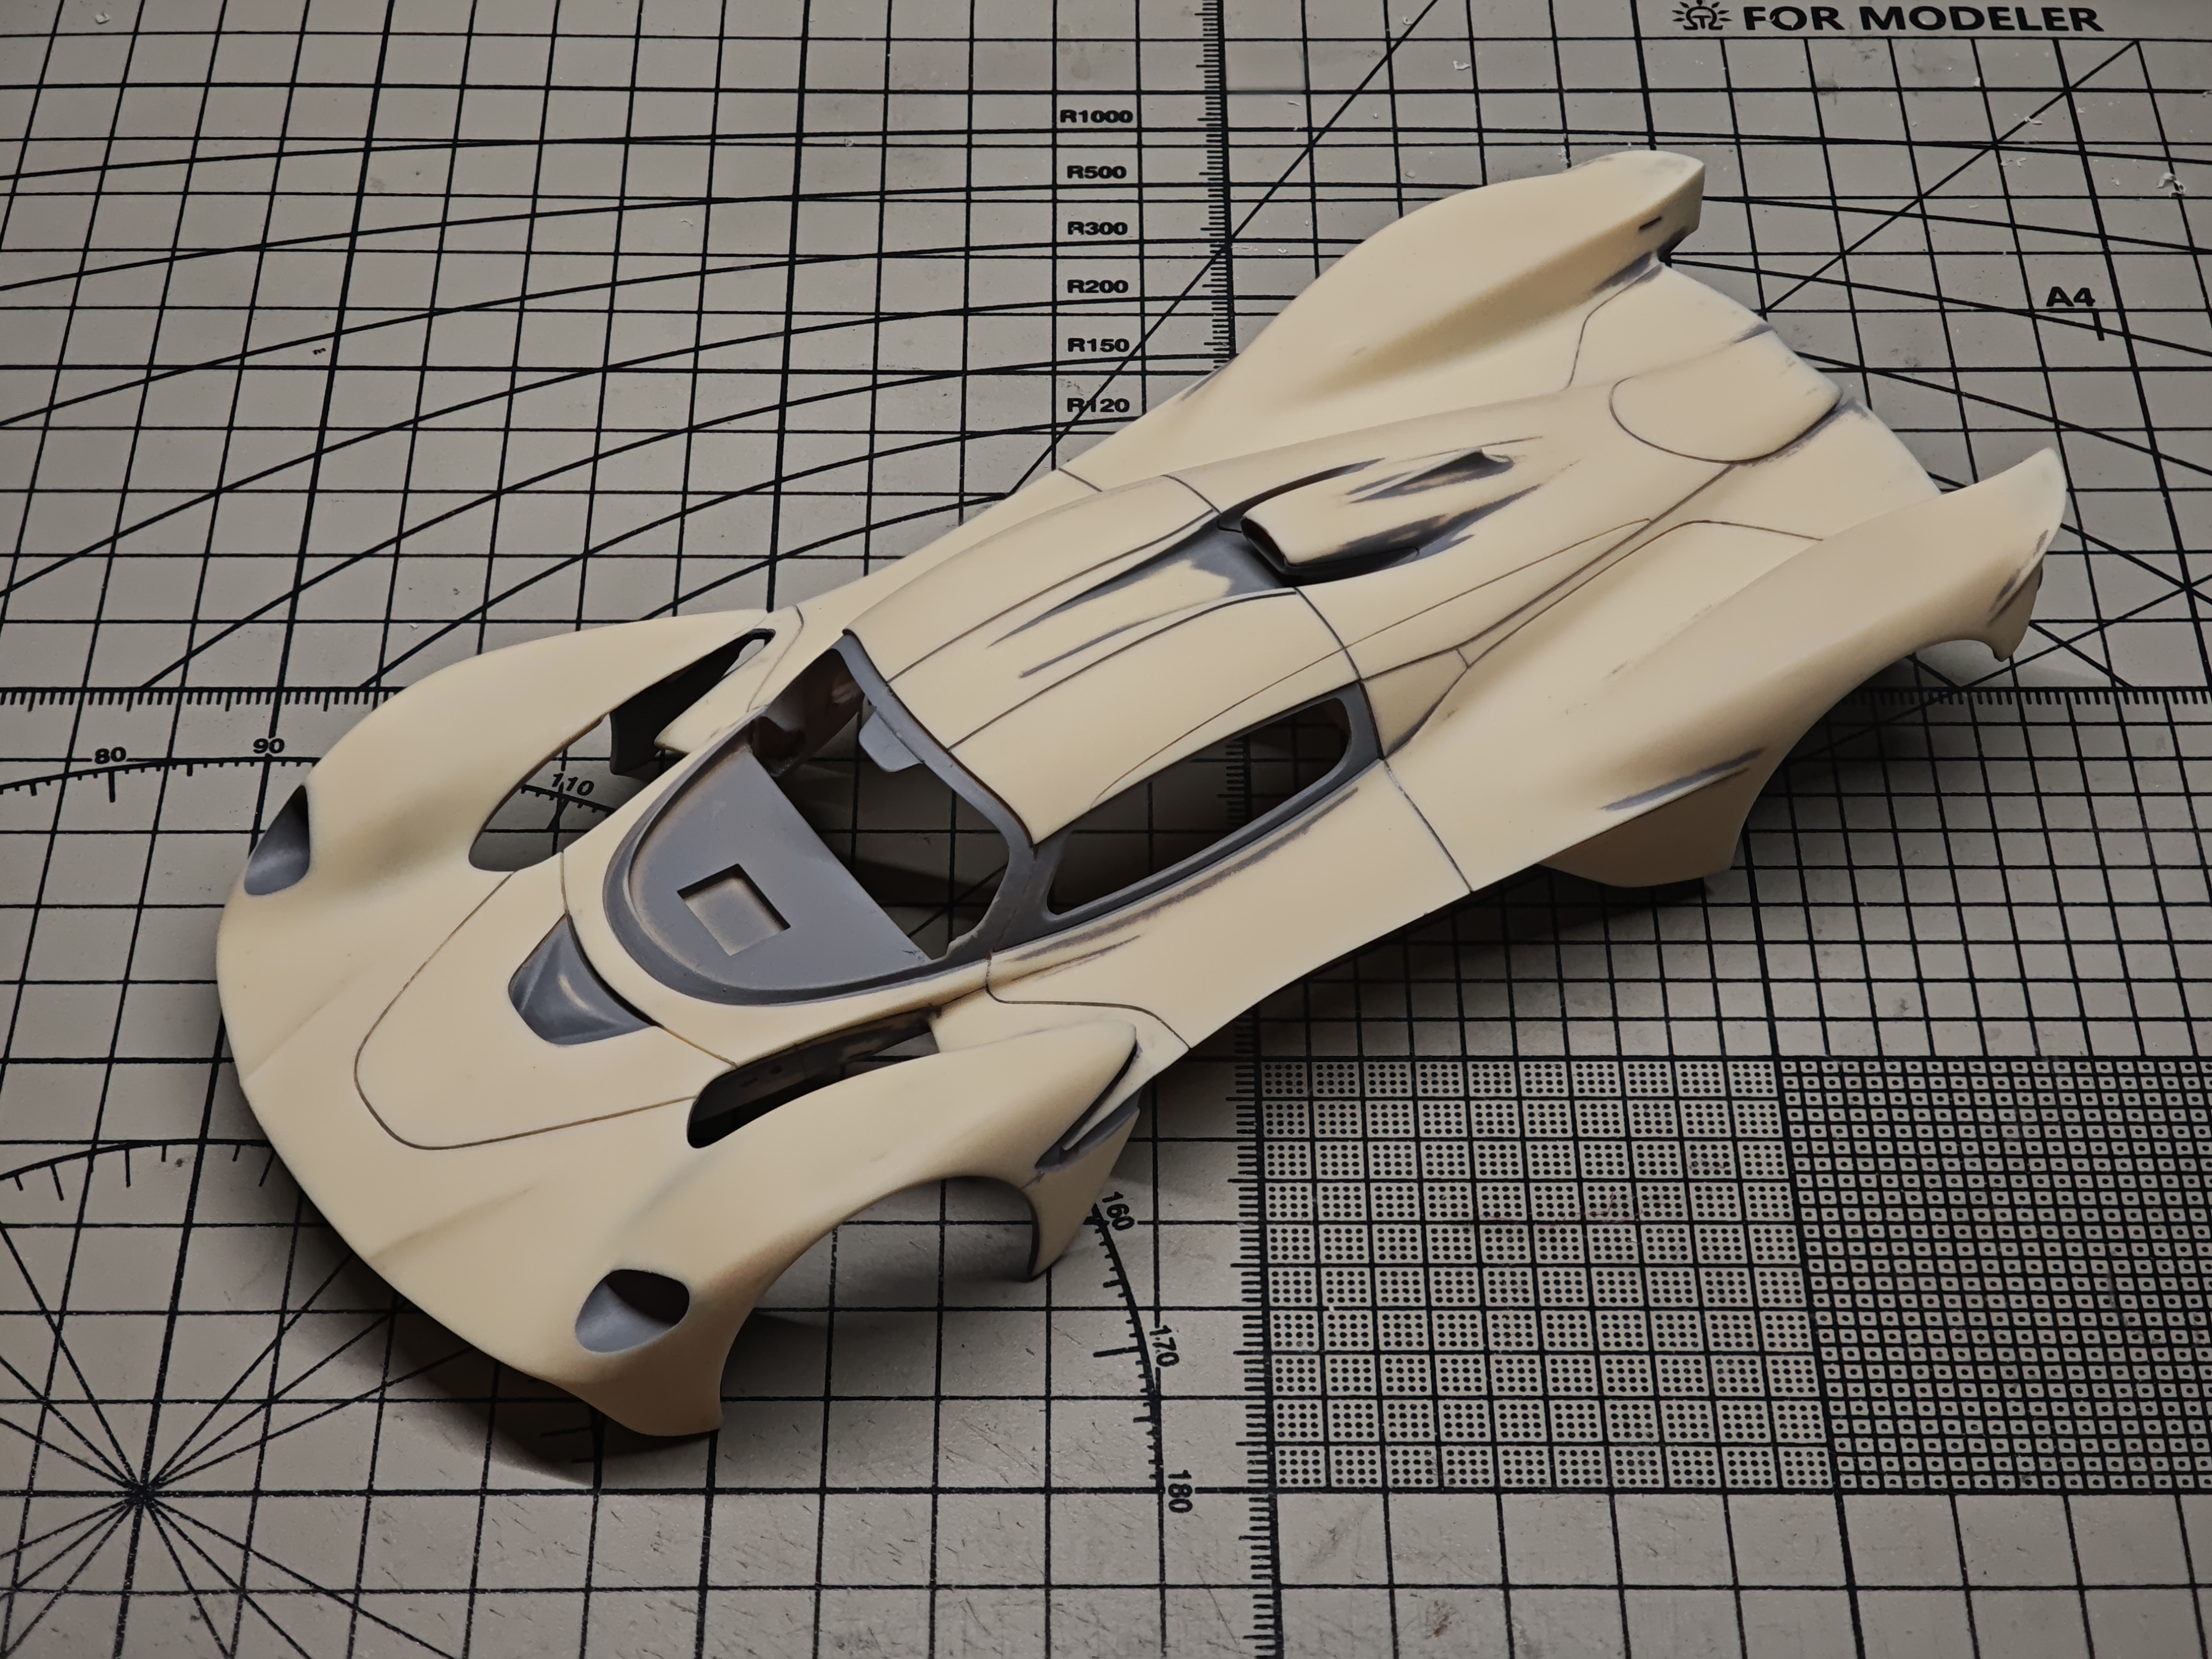
Level the entire body with sandpaper first, then use a sanding sponge to remove coarse scratches. Go over the surface a few more times with a fine-grit sanding sponge for a perfectly smooth finish. Spray another coat of primer to check for remaining flaws.
Step 4: Black Primer Base
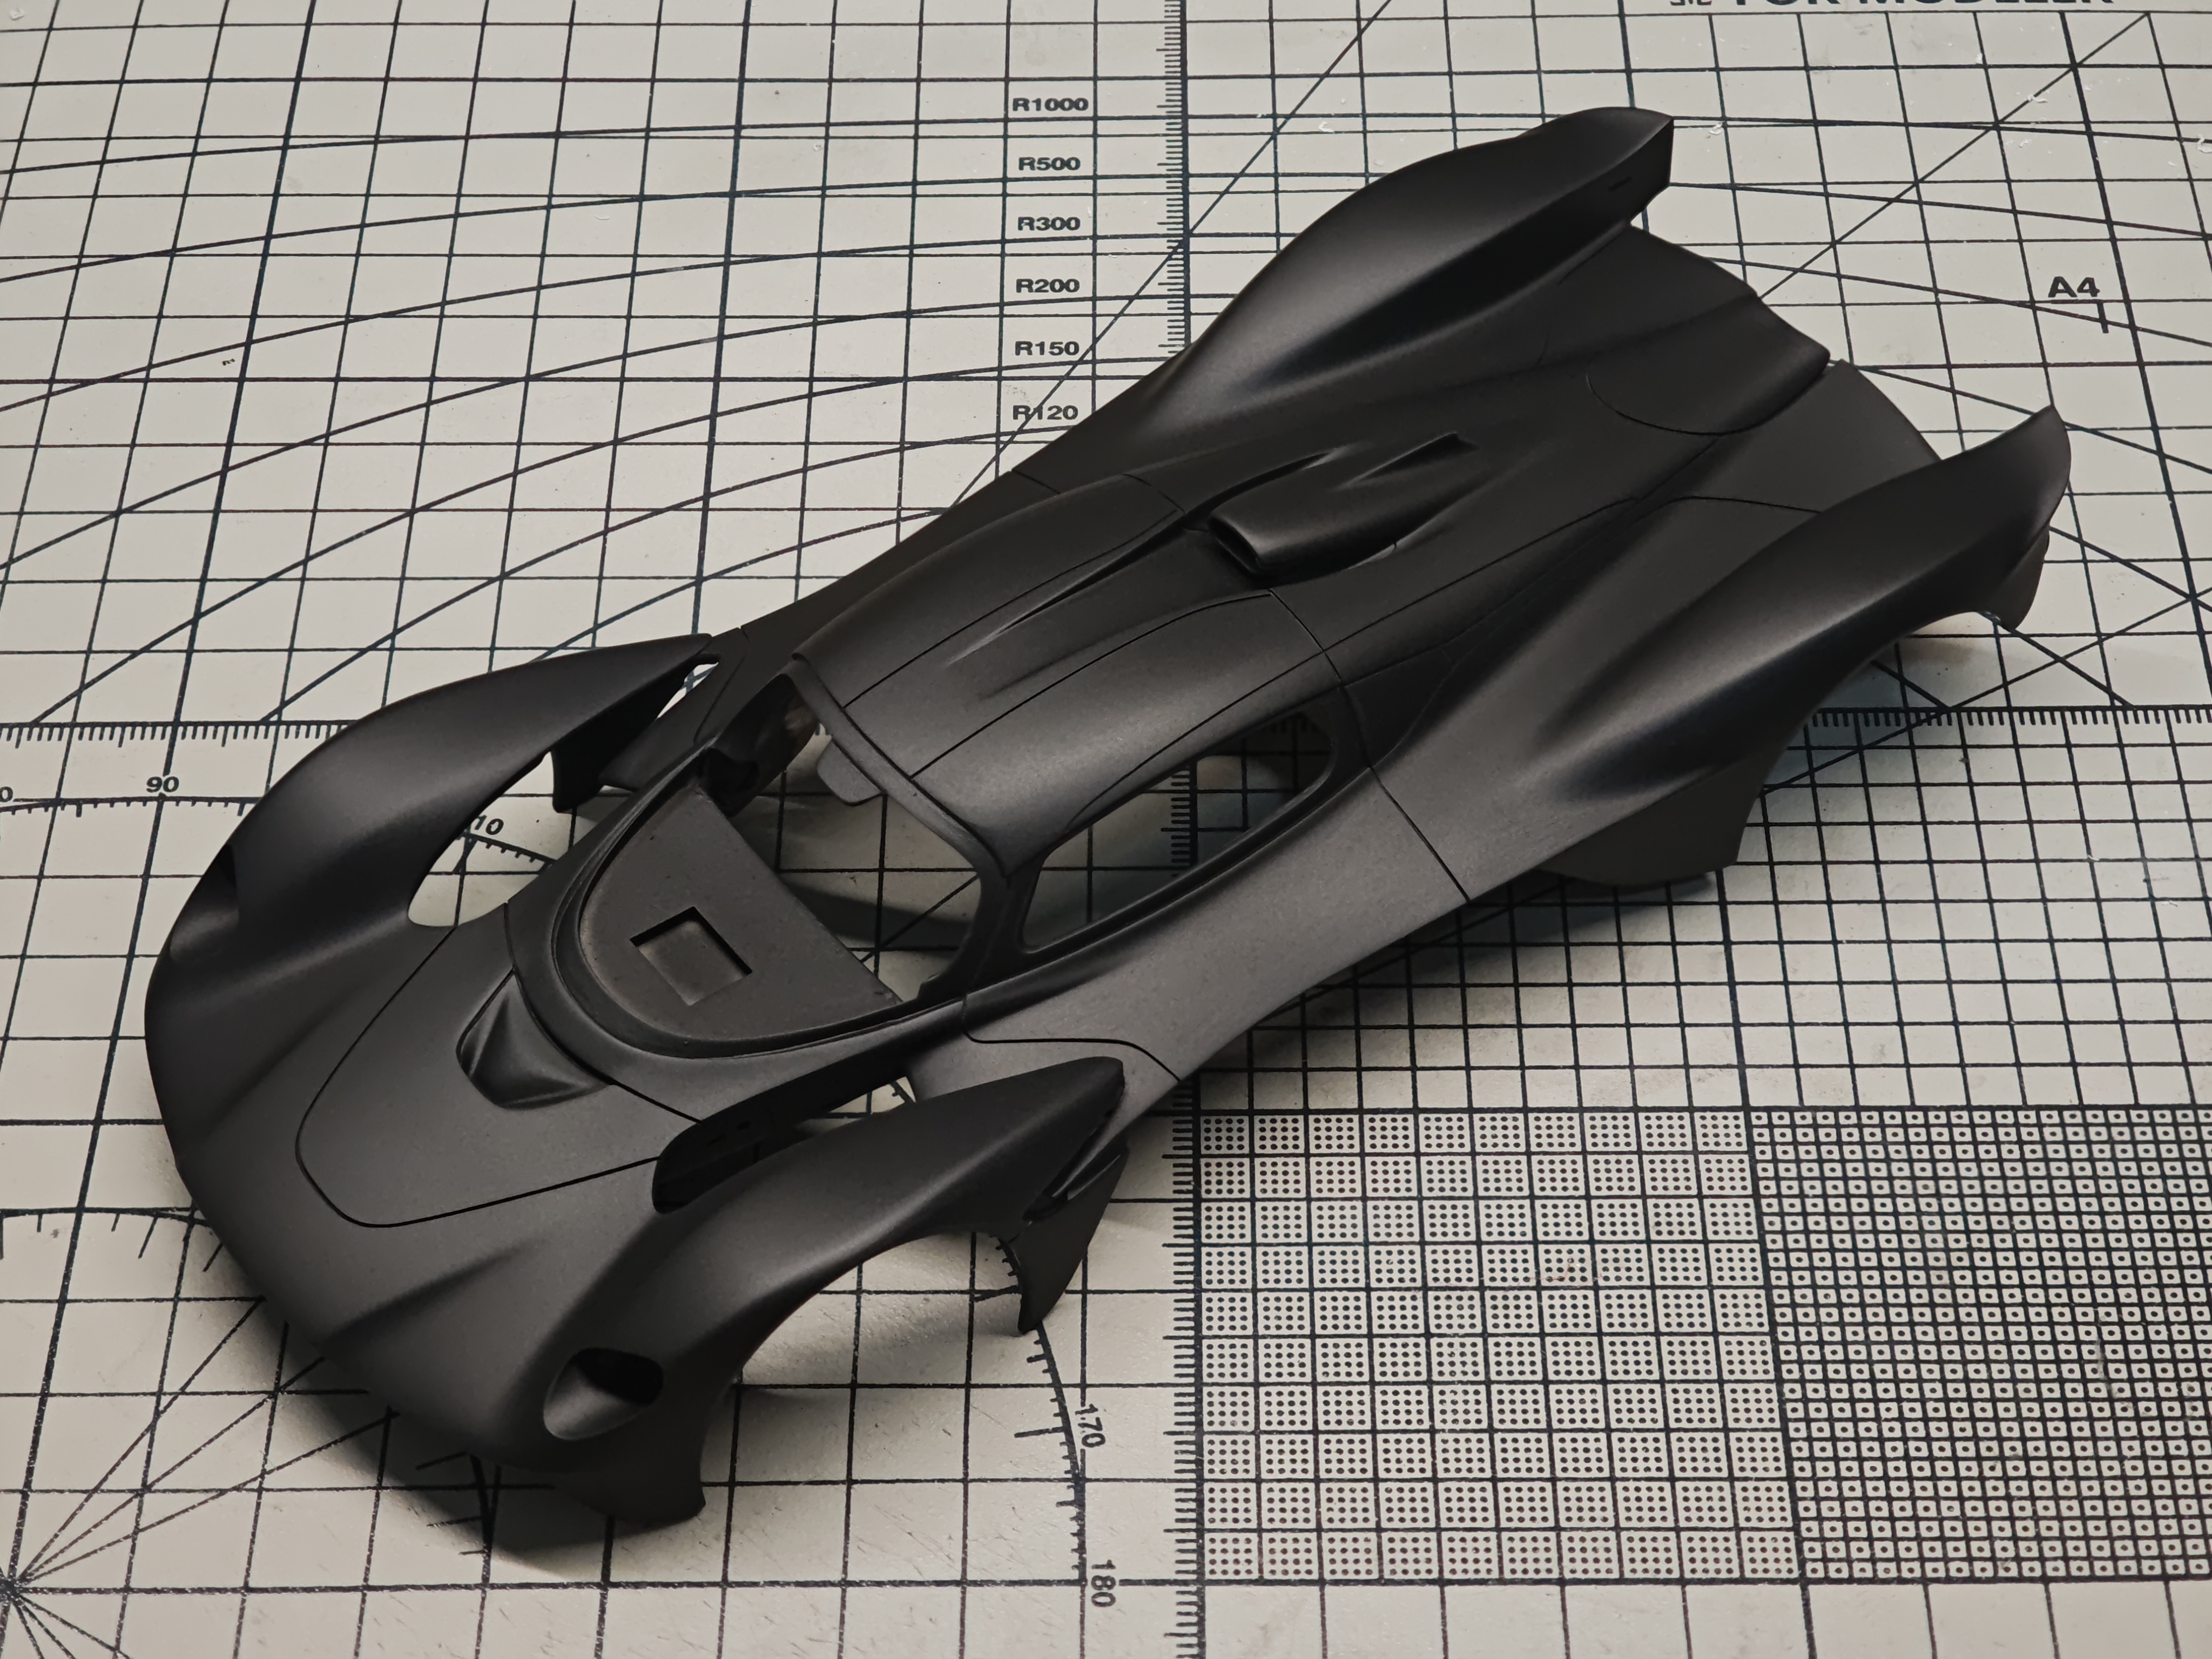
Spray black primer over the entire body shell (including the inside) for a uniform base color. If dust settles, wait until fully dry, sand smooth with 2000-grit sandpaper, and respray. Buff minor dust specks with 3000-grit sanding sponge.
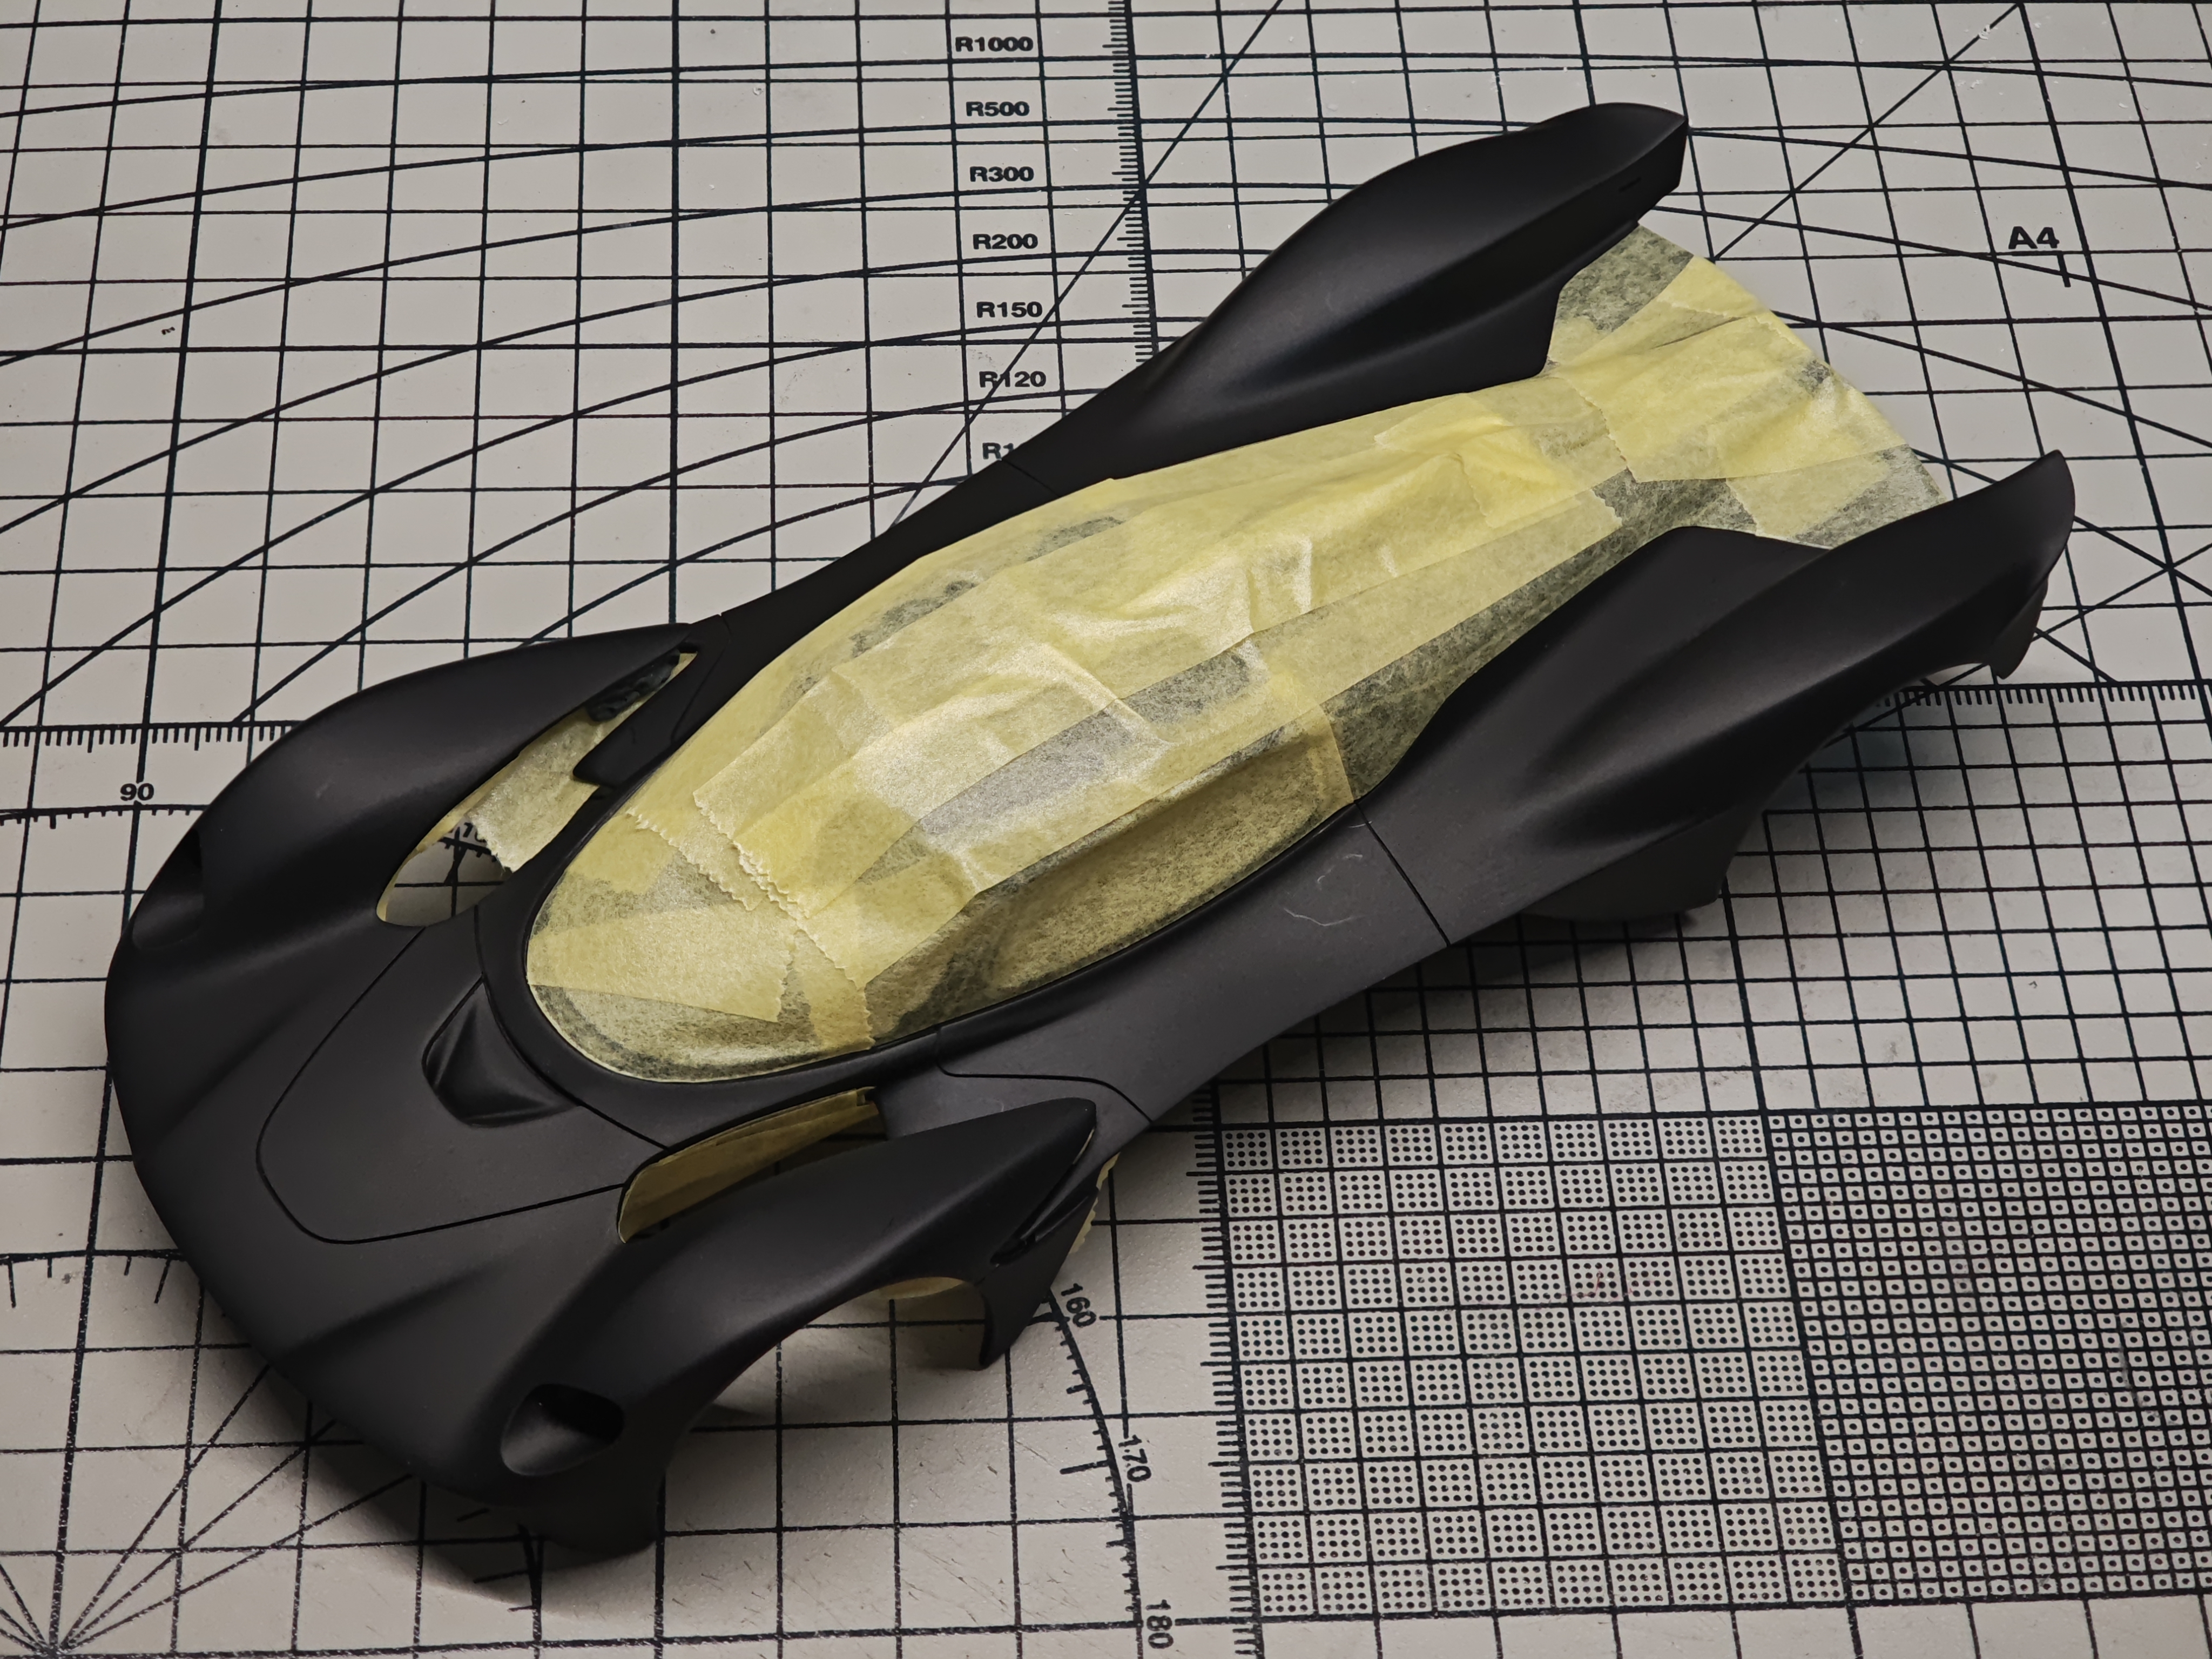
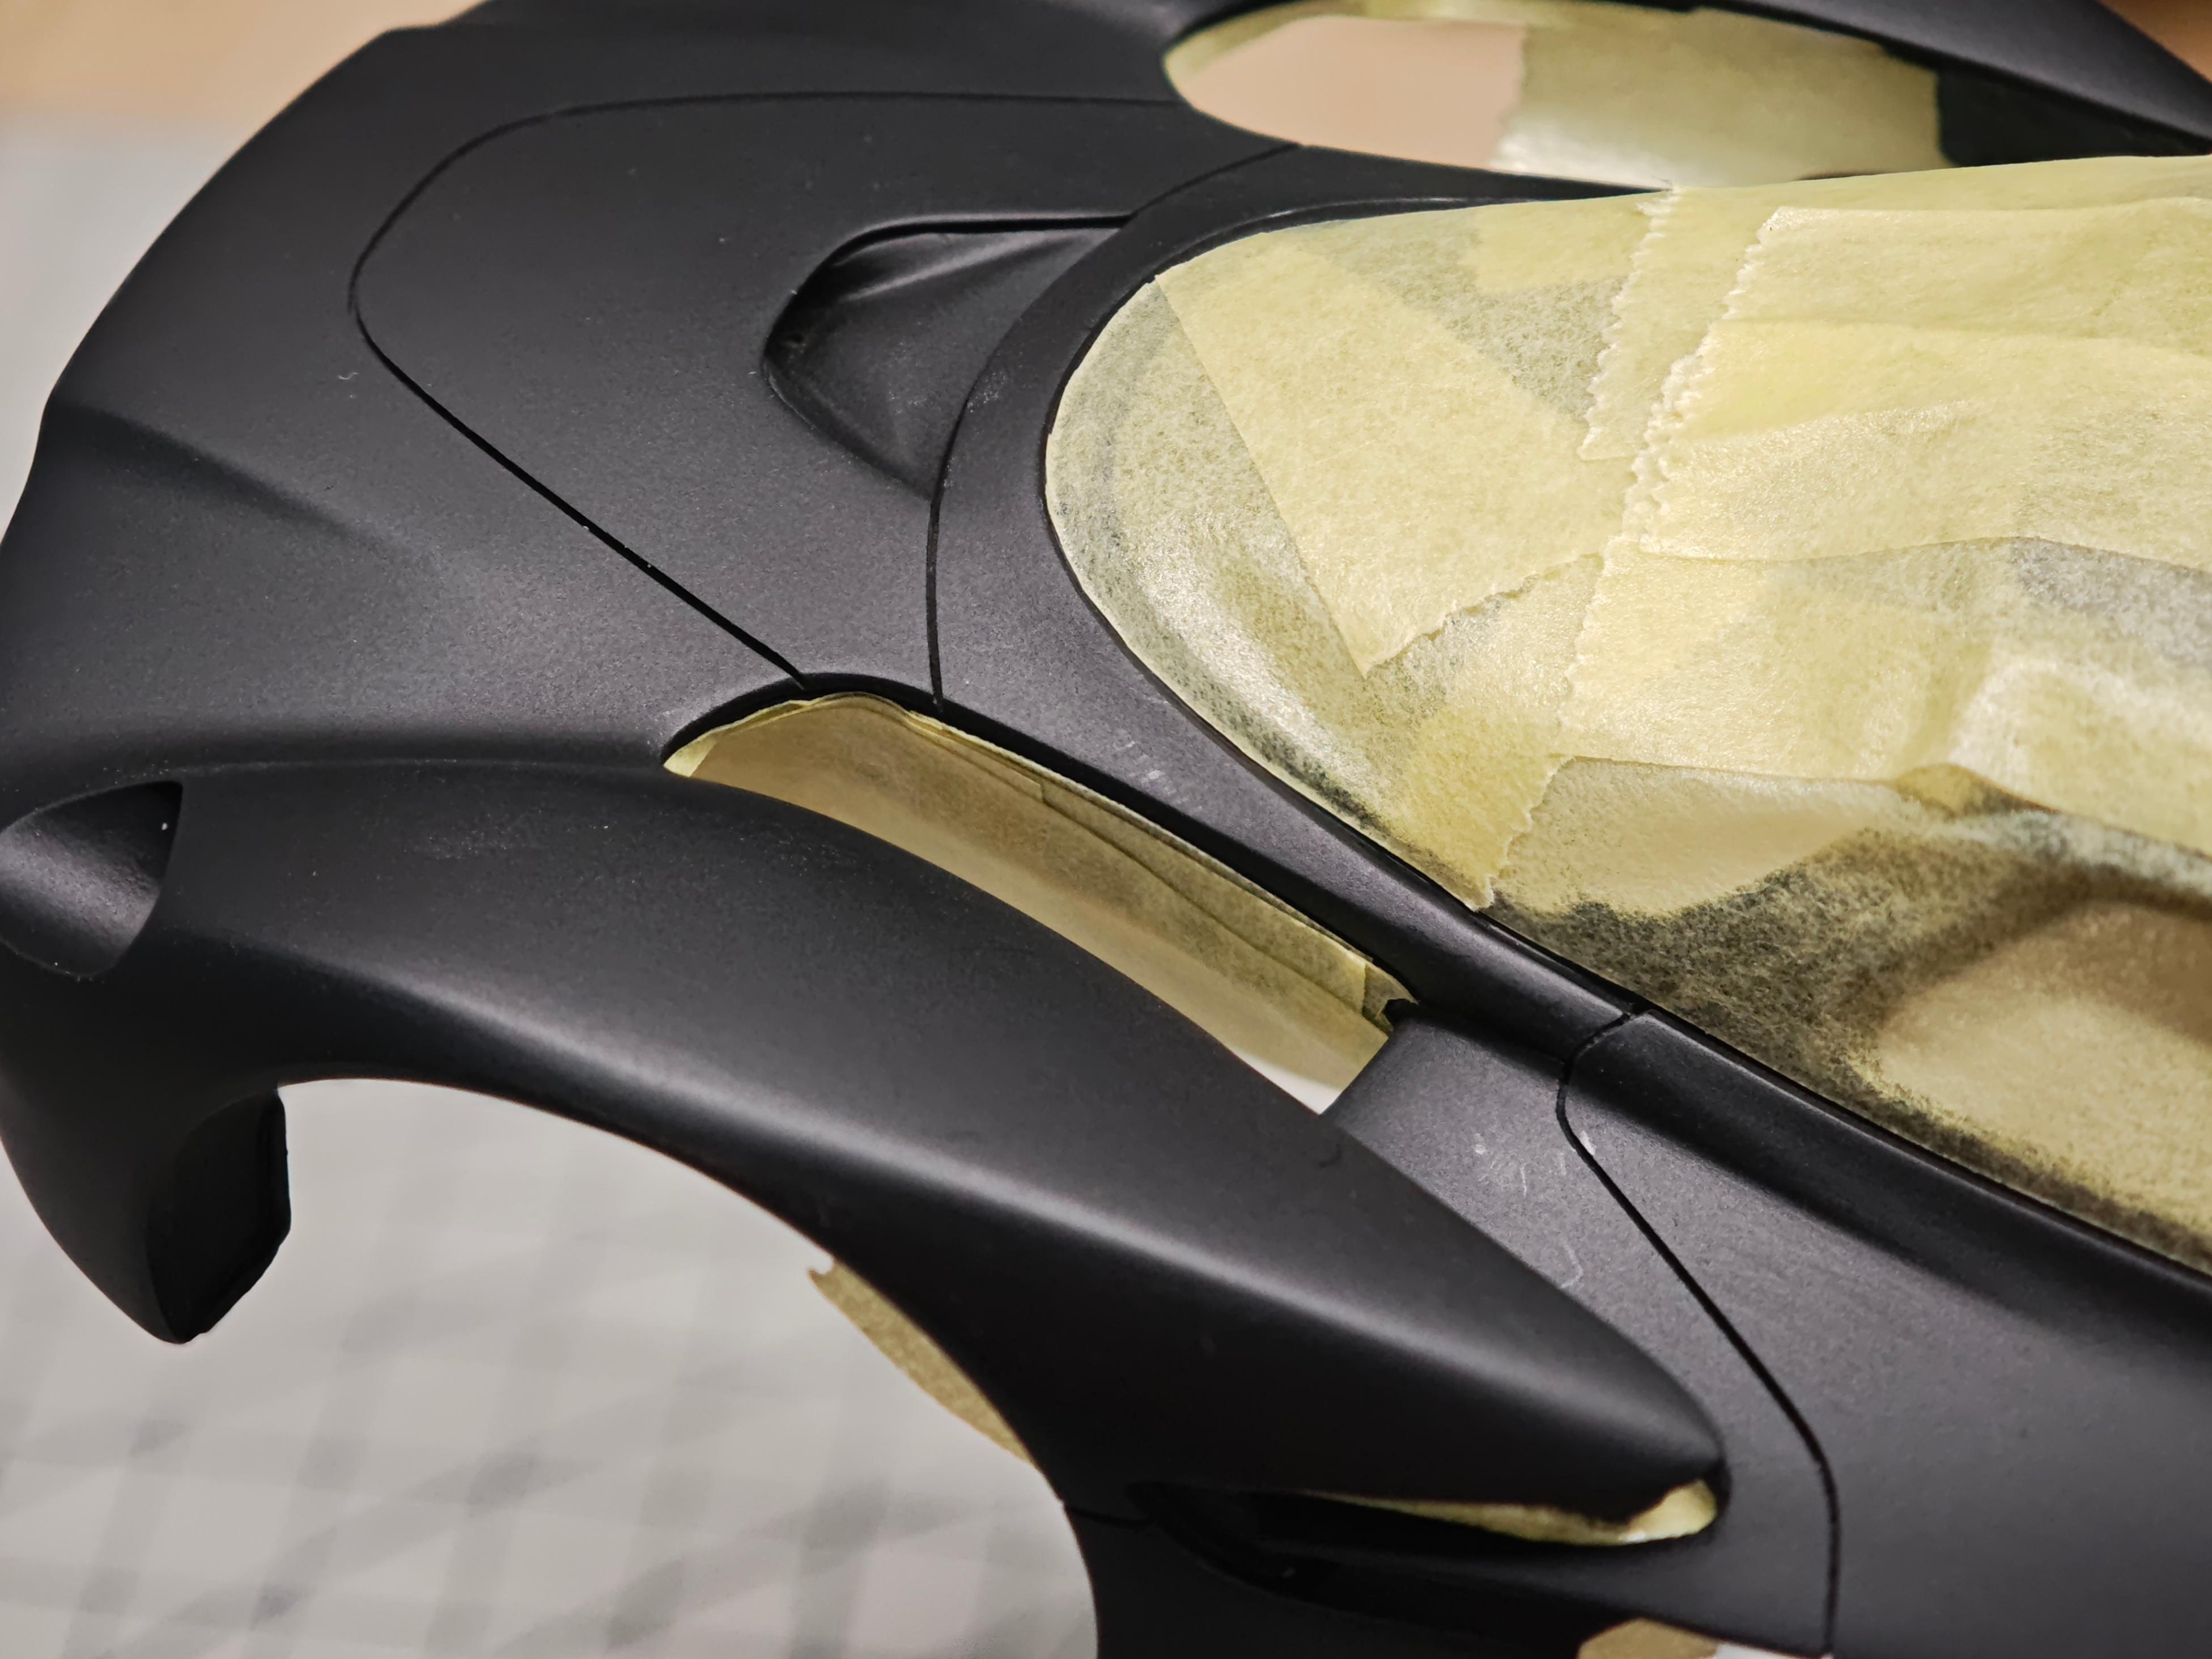
Step 5: Masking Before the Main Color
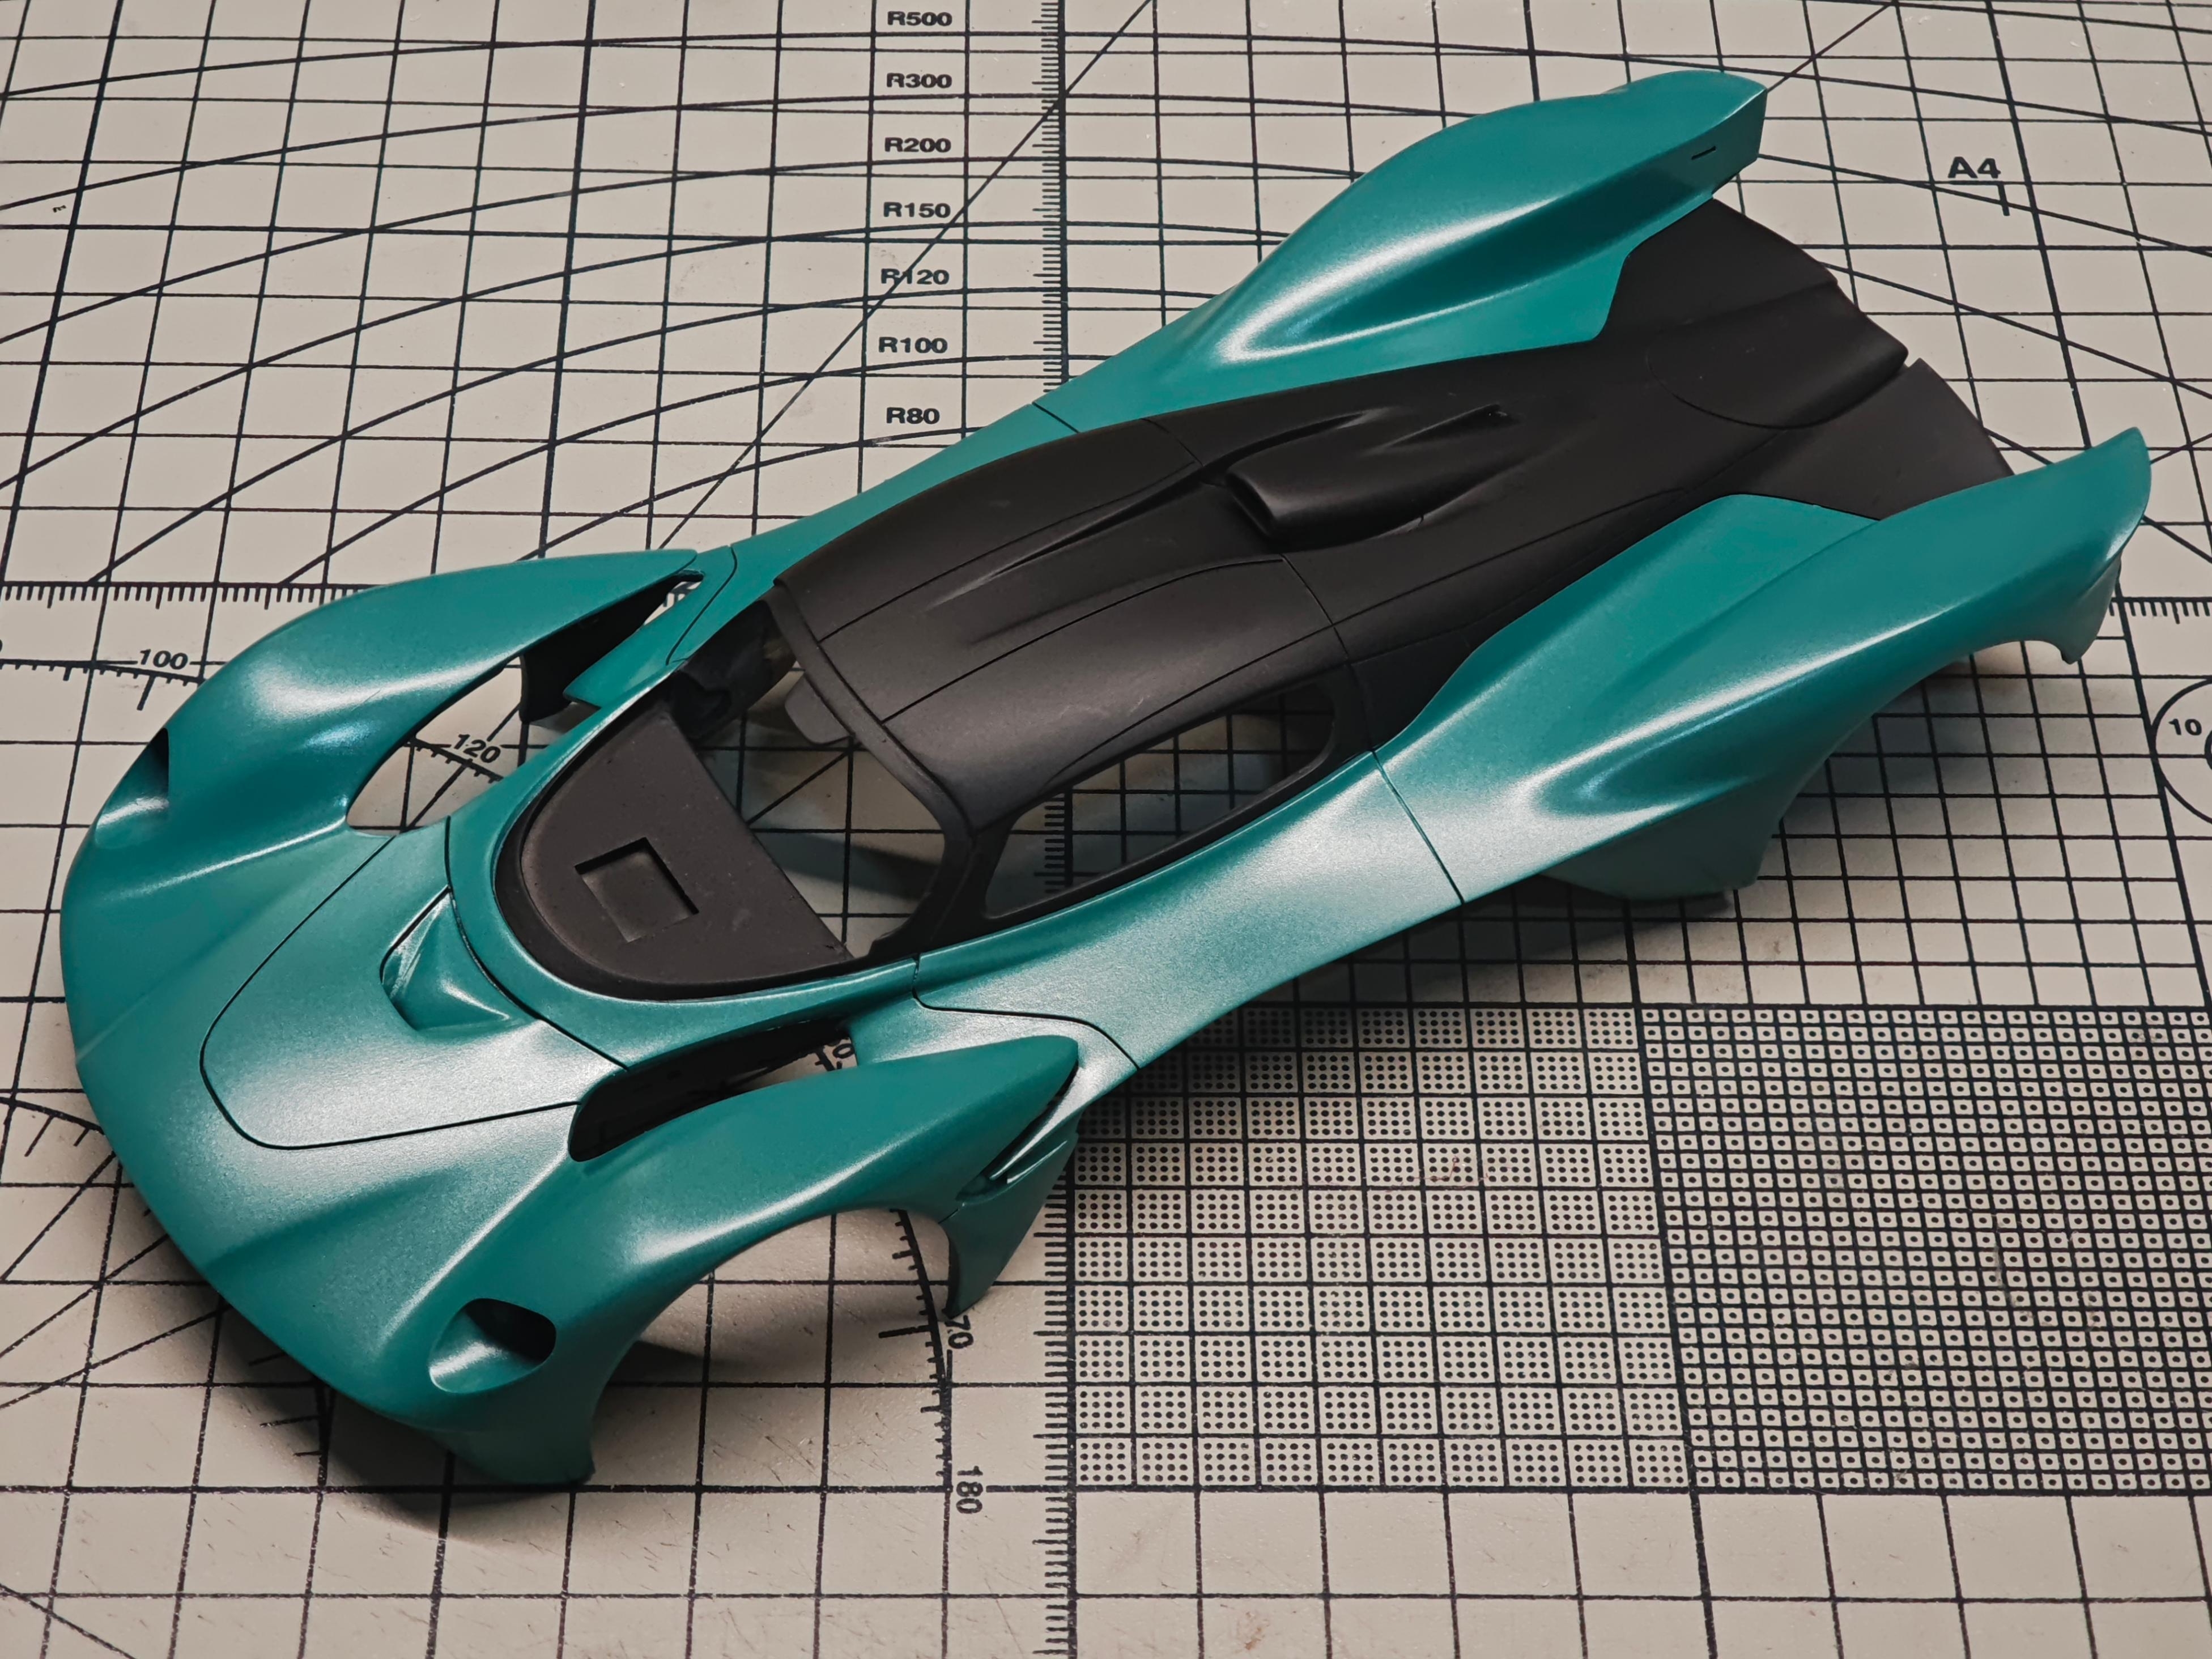
Mask off the areas requiring black paint or carbon fiber decals, then spray the main body color. The chassis also requires carbon fiber decals later, so mask it off in advance. Masking the black zones first means the green coats can go on as one continuous, unbroken film.
Step 6: Custom Color Mixing
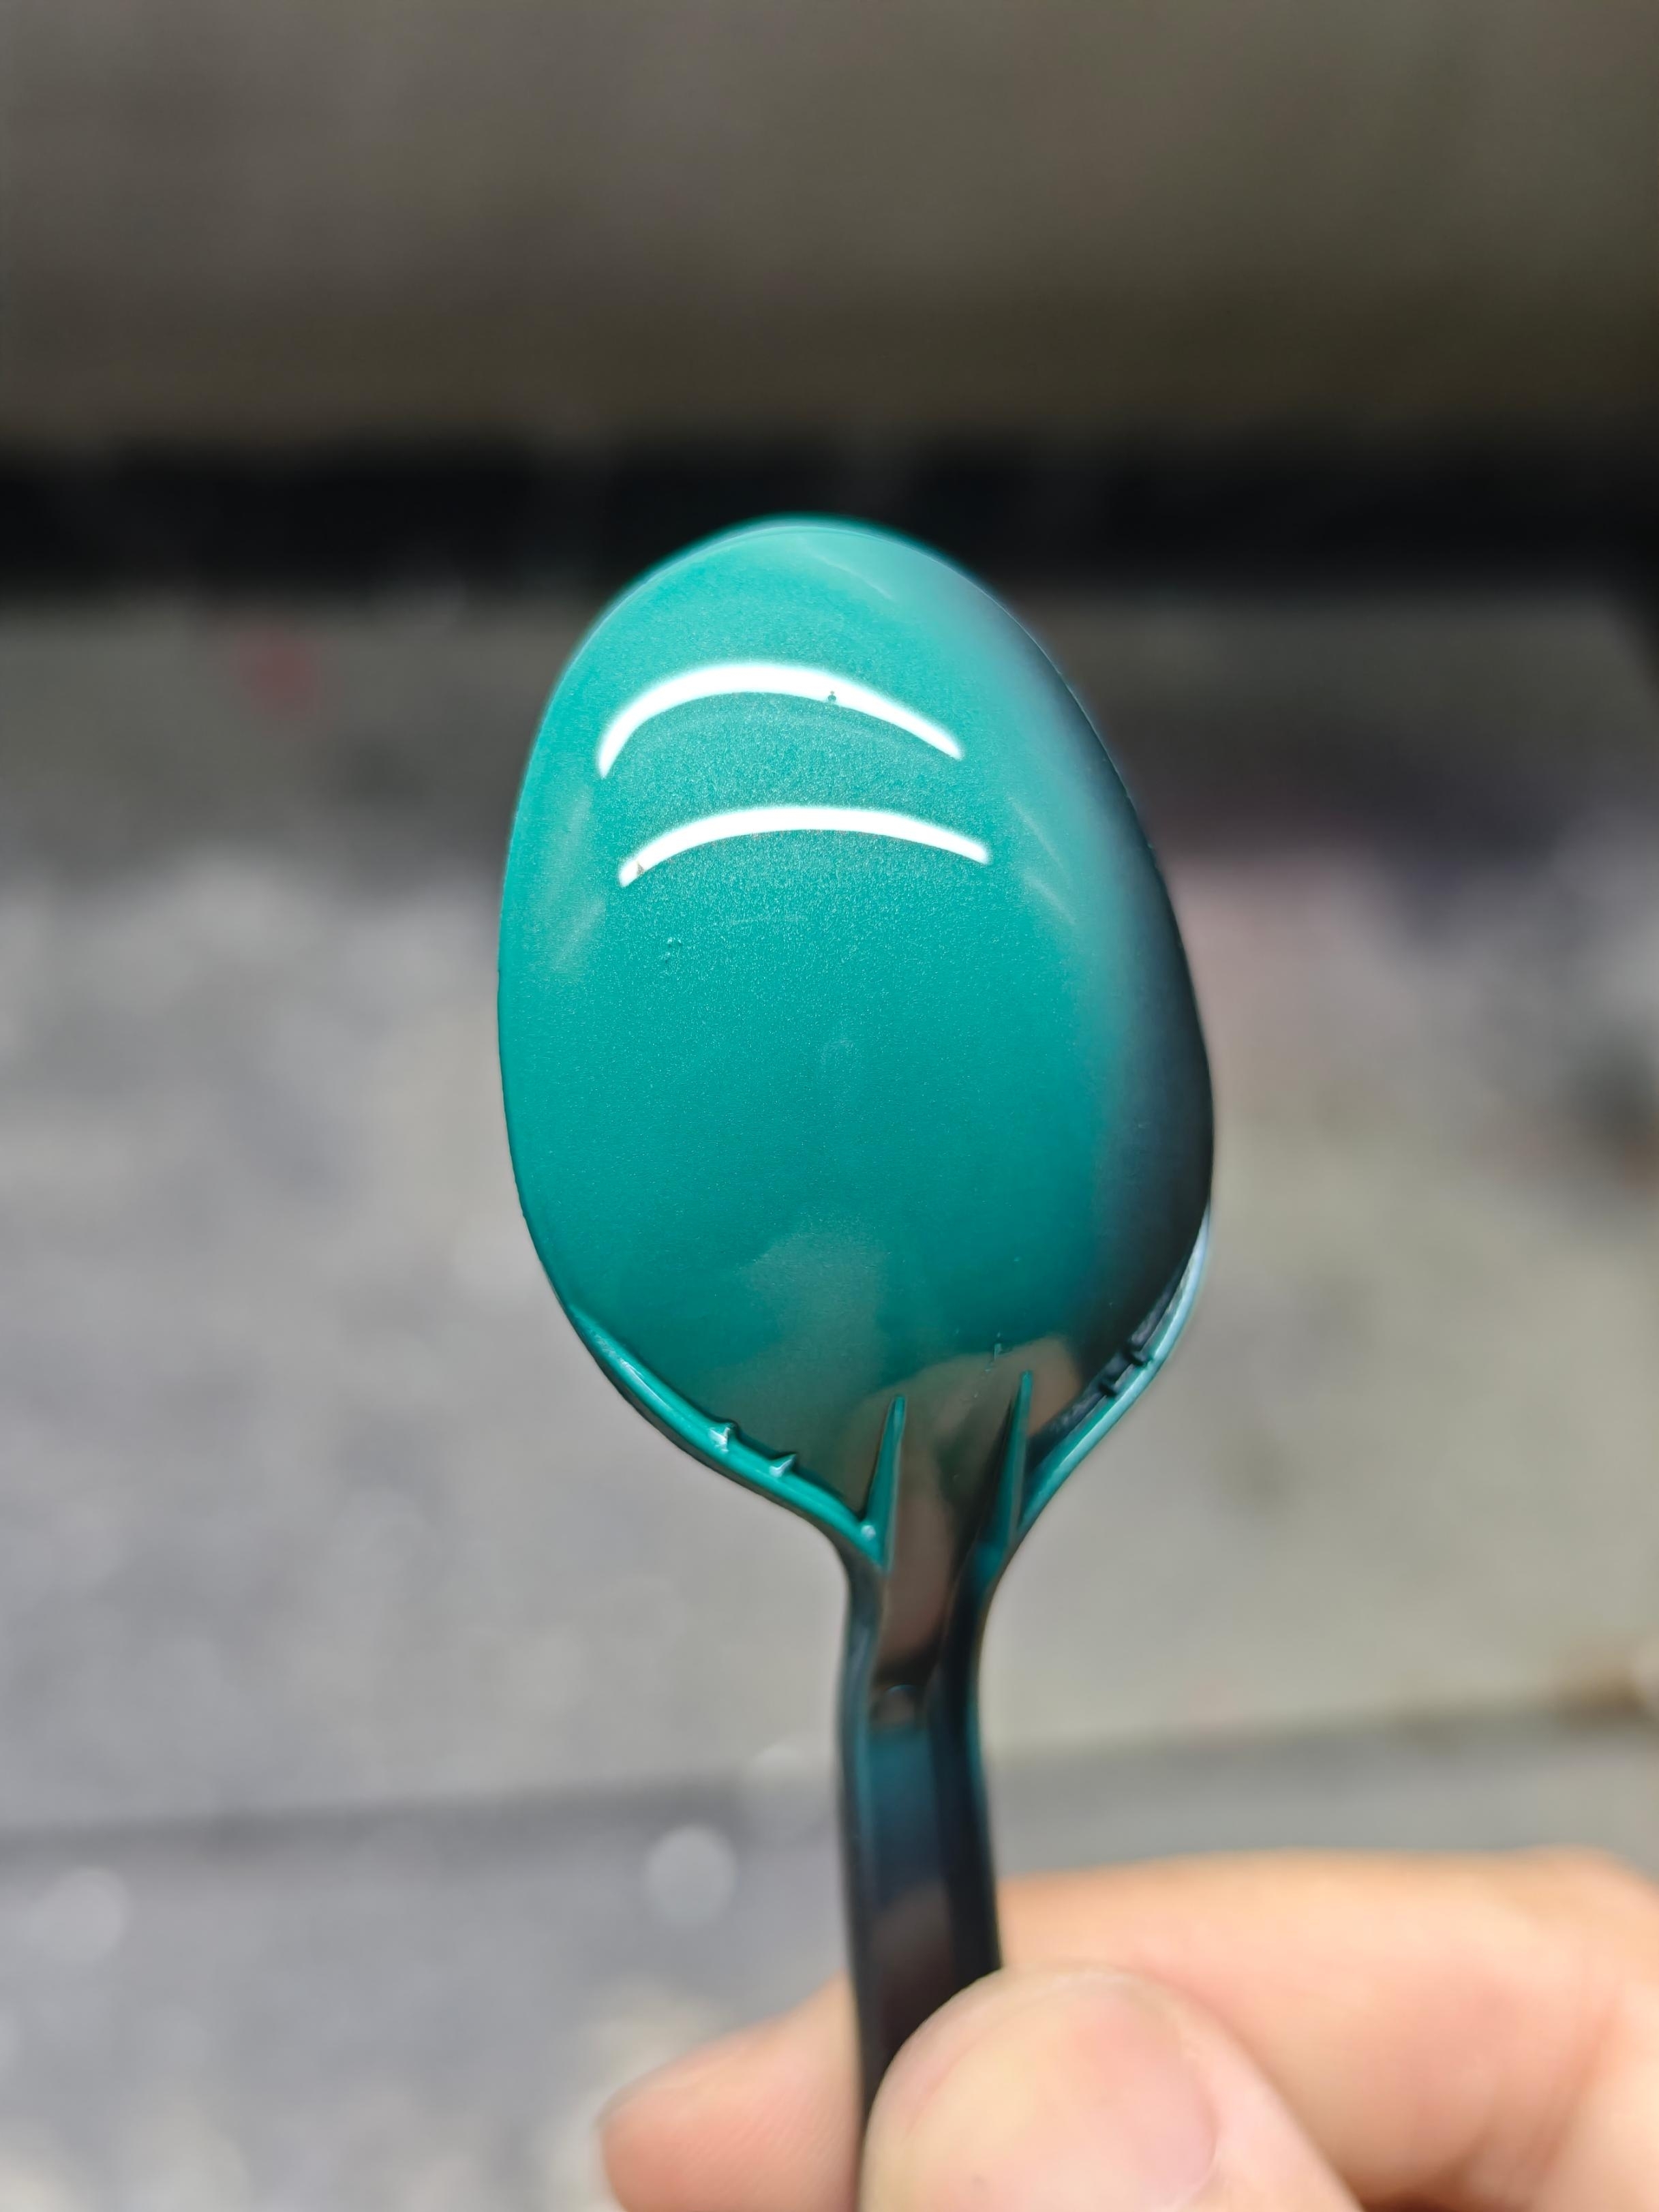
For a custom body color, start with Gloss Green (Mr. Color C6) and add small touches of yellow and blue until the right shade is achieved. Mix in a little silver to simulate the real car's pearlescent effect. Test spray on a black plastic spoon to match the black primer base.
Step 7: Apply Color
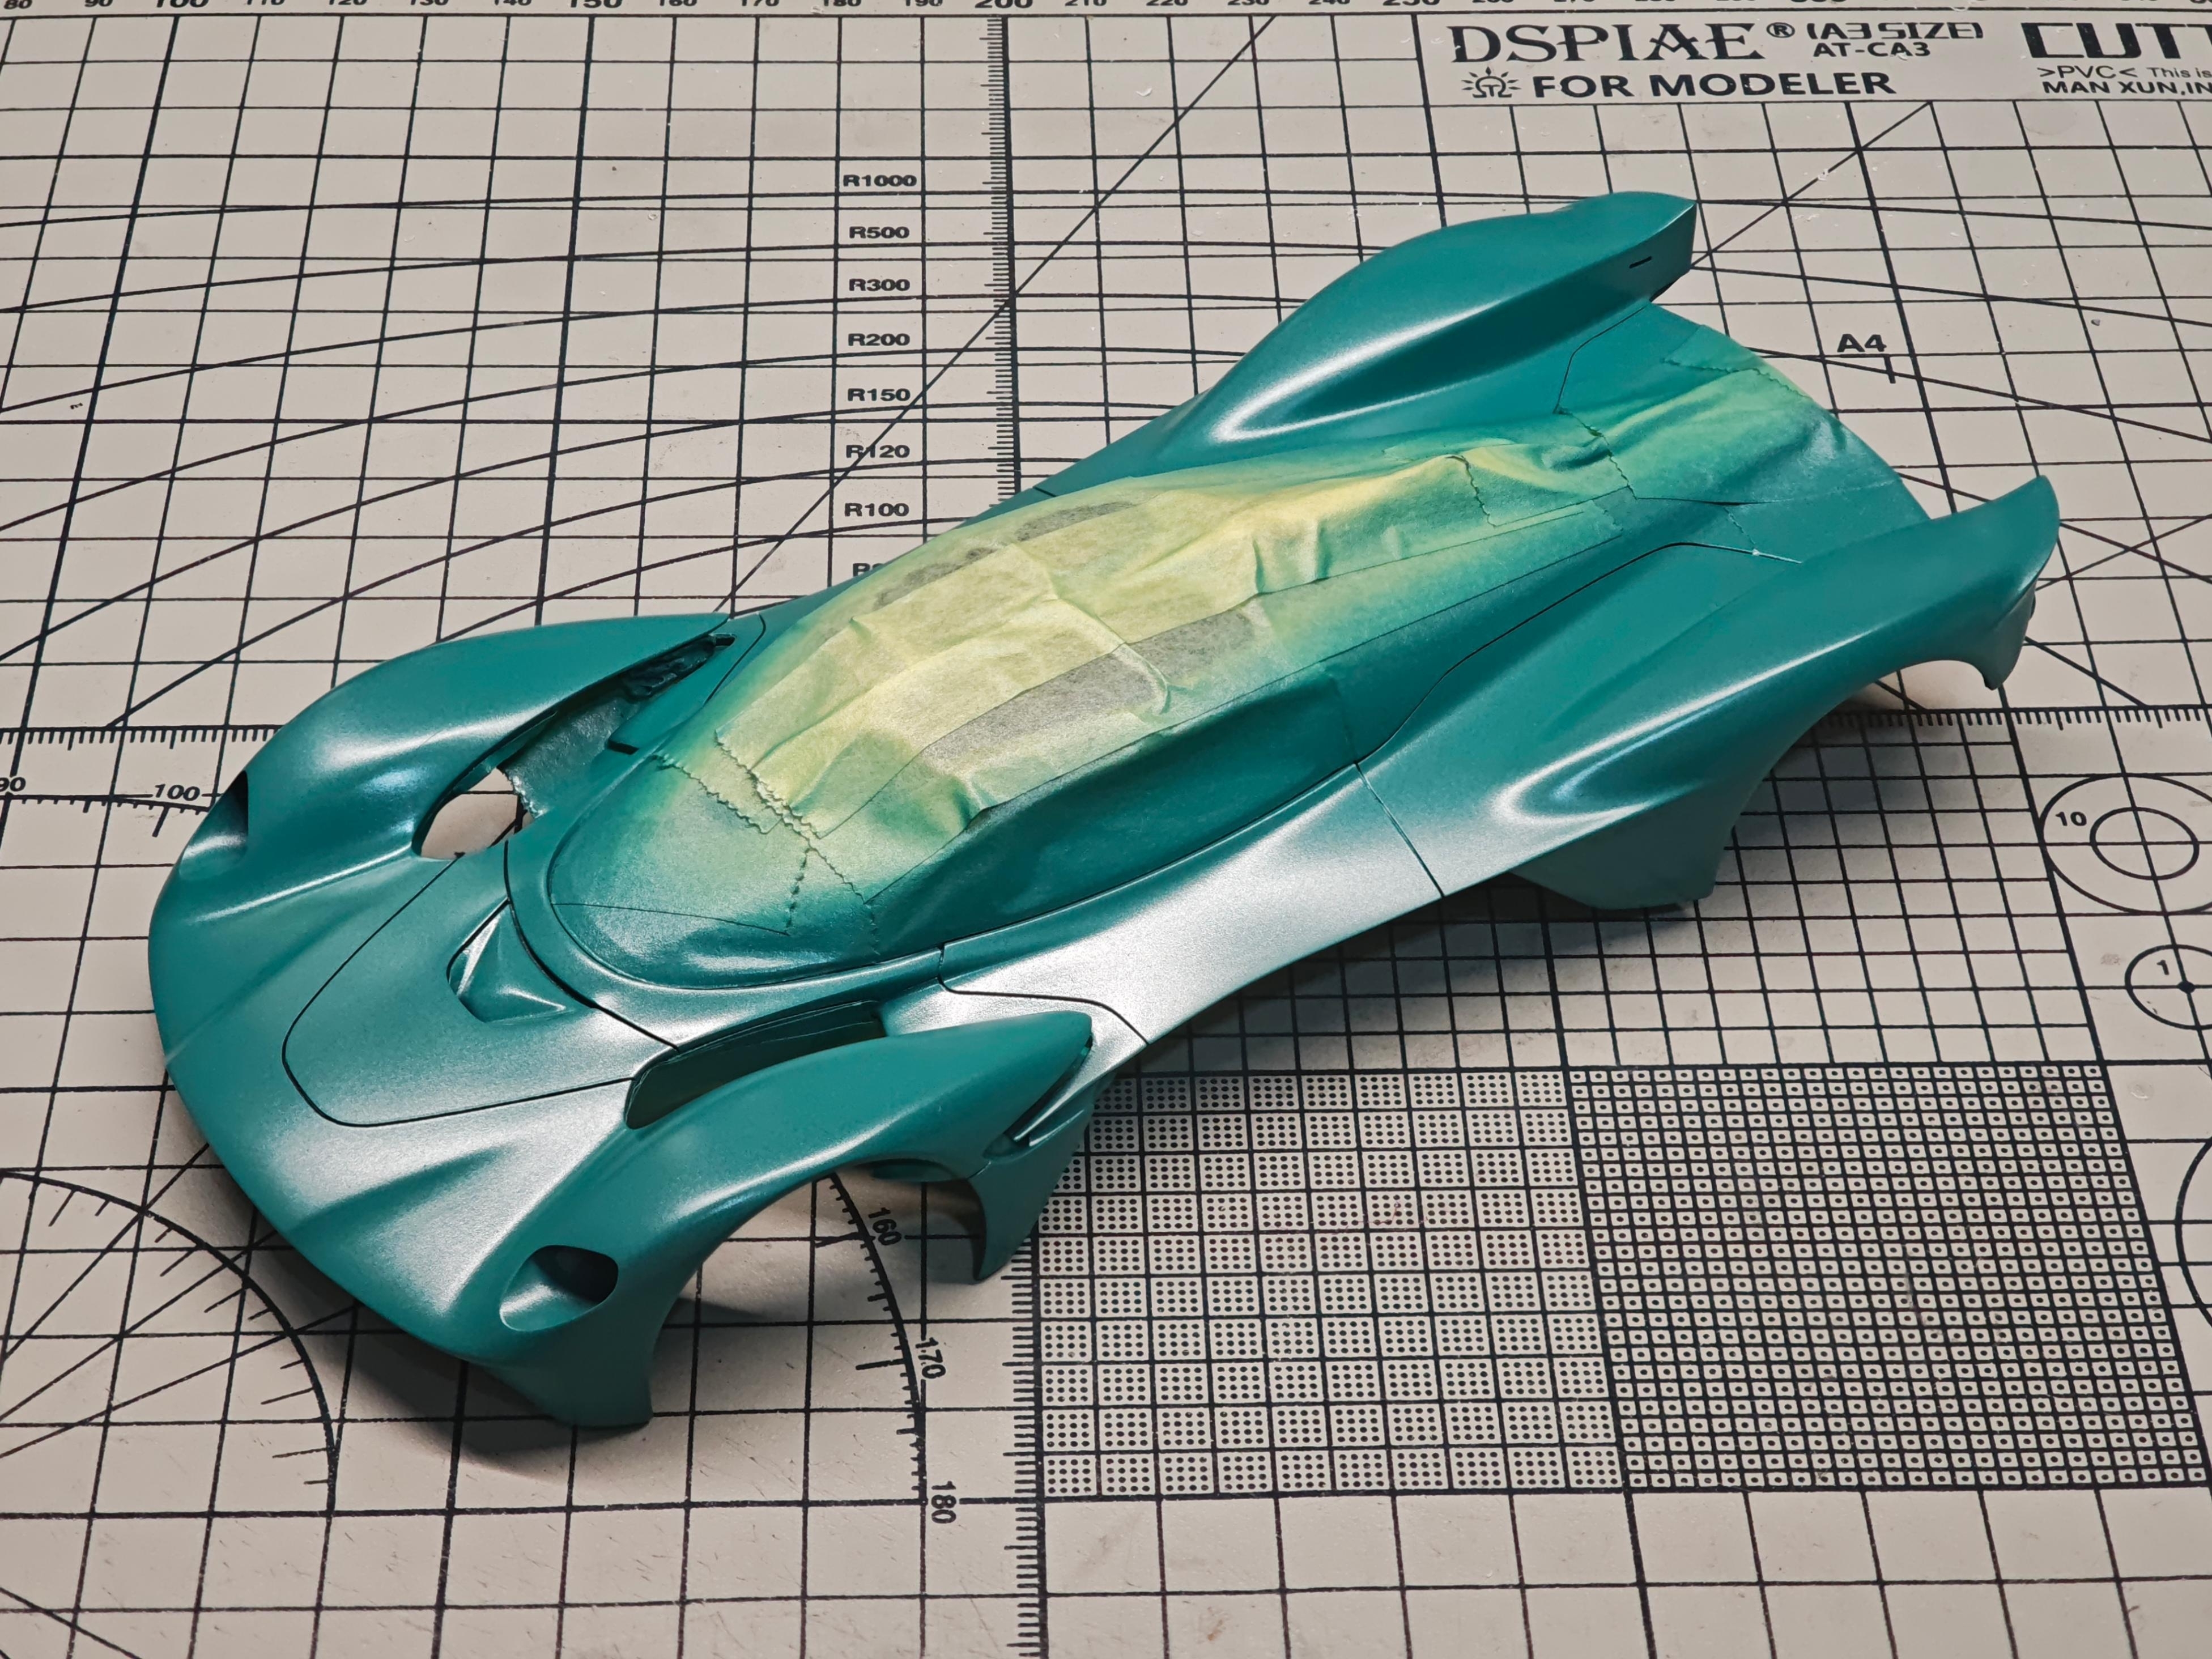
Use multiple thin coats until the base primer is completely covered. Ensure even application across the entire body. Do not rush, avoid paint buildup. Frequently check all angles for color variations.
Paint Color Reference
| Code | Color | Code | Color |
|---|---|---|---|
| Ⓐ C-1 | Gloss Black | Ⓕ C-92 | Semi-Gloss Black |
| Ⓑ C-2 | Gloss White | Ⓖ C-13 | Semi-Gloss Medium Grey |
| Ⓒ C-33 | Flat Black | Ⓗ — | Body Color |
| Ⓓ C-47 | Clear Red | Ⓙ C-181 | Semi-Gloss Clear |
| Ⓔ C-49 | Clear Orange | Ⓚ — | Gloss Silver |
| Ⓜ C-28 | Gun Metal |
ℹ️ The symbol Ⓚ denotes a general "Silver" — this includes Chrome Silver, Fine Silver, or C-8. Builders may choose their preferred type of silver for each specific part.
Body Carbon Decals, 2K Clear & Polishing
Step 8: Apply the Carbon Decals
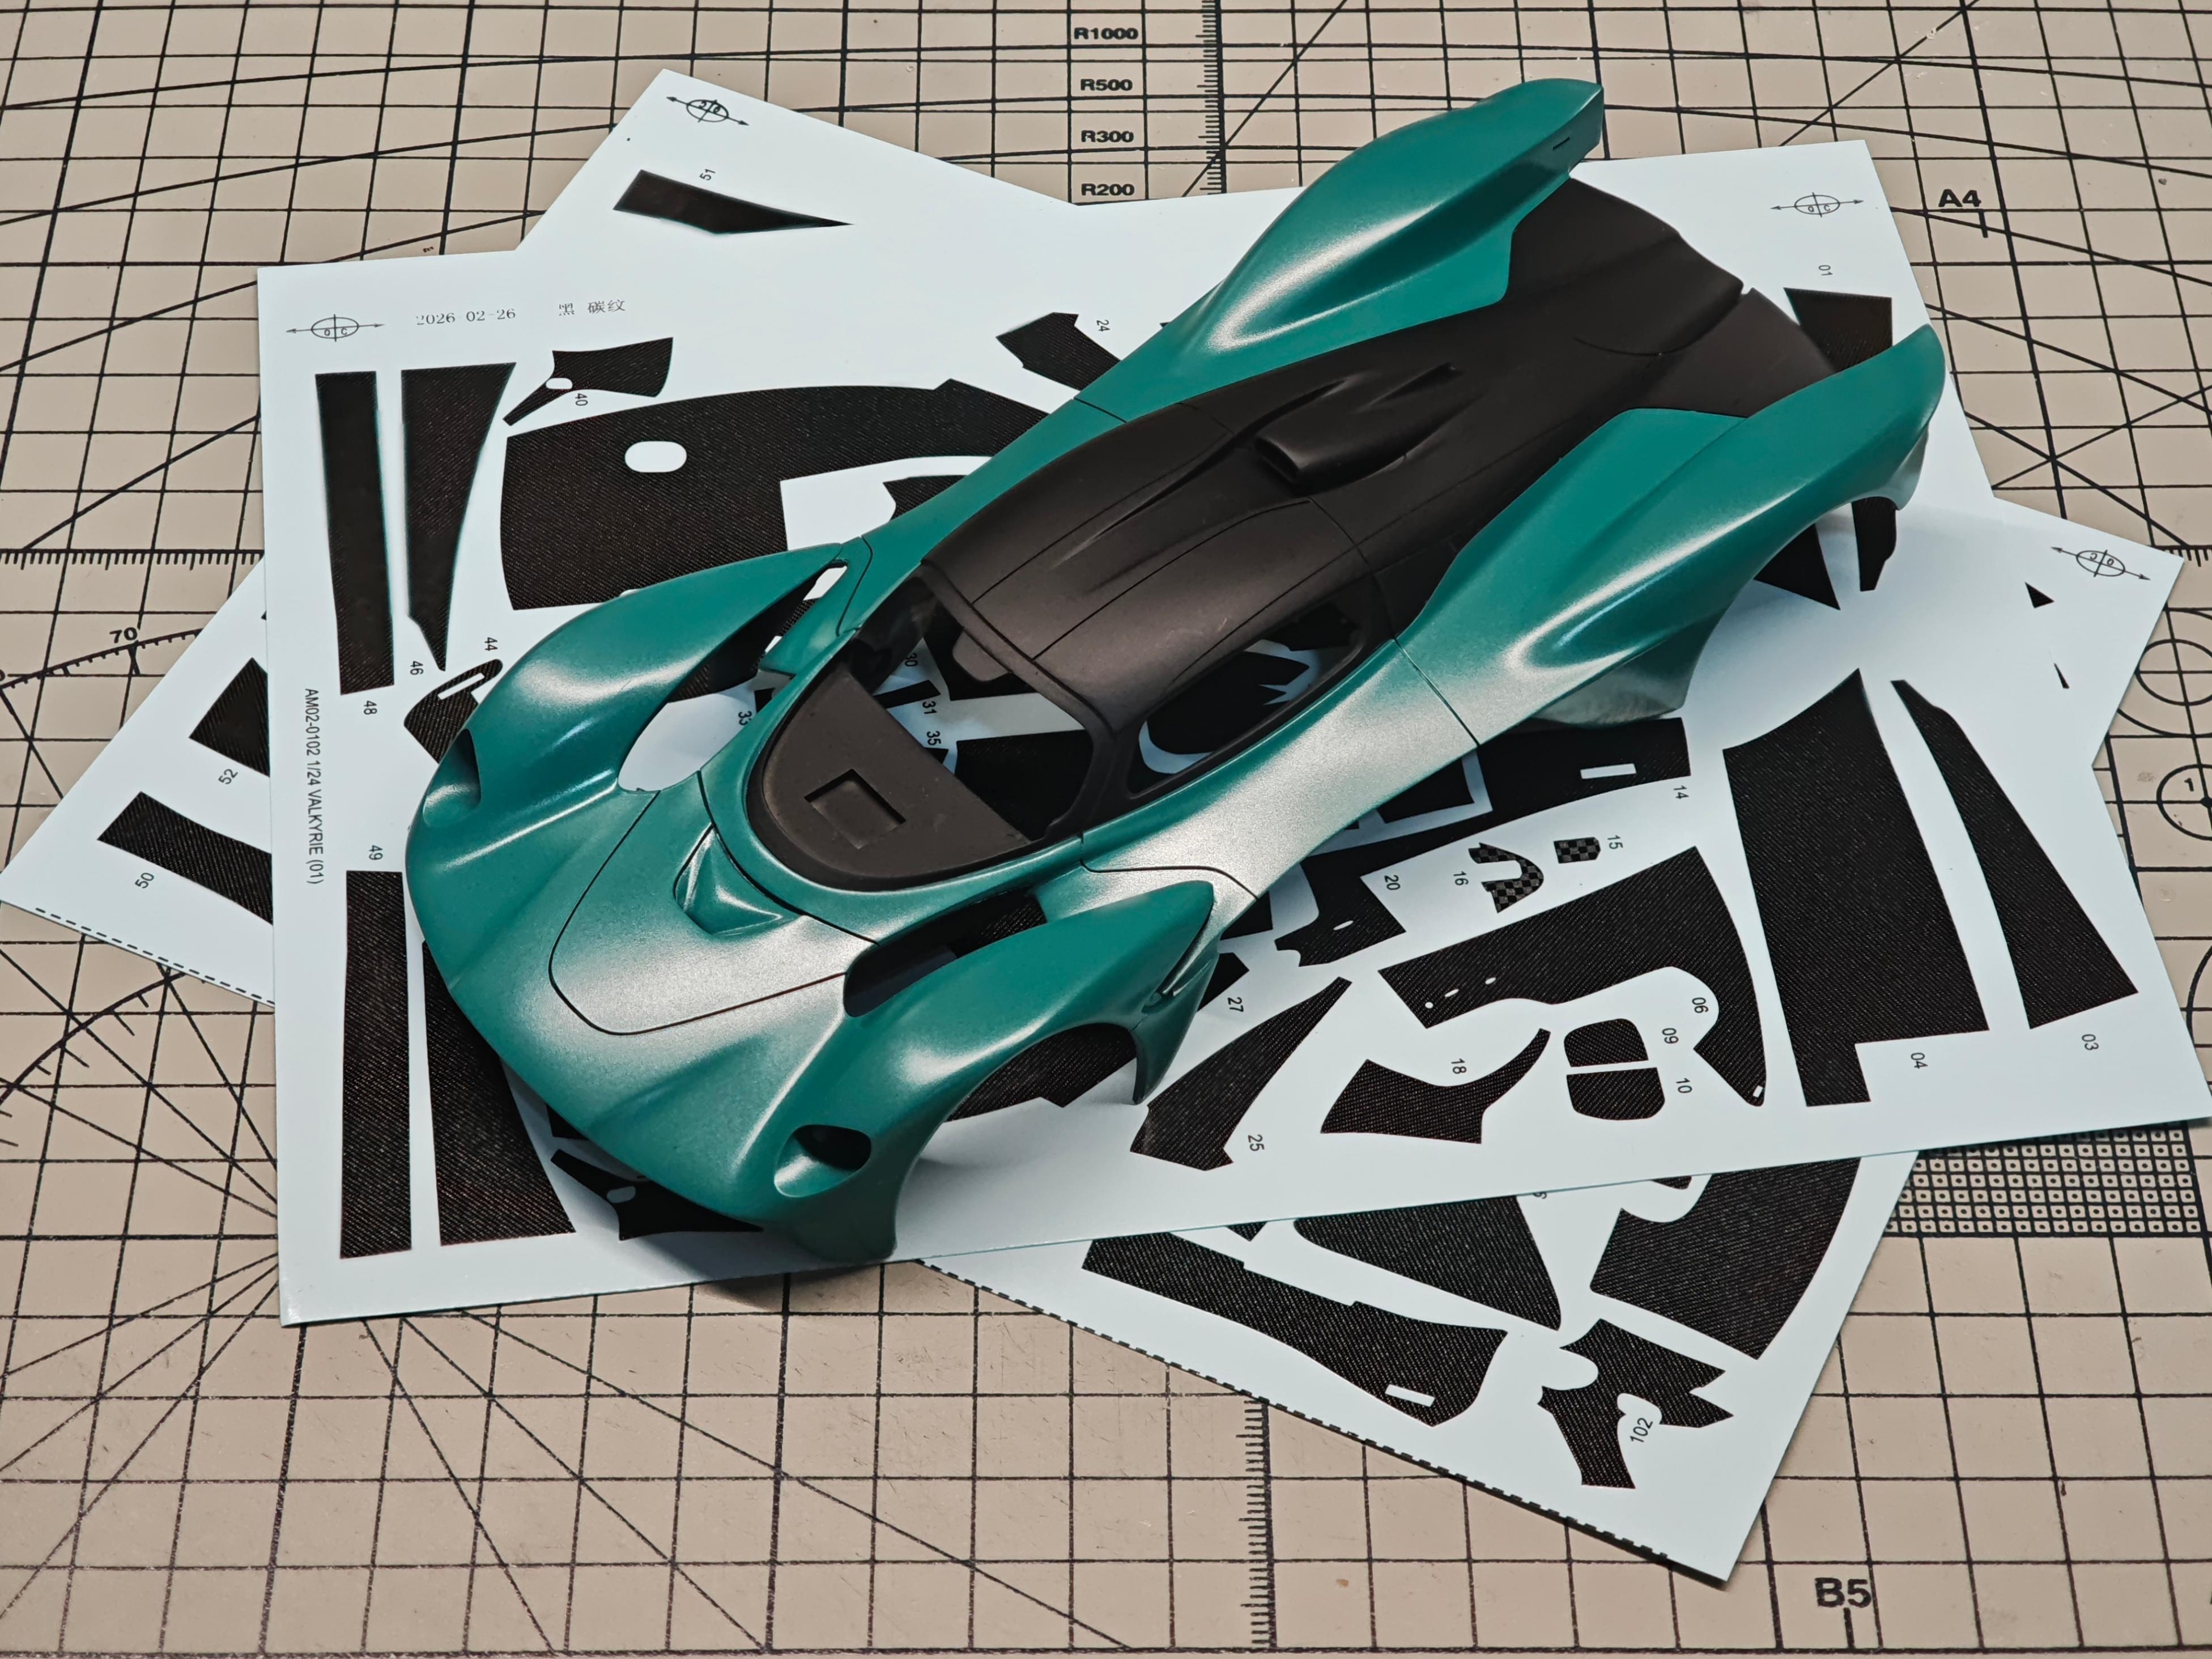
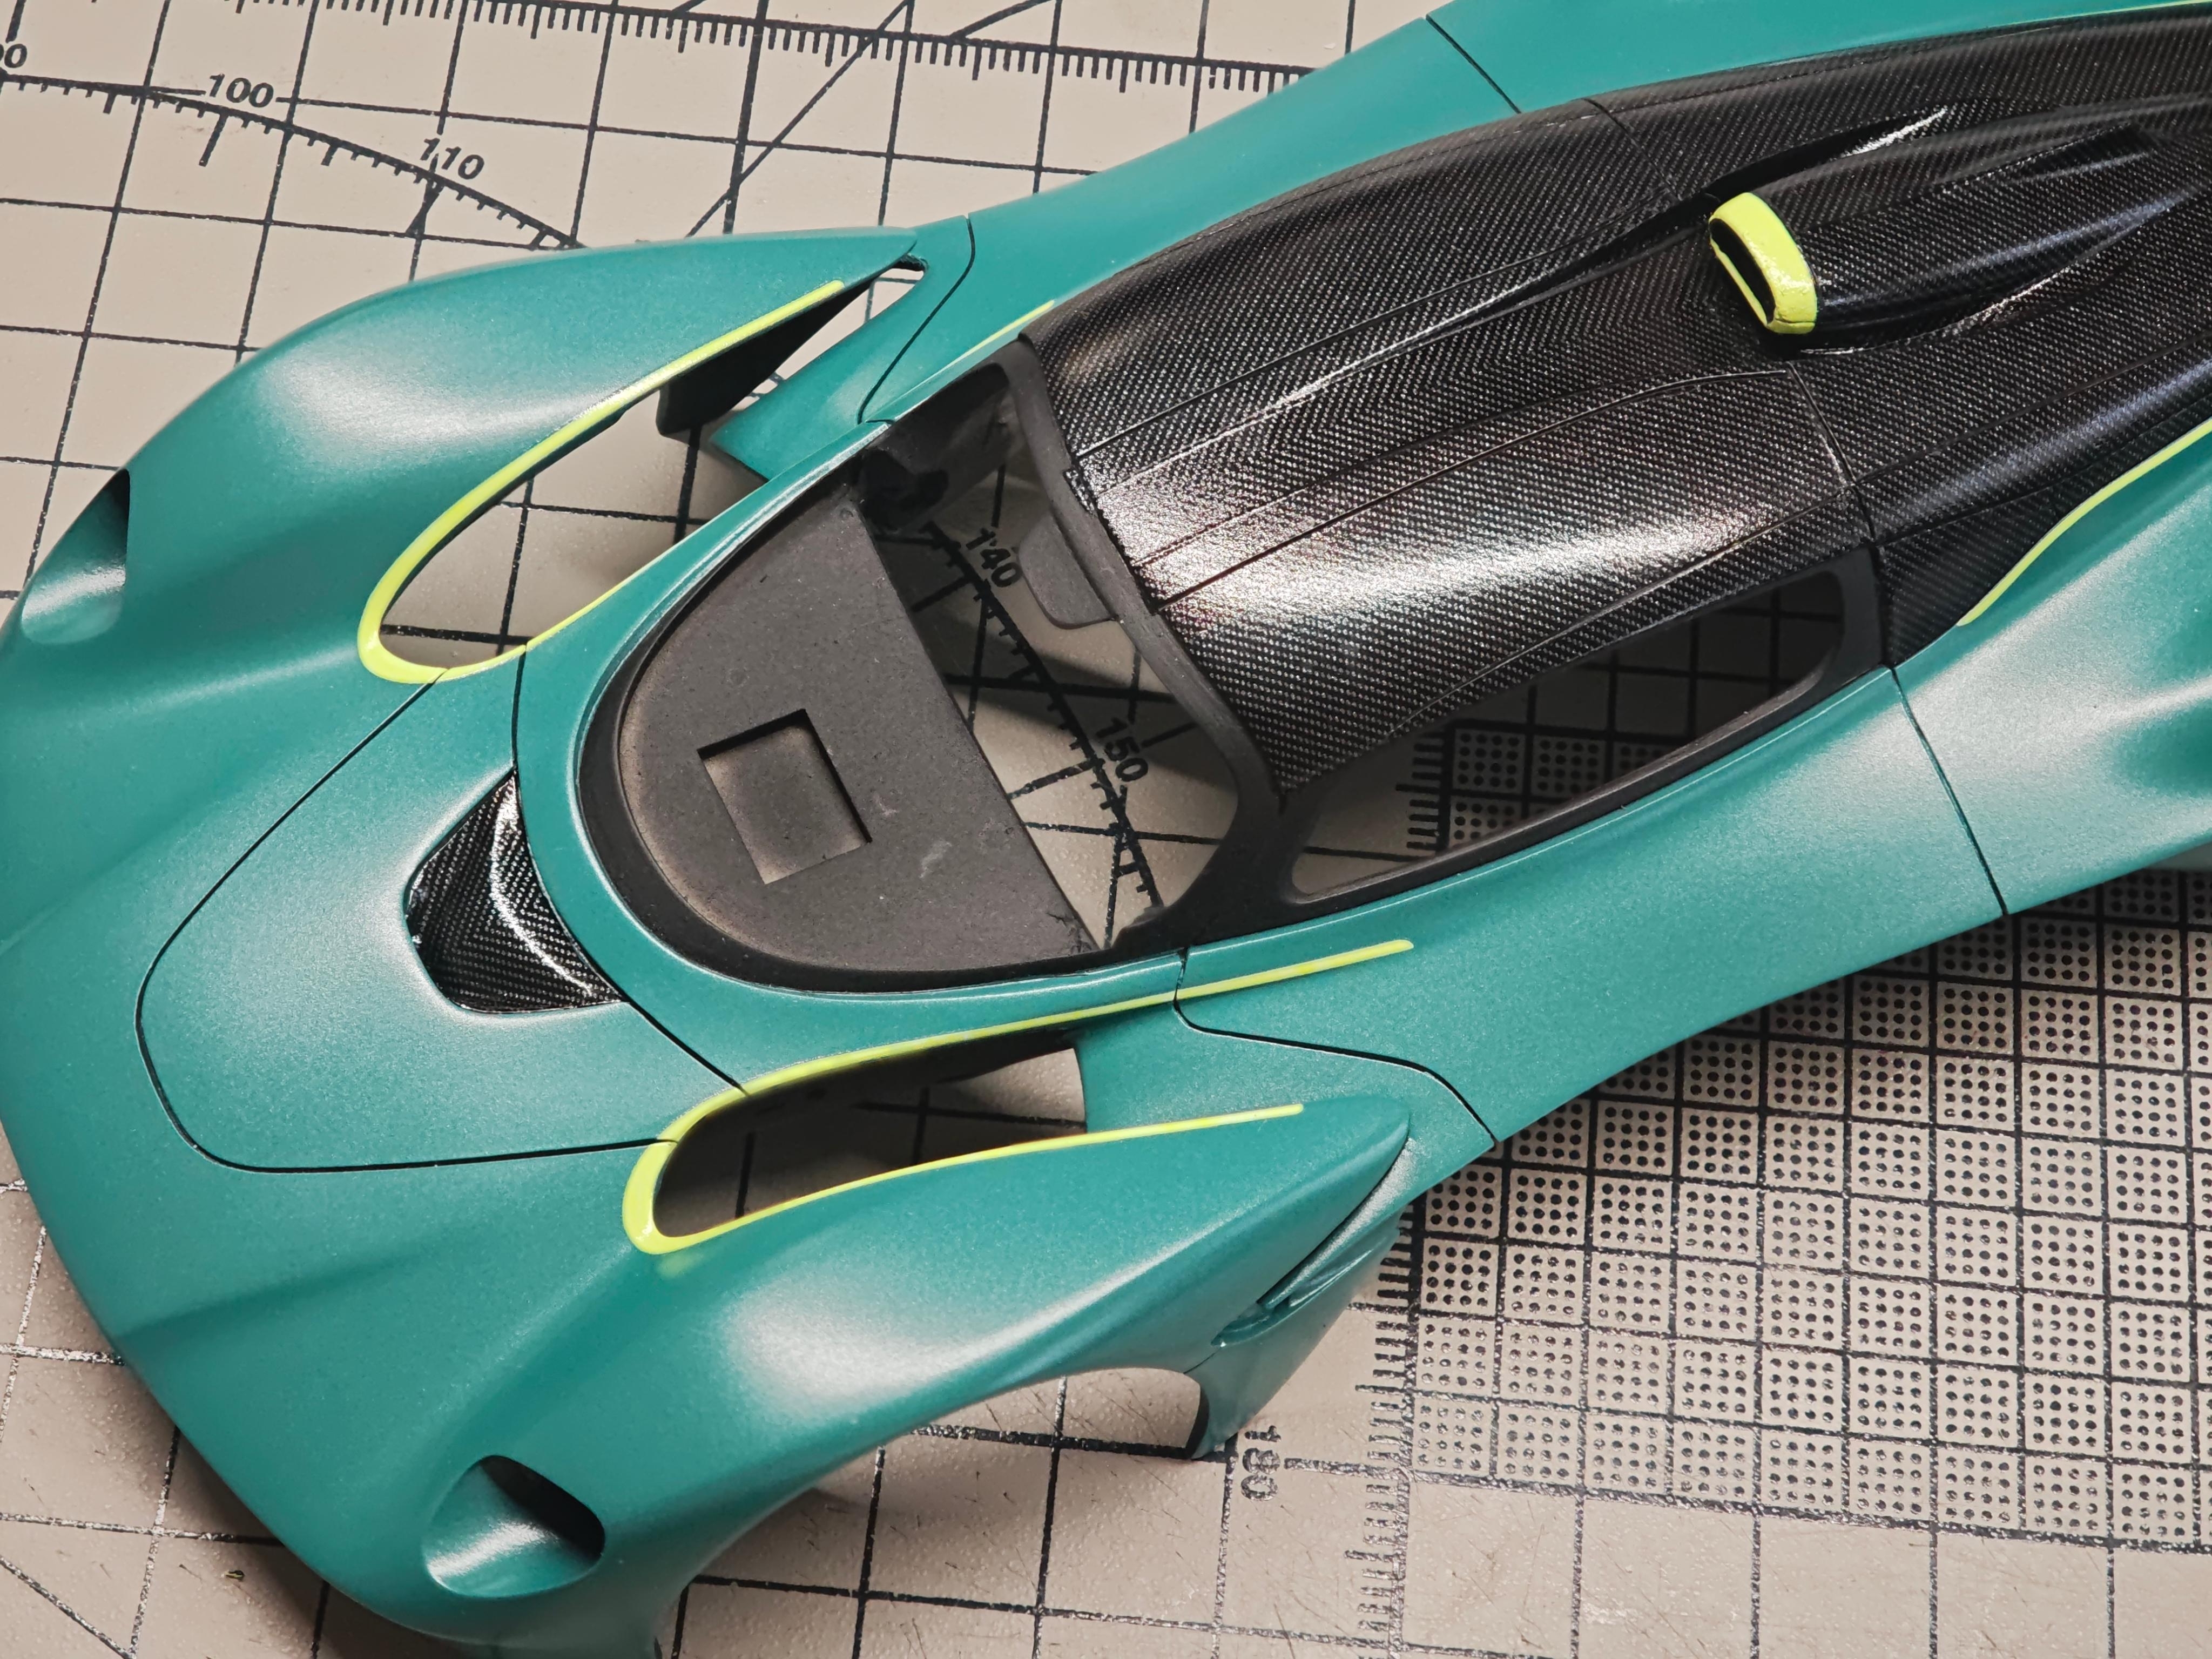
After removing masking tape, carefully inspect black areas for dust particles — any impurities will prevent decals from setting smoothly. Apply the carbon decals according to the instruction-manual numbering, using marking solution and softener to coax each piece into the deep channels; squeegee air and water out from the centre, and keep weave direction consistent where panels meet.
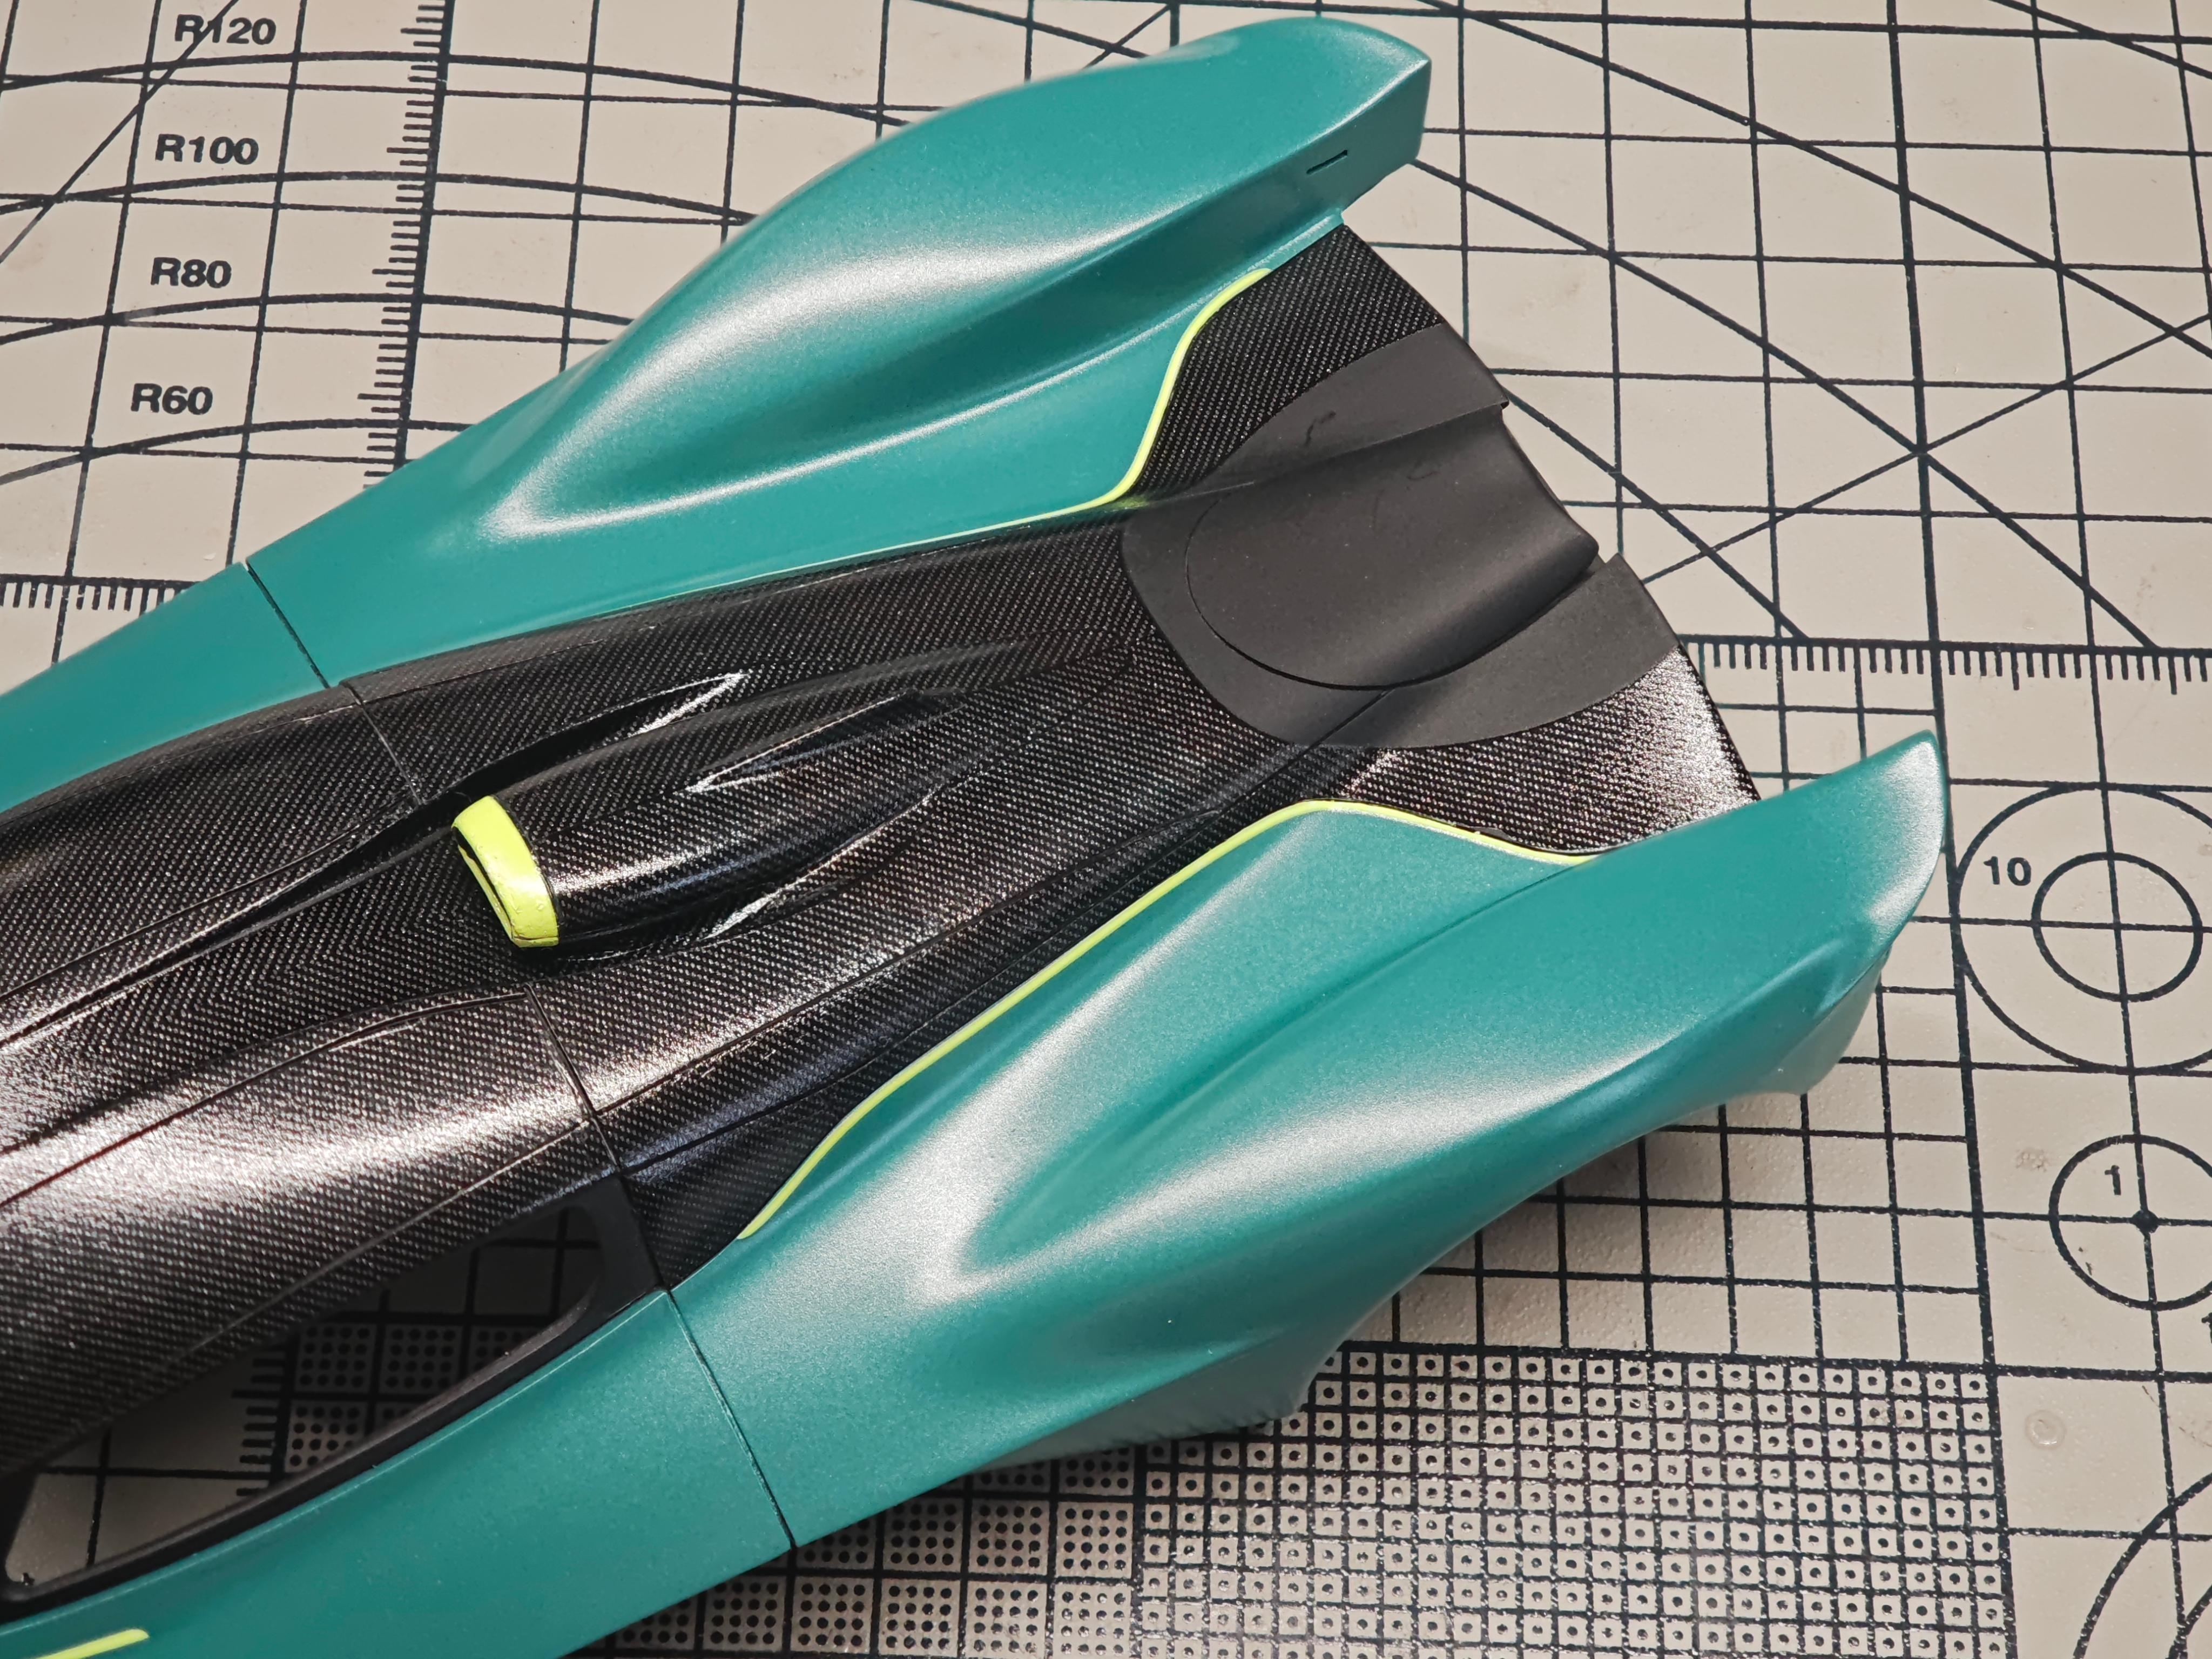
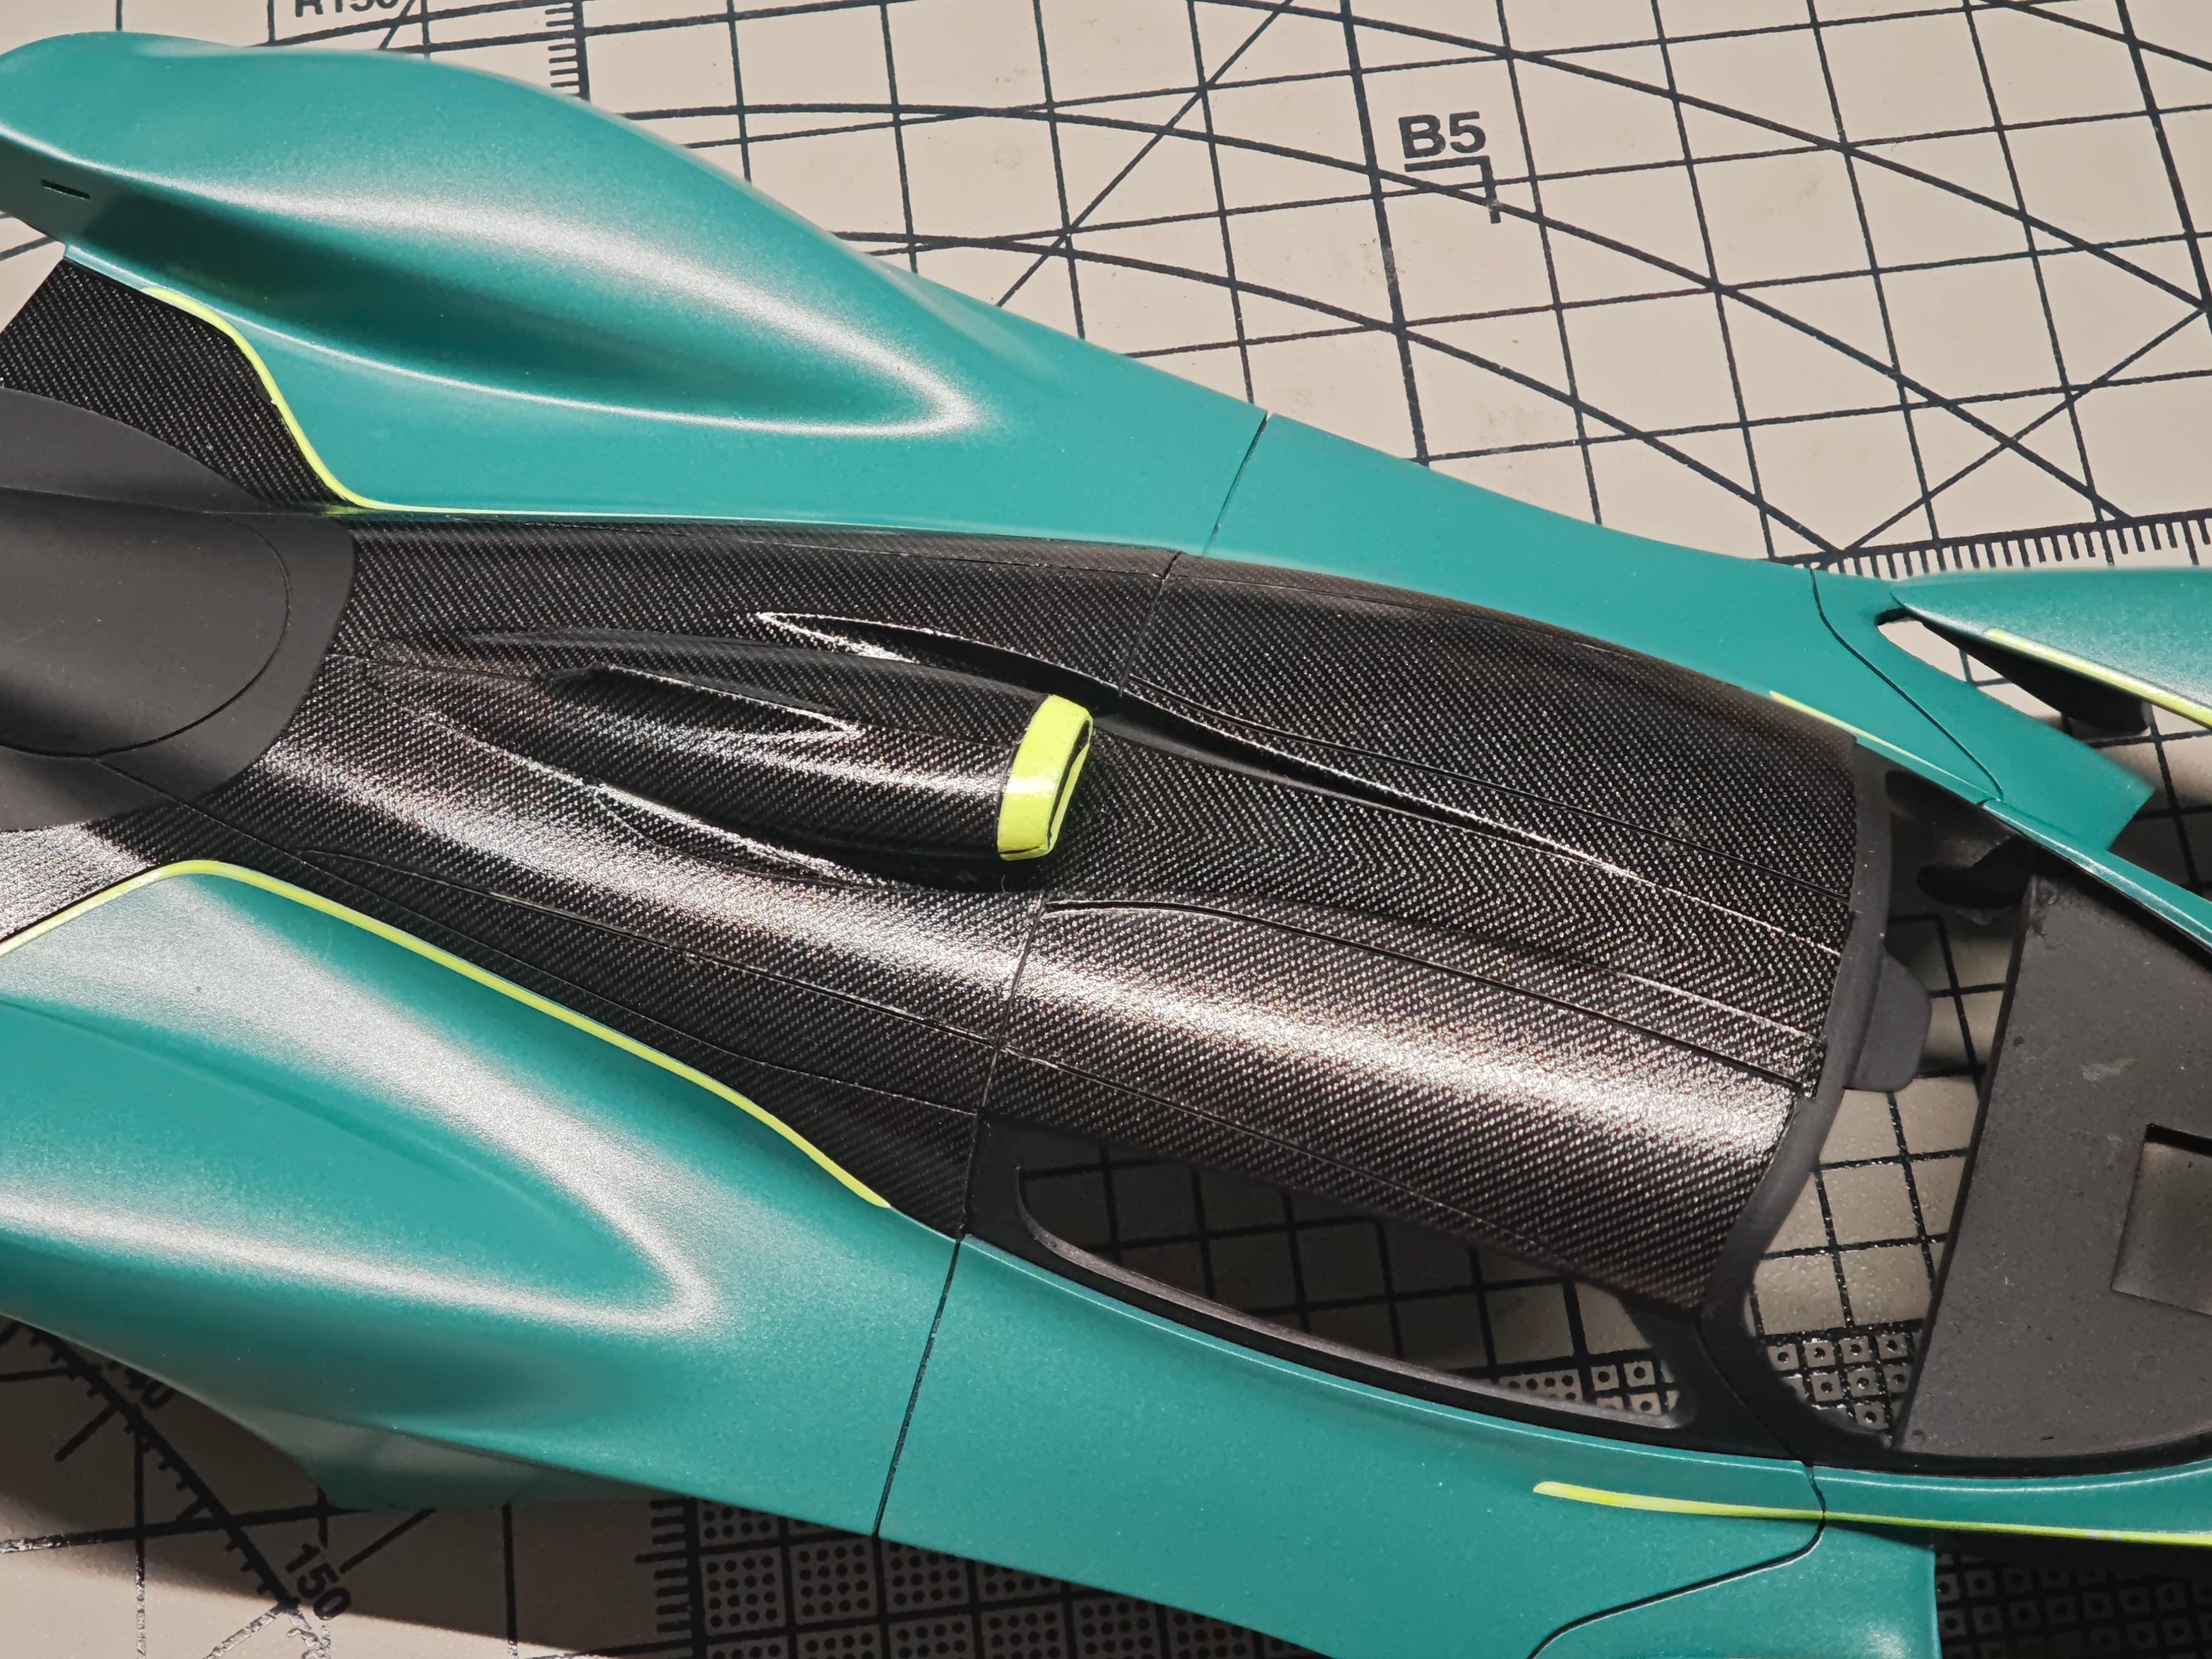
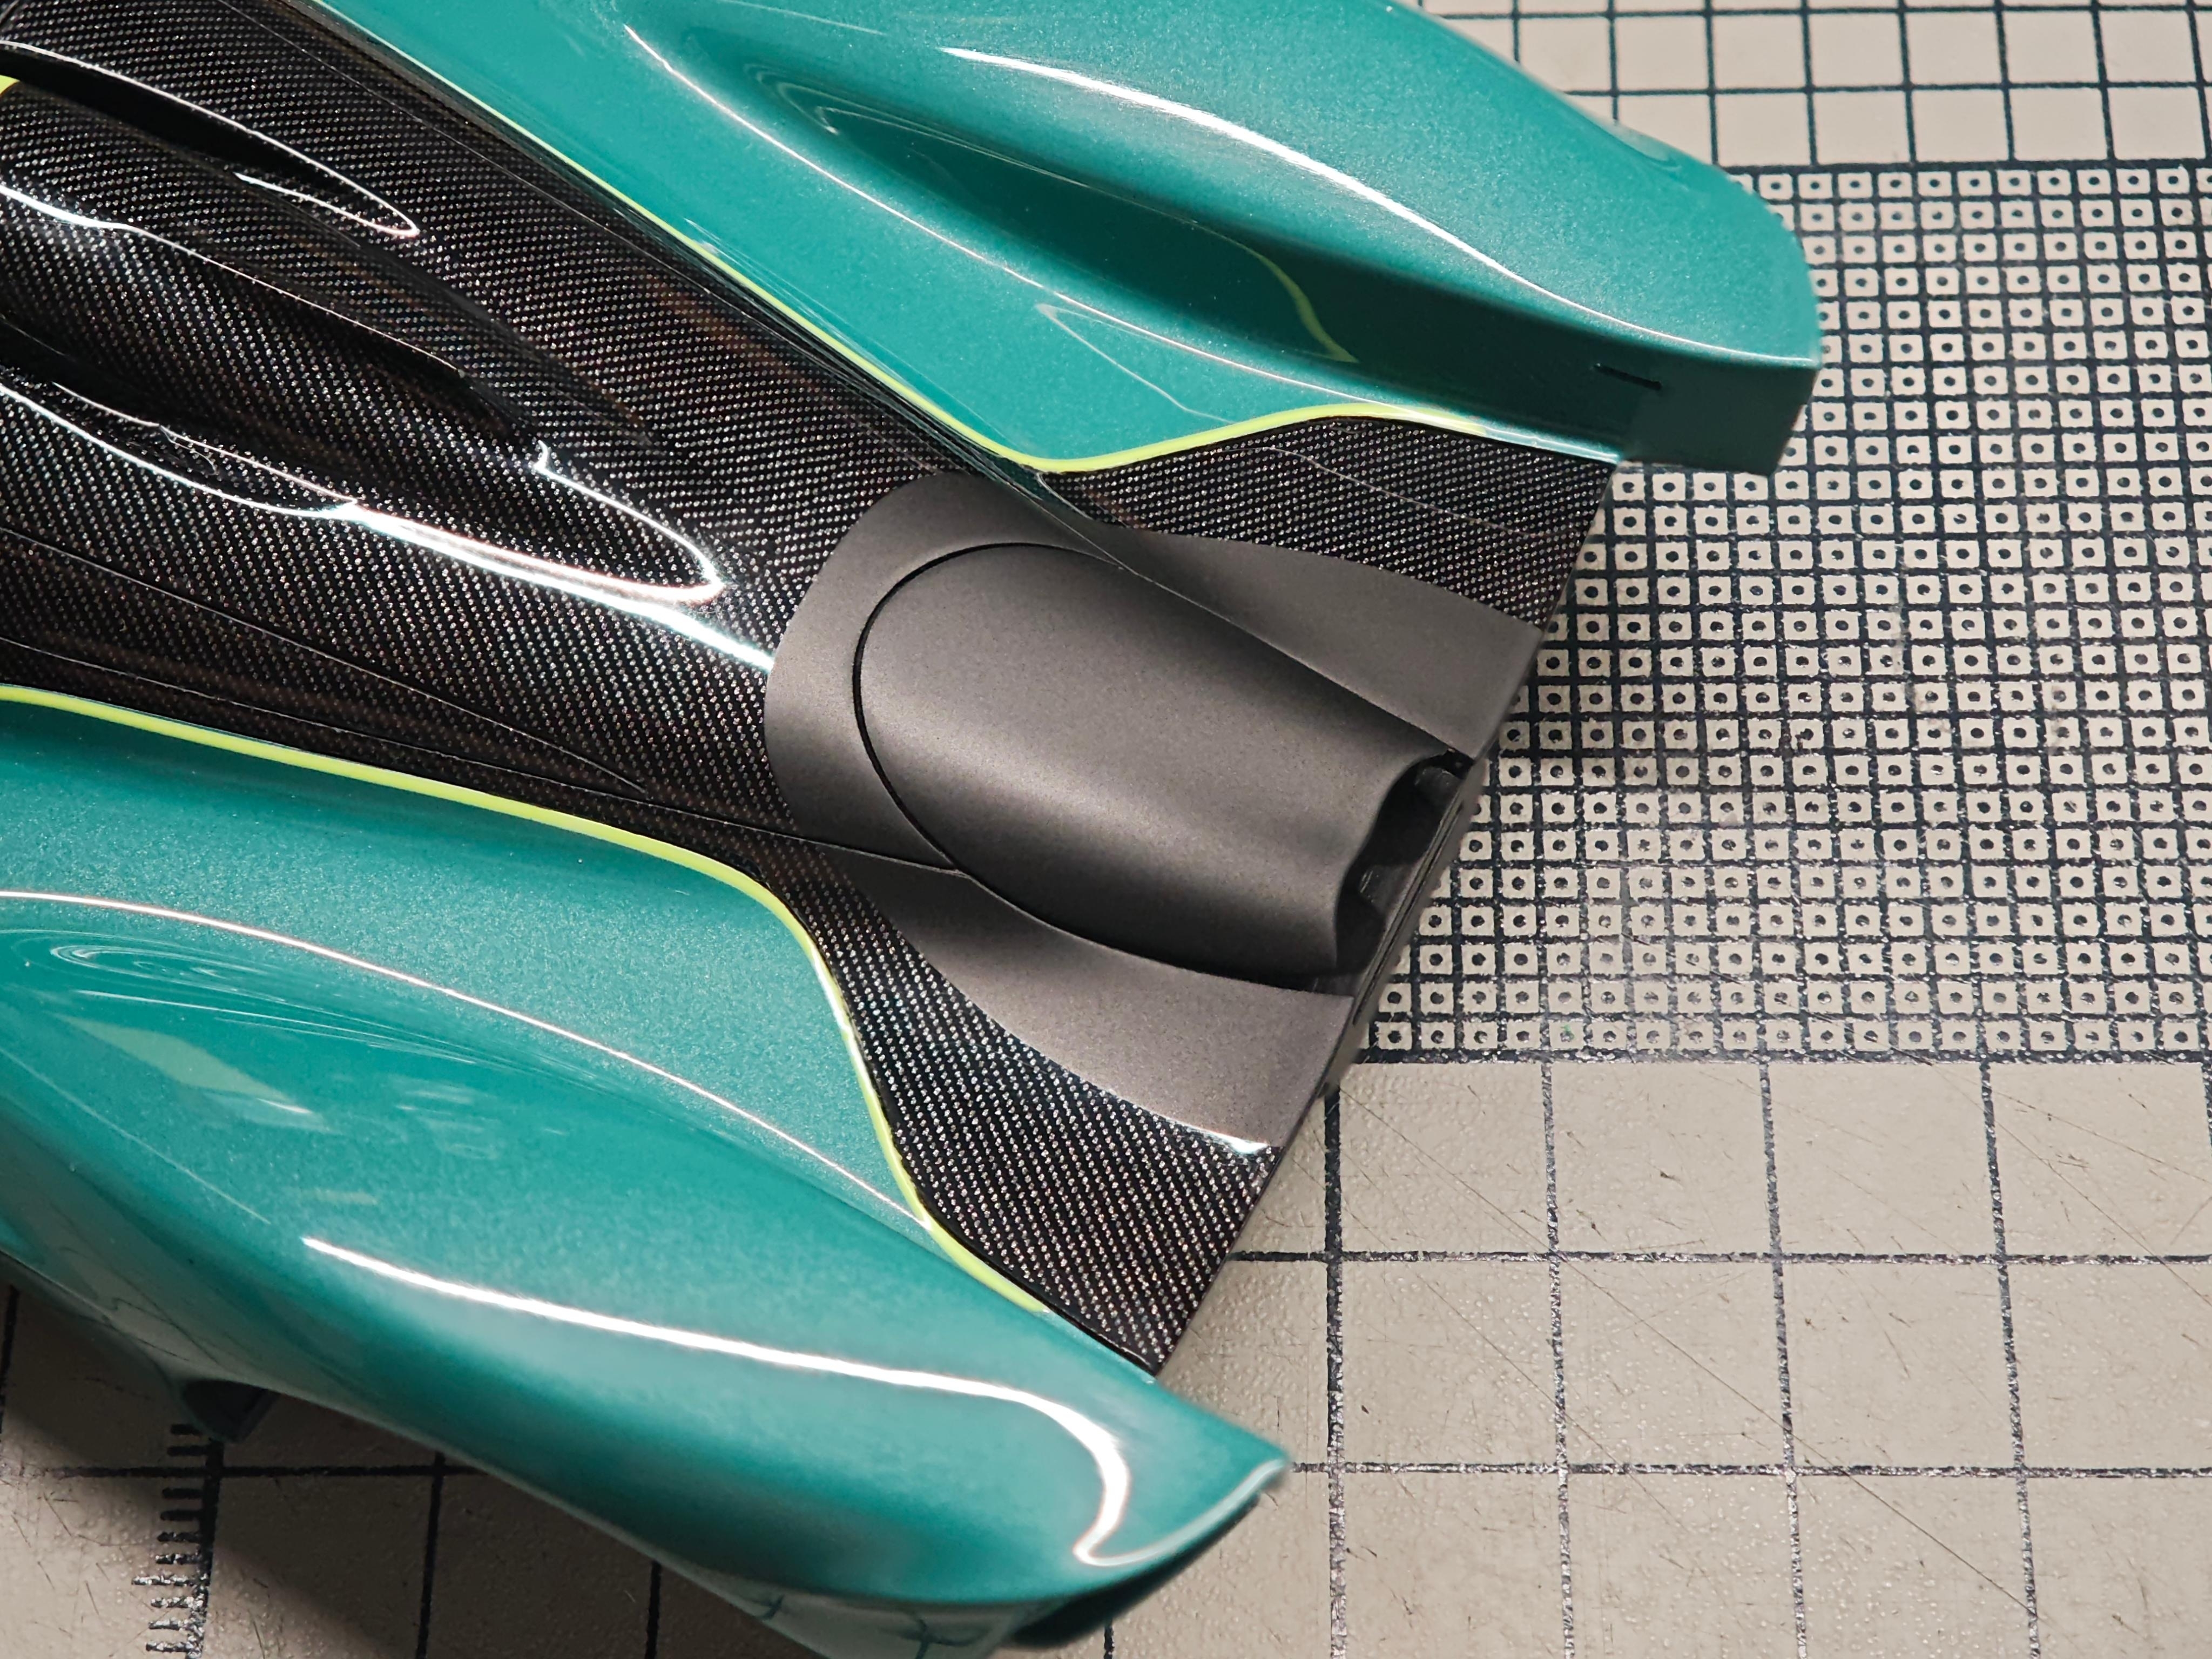
💡 Builder's decision: instead of applying water-slide decals D86 through D90 on the smooth curved rear fairing, Break masked the shape and airbrushed the black after the clear coat — zero silvering and no film edge on an uninterrupted curve.
Step 9: 2K Clear Coat
✨ 2K Clear Coat Recommended: BASF Glasurit 335 · 0.5mm airbrush at 2.0–2.5 bar (29–36 psi) · 3–4 wet coats, 15-min flash time · Wait 5–7 days for full cure before polishing.
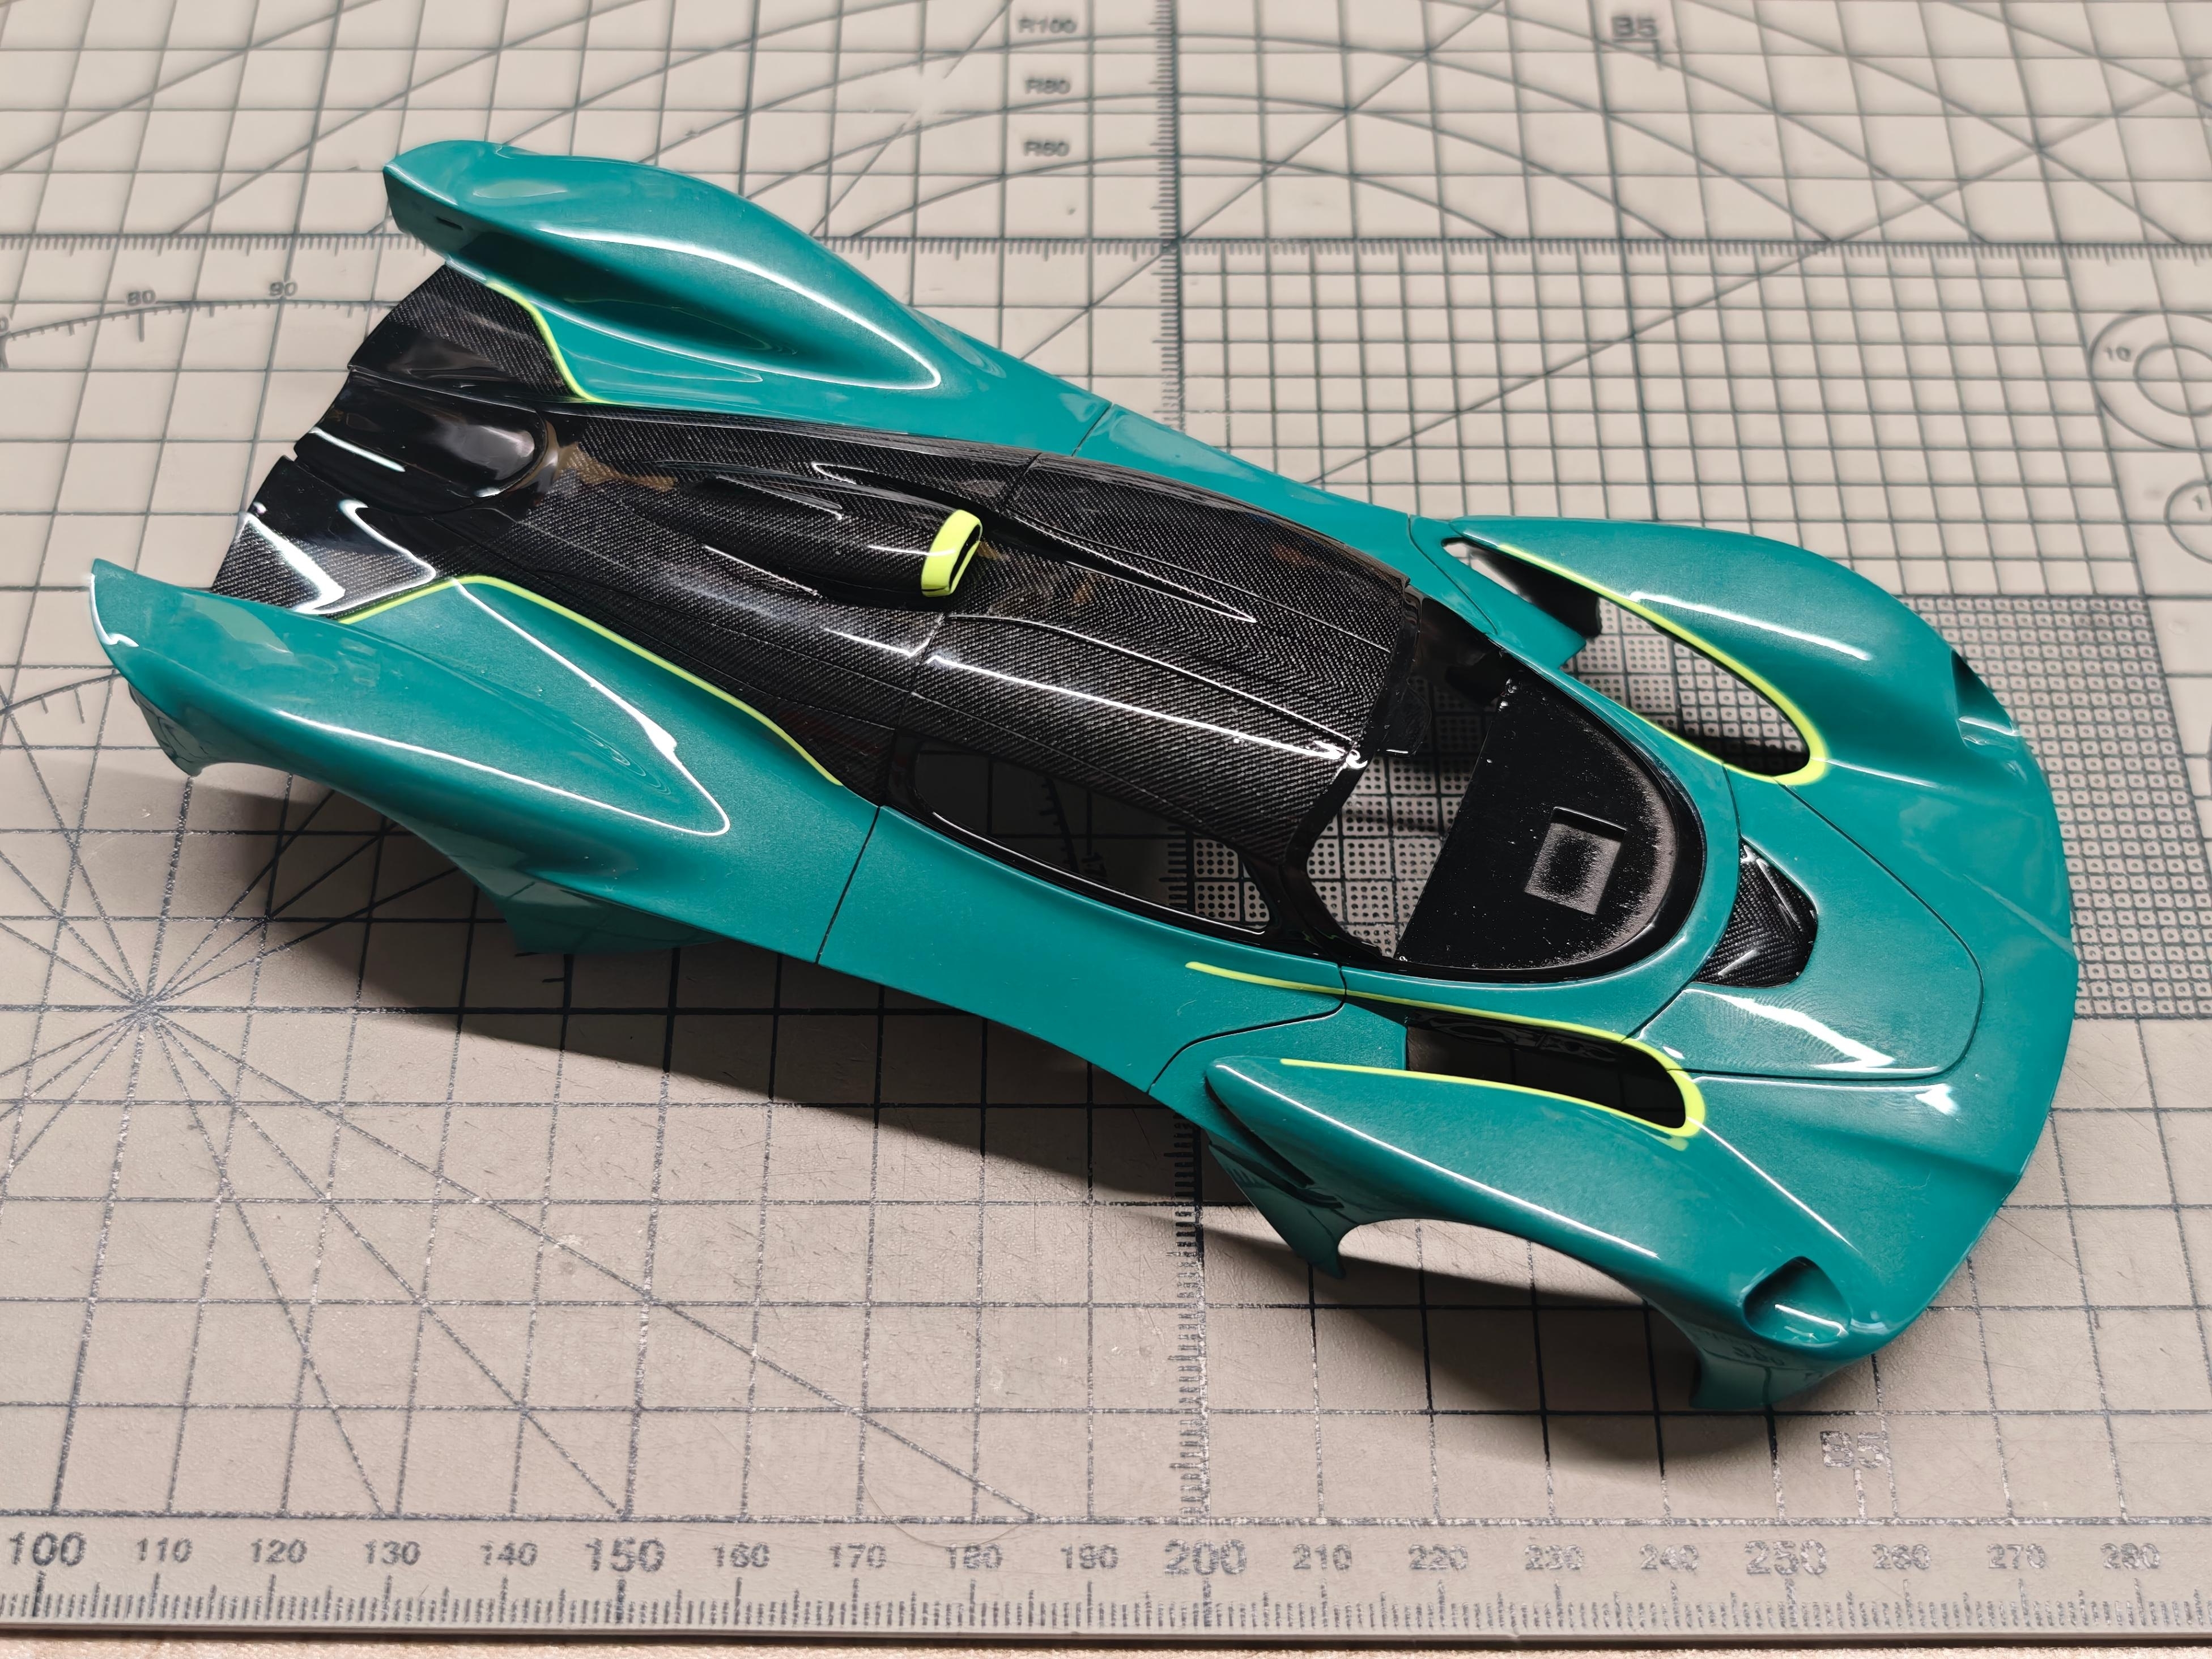
Step 10: Sand, Level & Polish
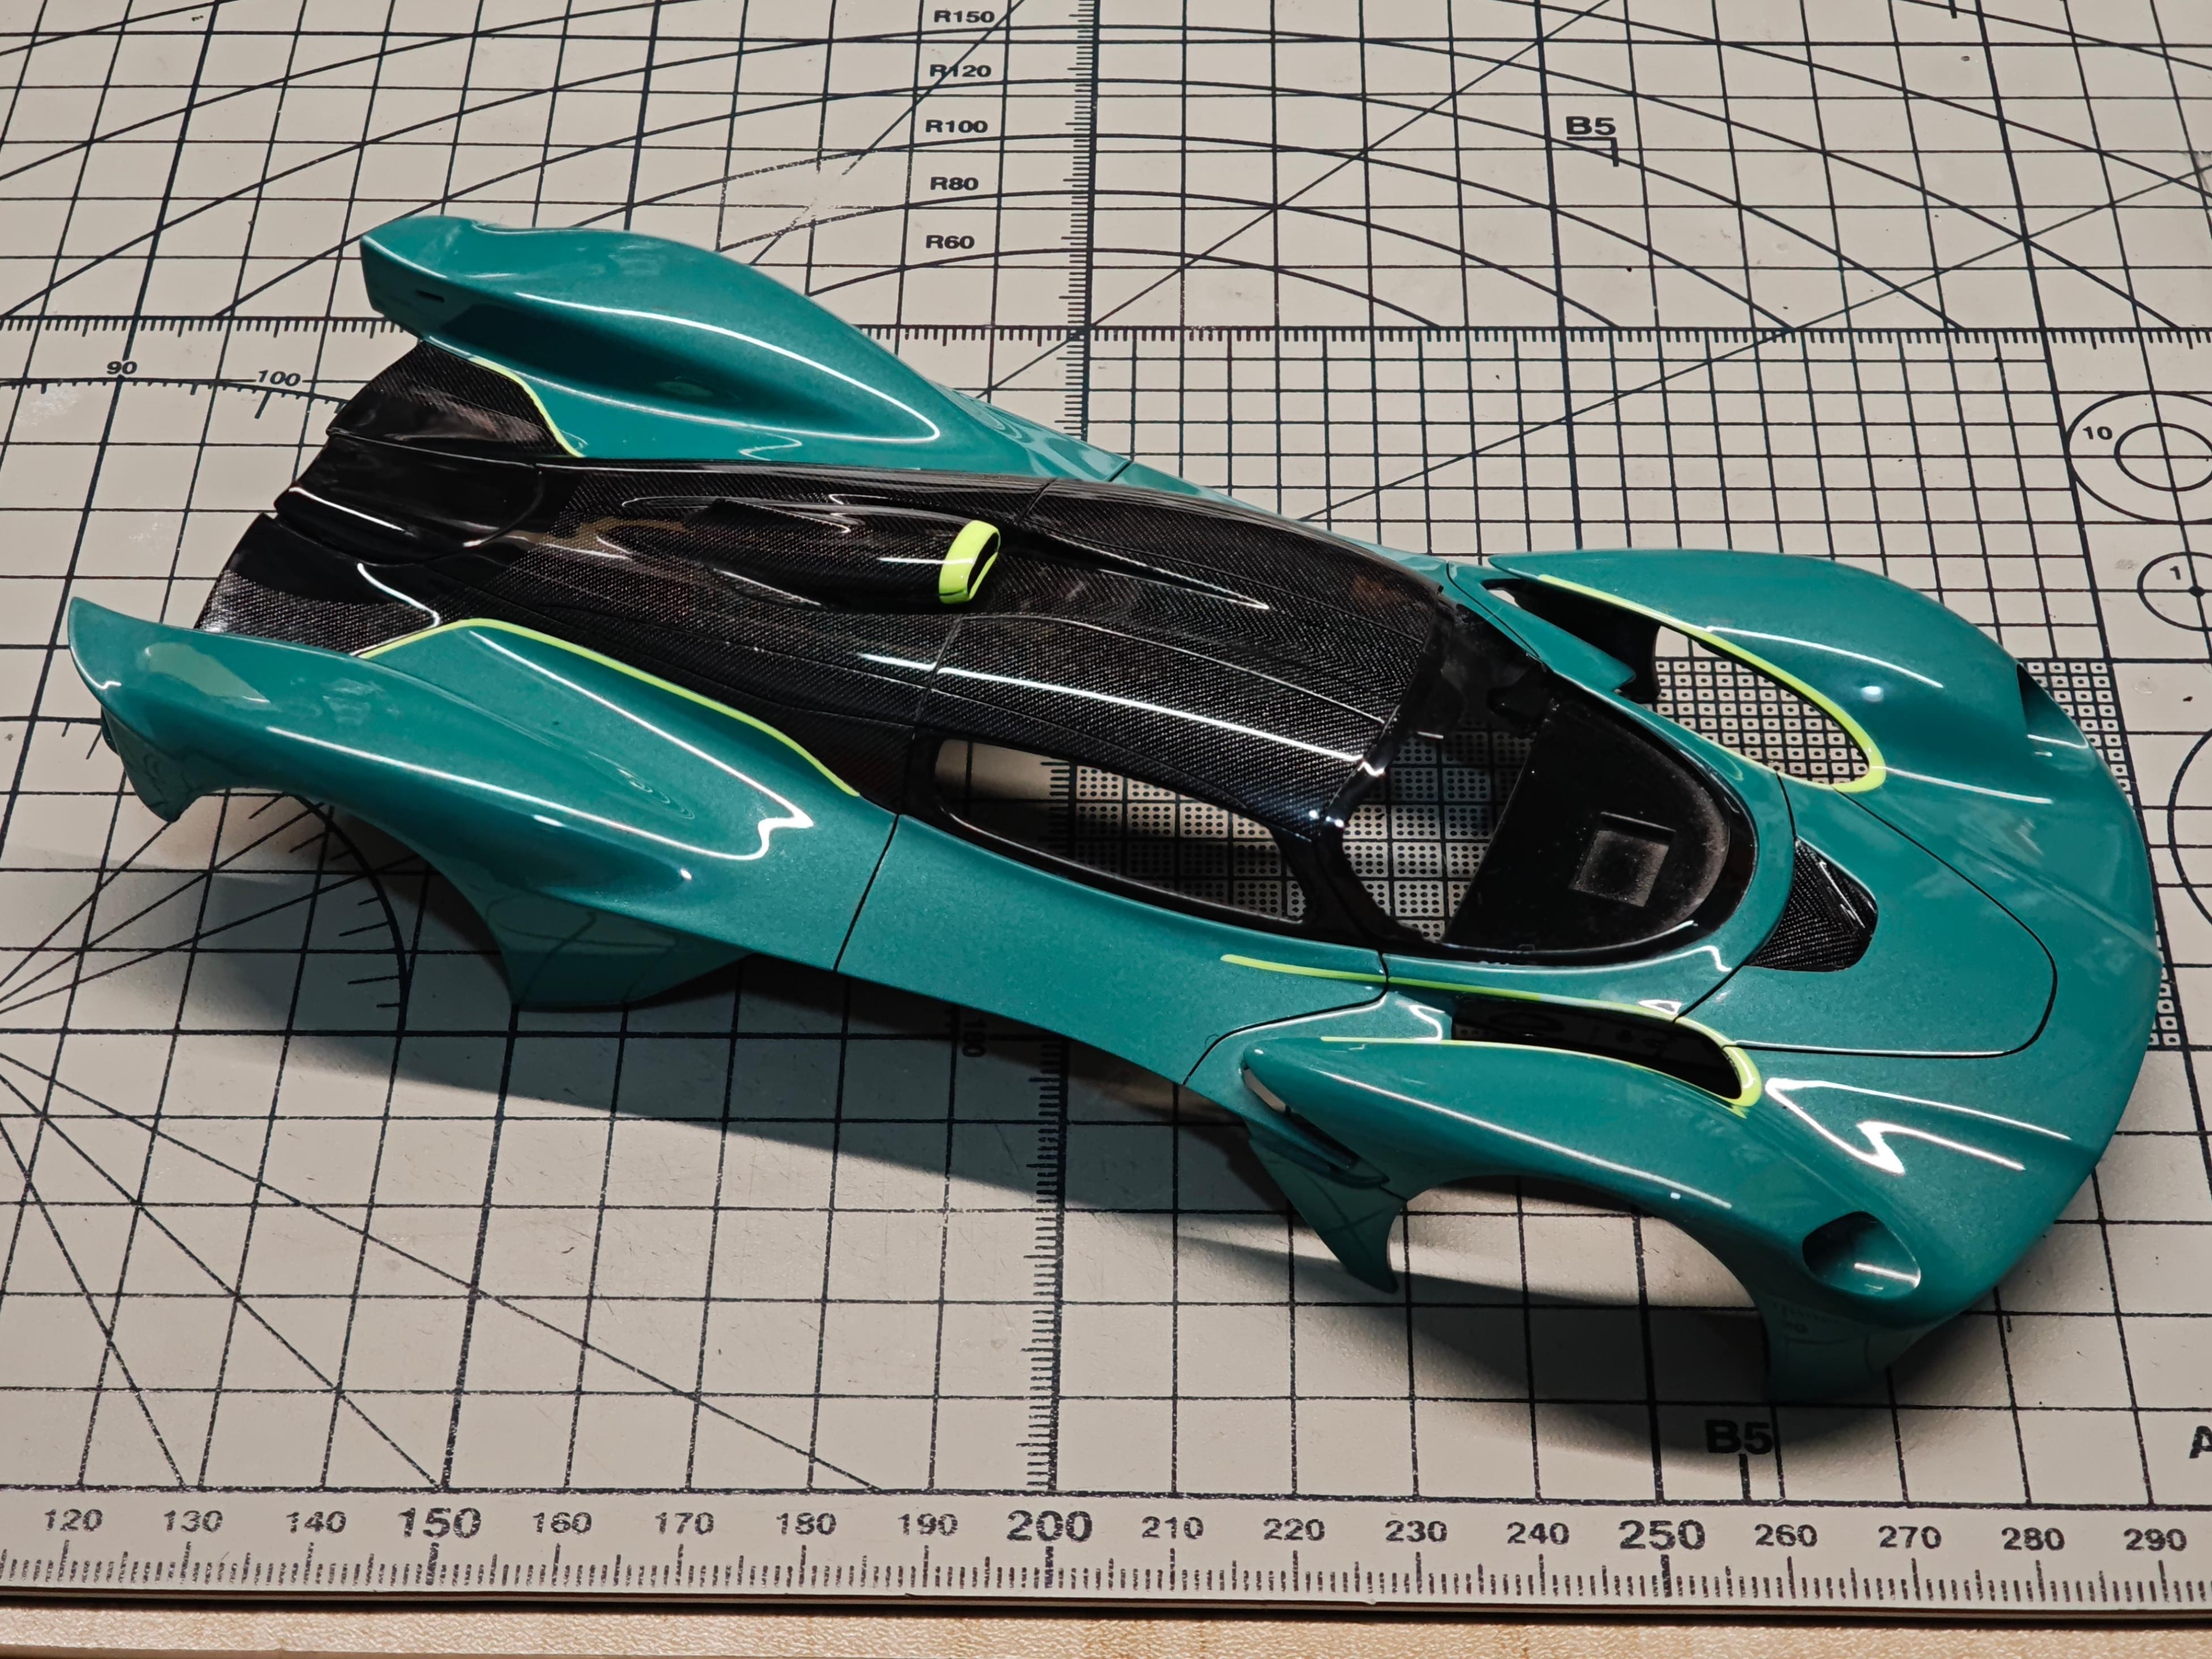
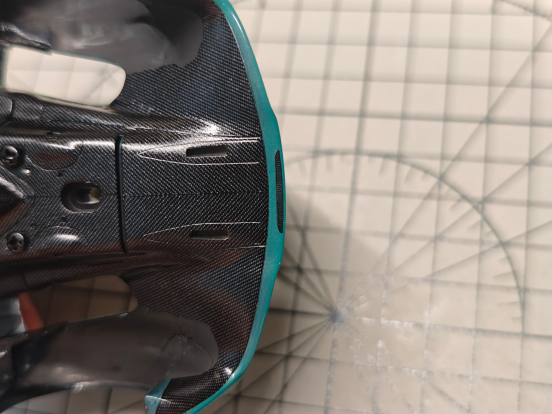
The process of sanding, leveling, and polishing removes a portion of the clear coat, giving the car body a sharper appearance and a mirror-like finish. Re-scribe panel lines where the coats rounded them; the edge between carbon and teal comes out razor-sharp under the glass-like surface.
Step 11: Rear Flat-Black Zones
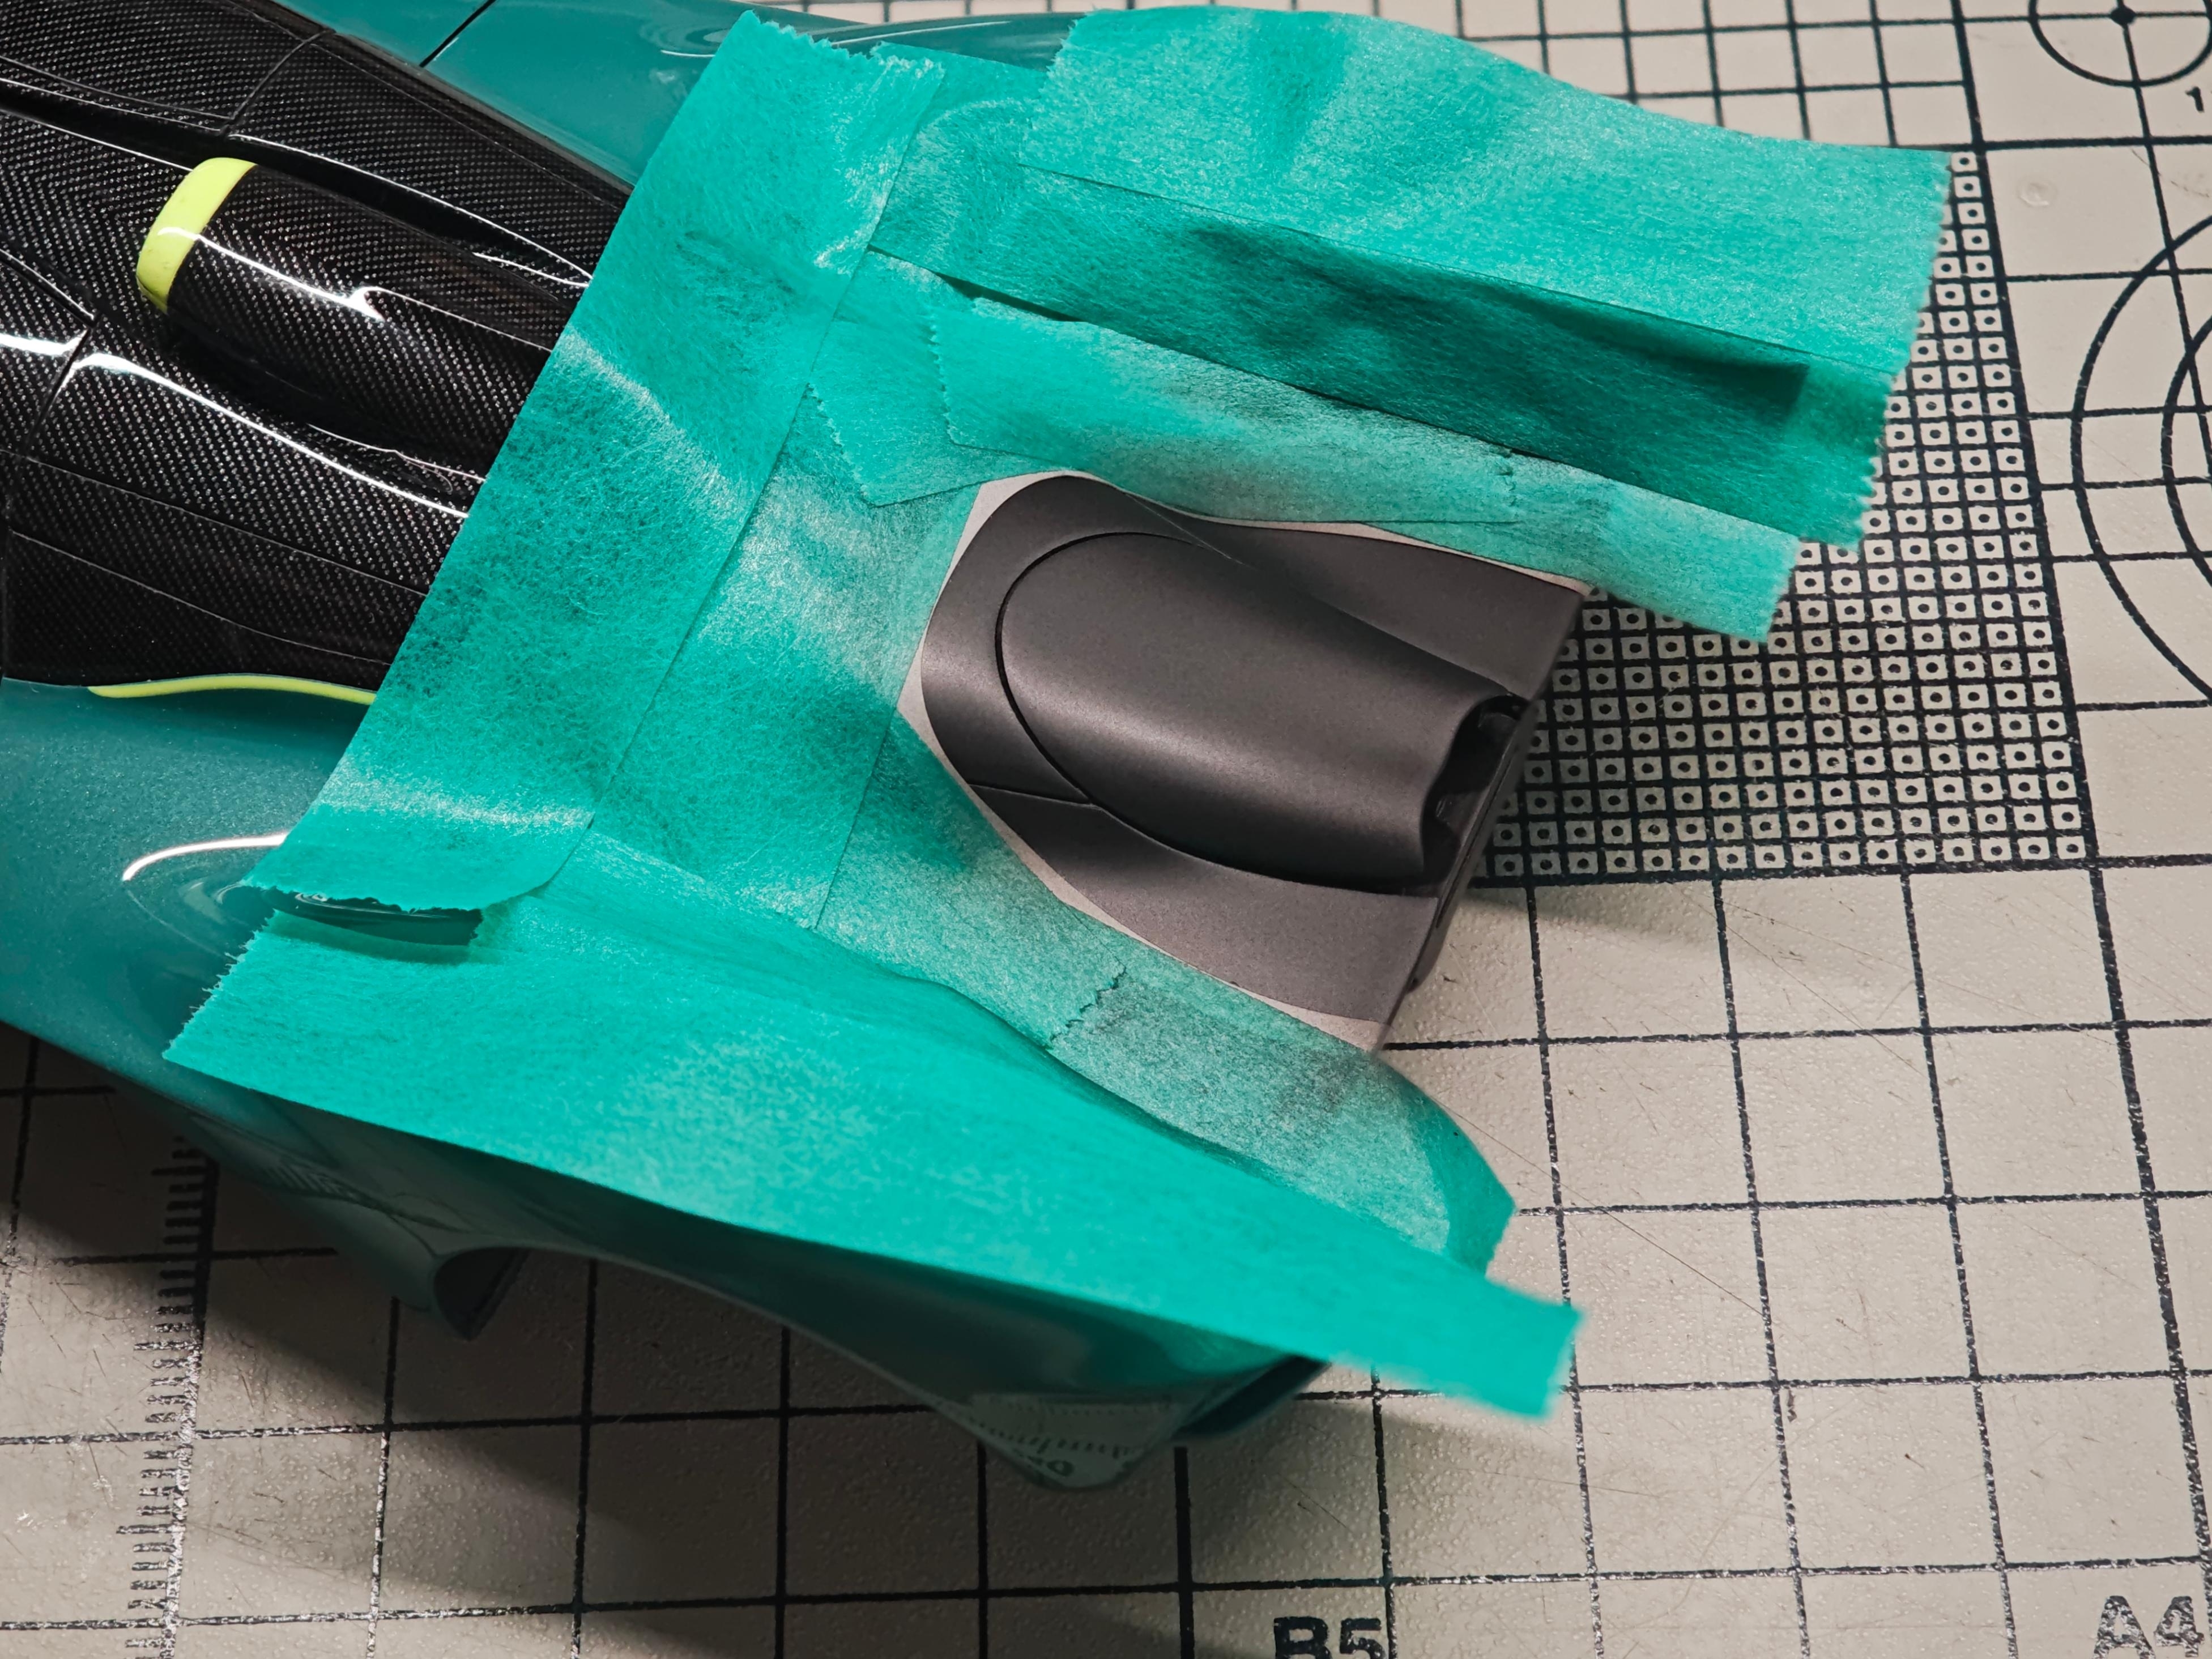
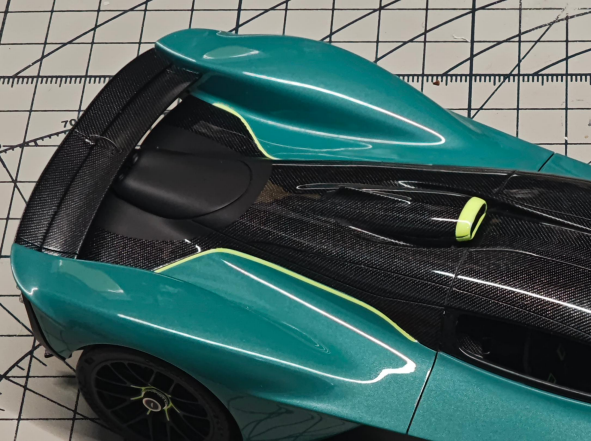
The final body-finish operation: mask the rear fairing with flexible curve masking tape following the complex curves, then spray with Flat Black (Mr. Color C-33). Because the tape goes on over fully cured and polished clear, the edge pulls away perfectly clean, leaving a satin-black aero section framed by glossy teal and carbon.
Carbon for the Small Parts
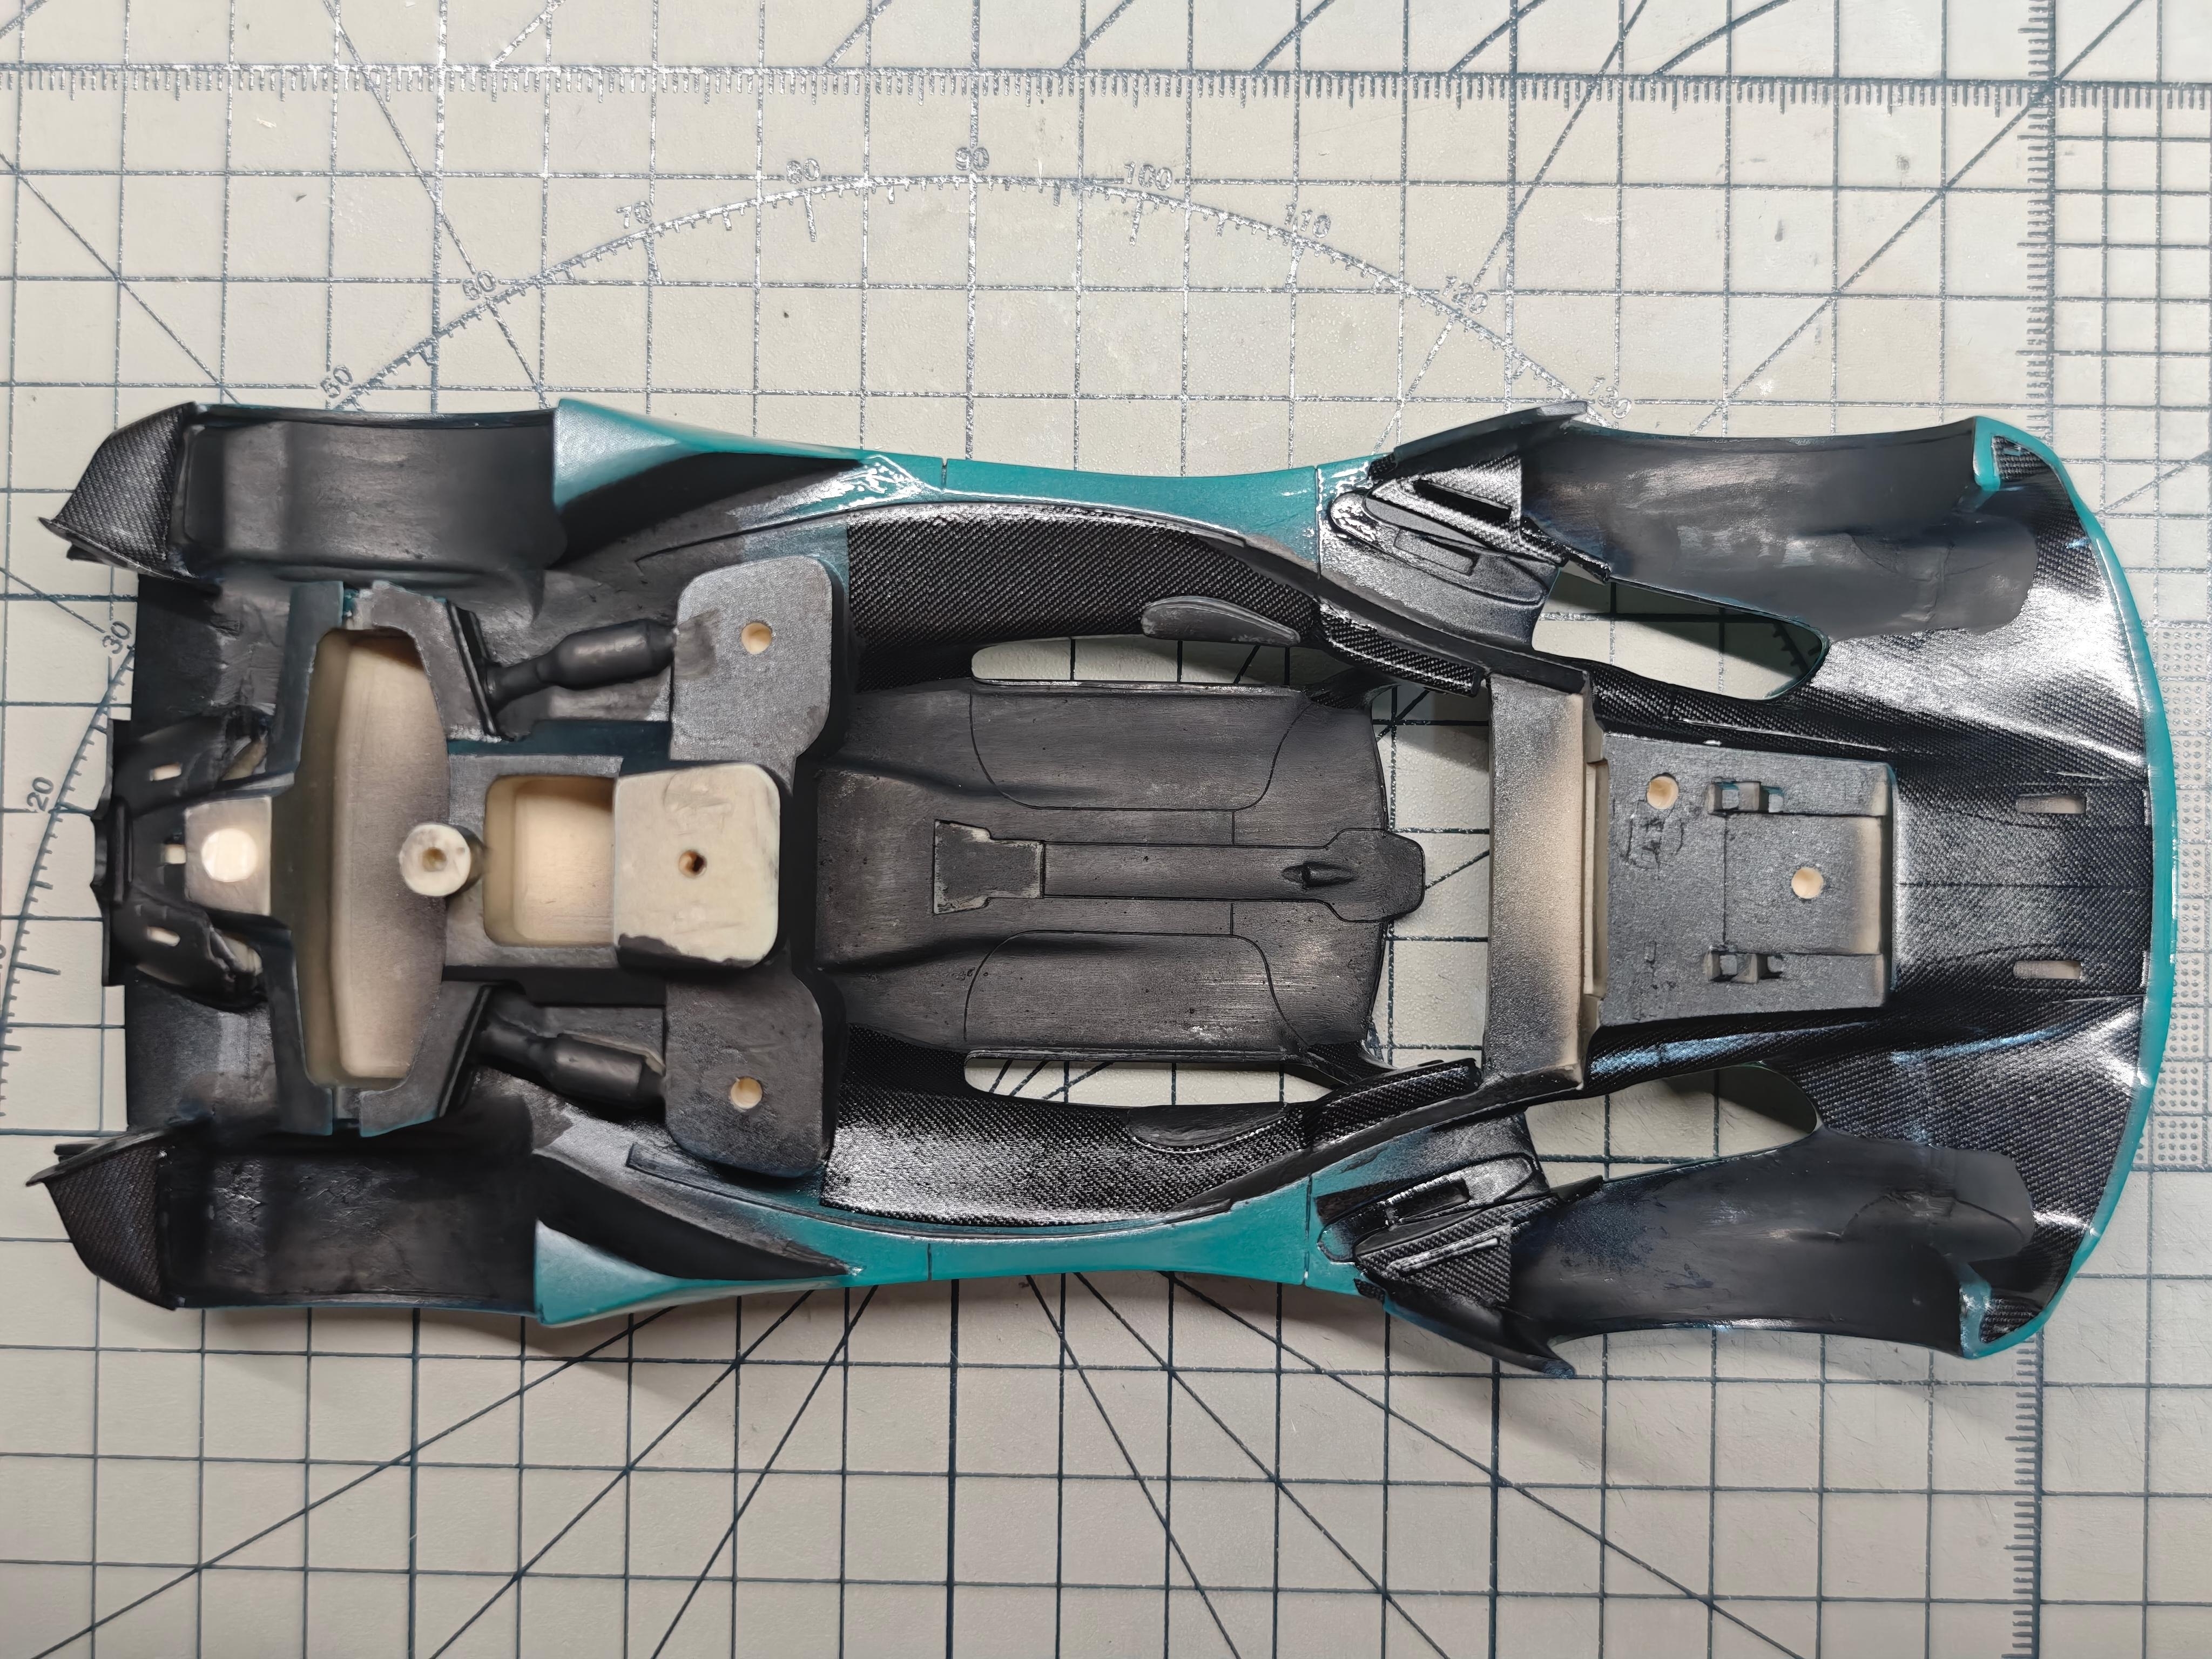
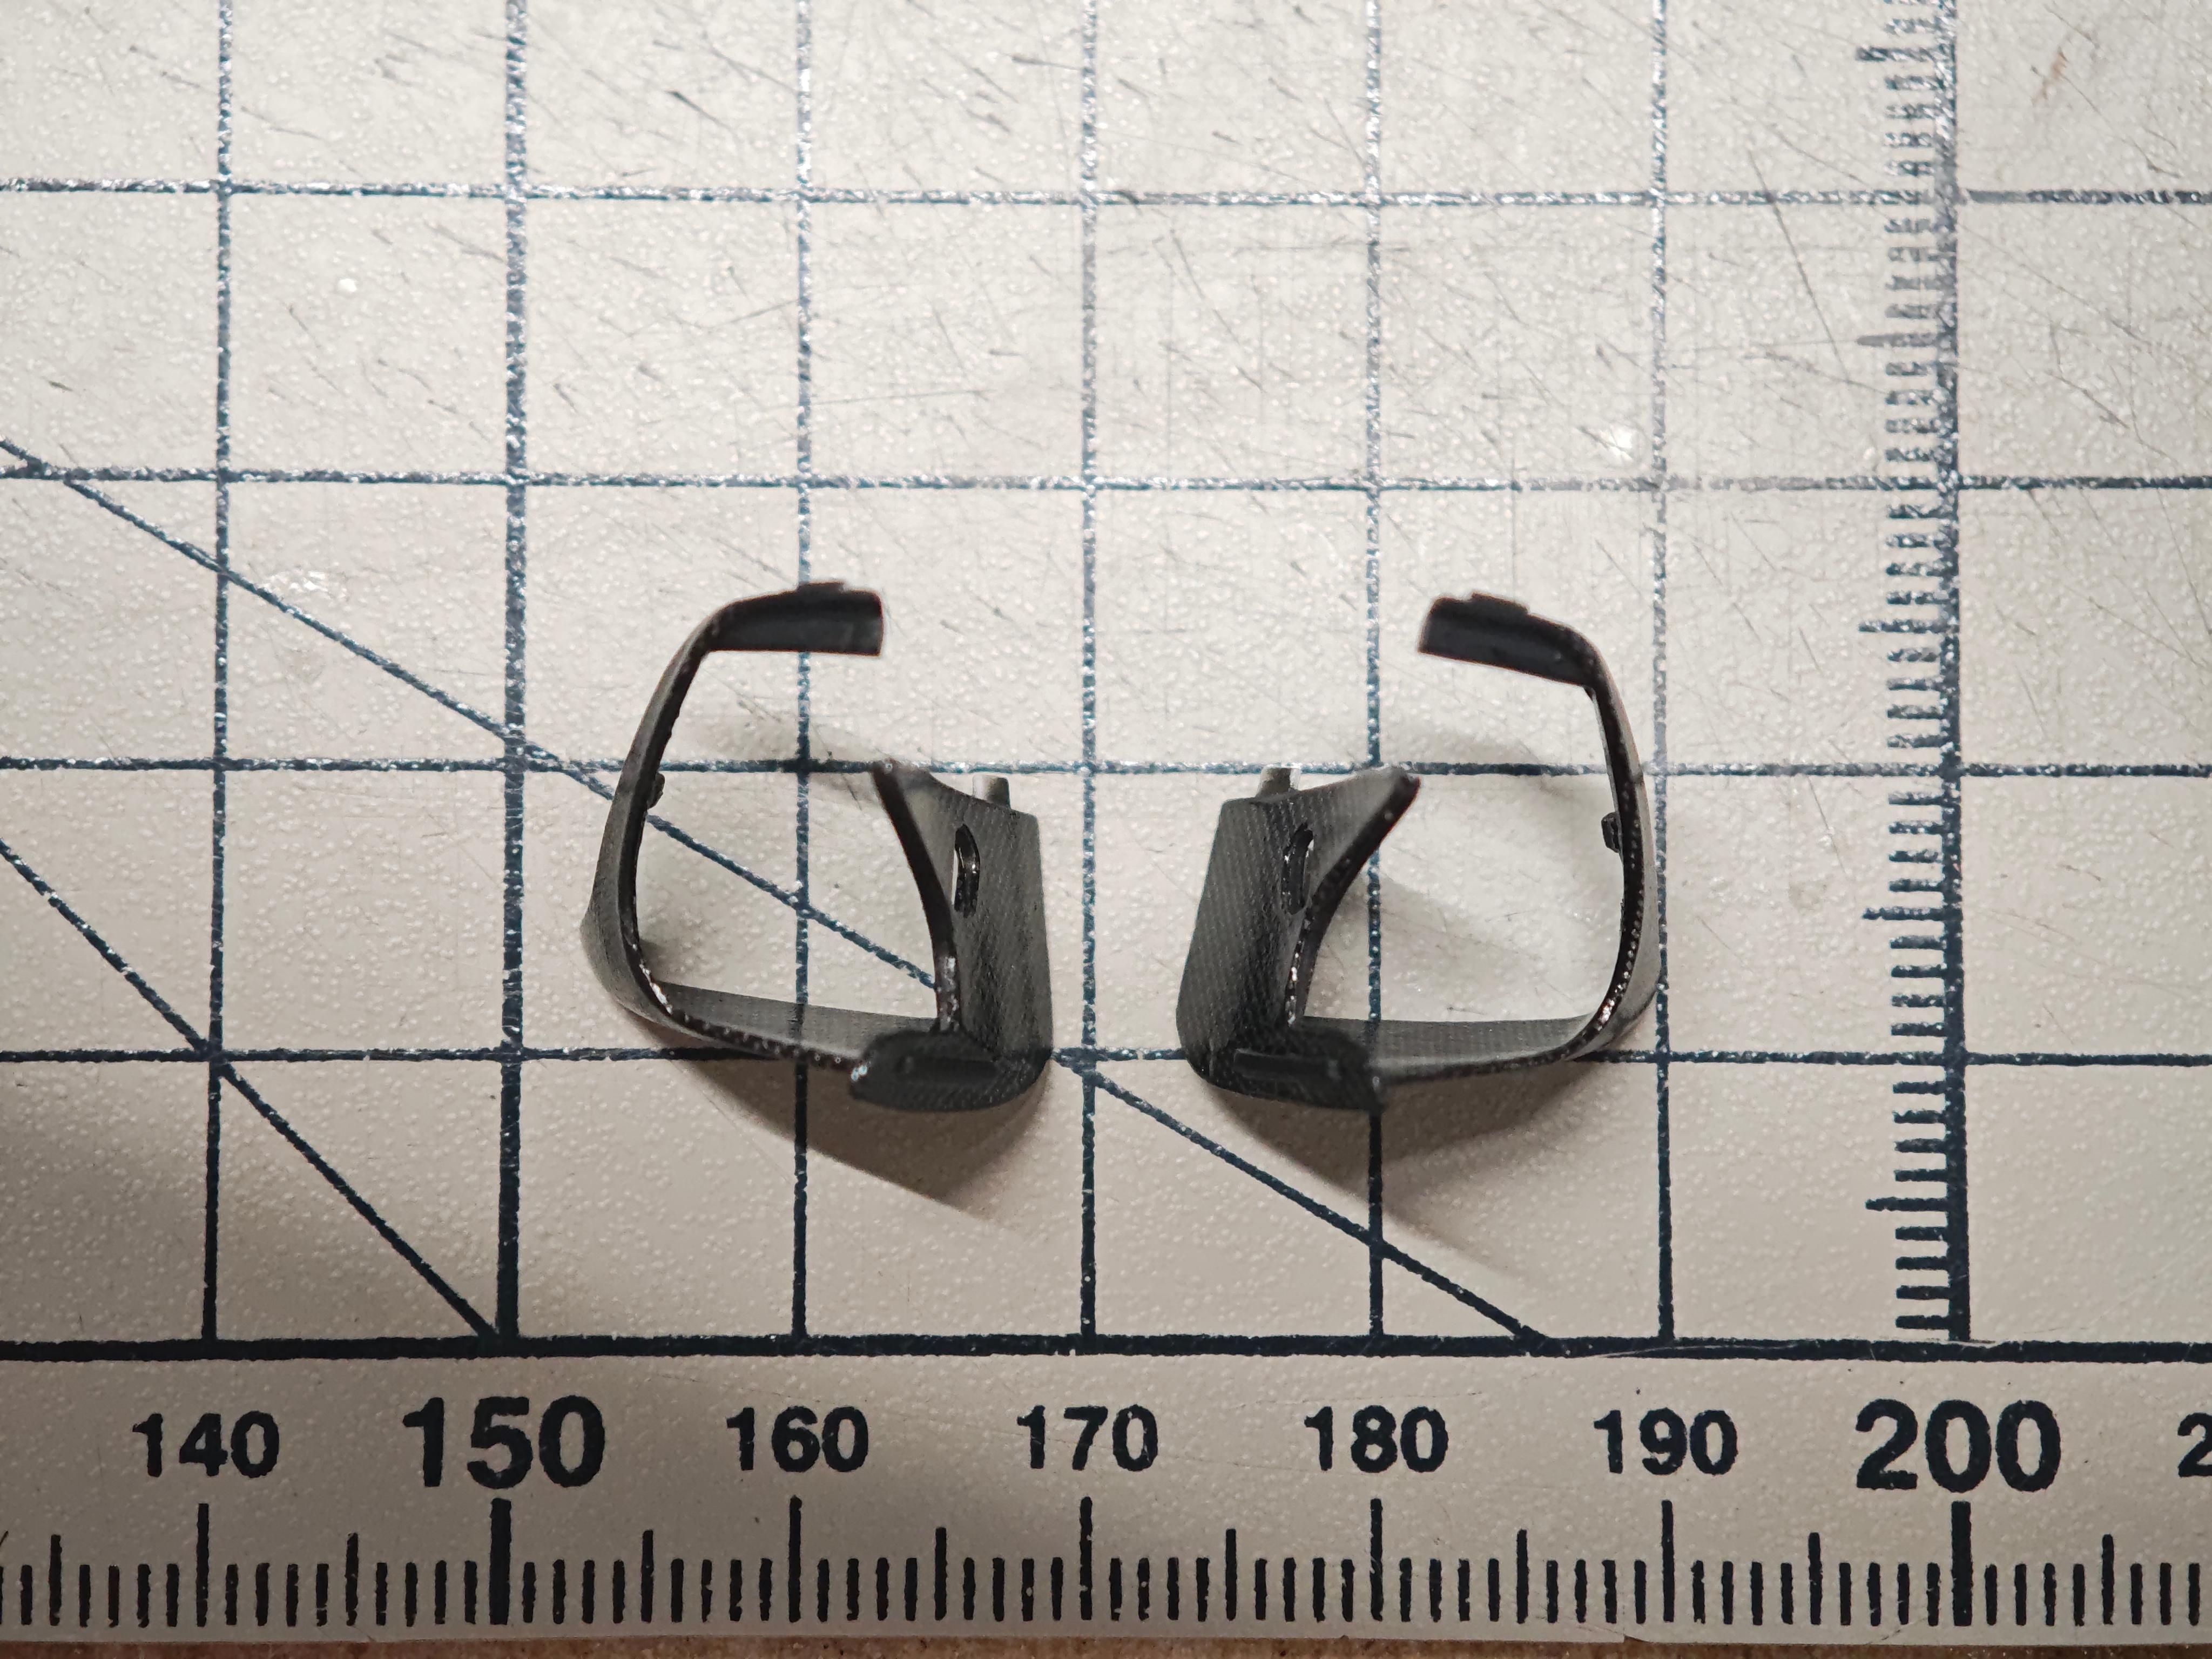
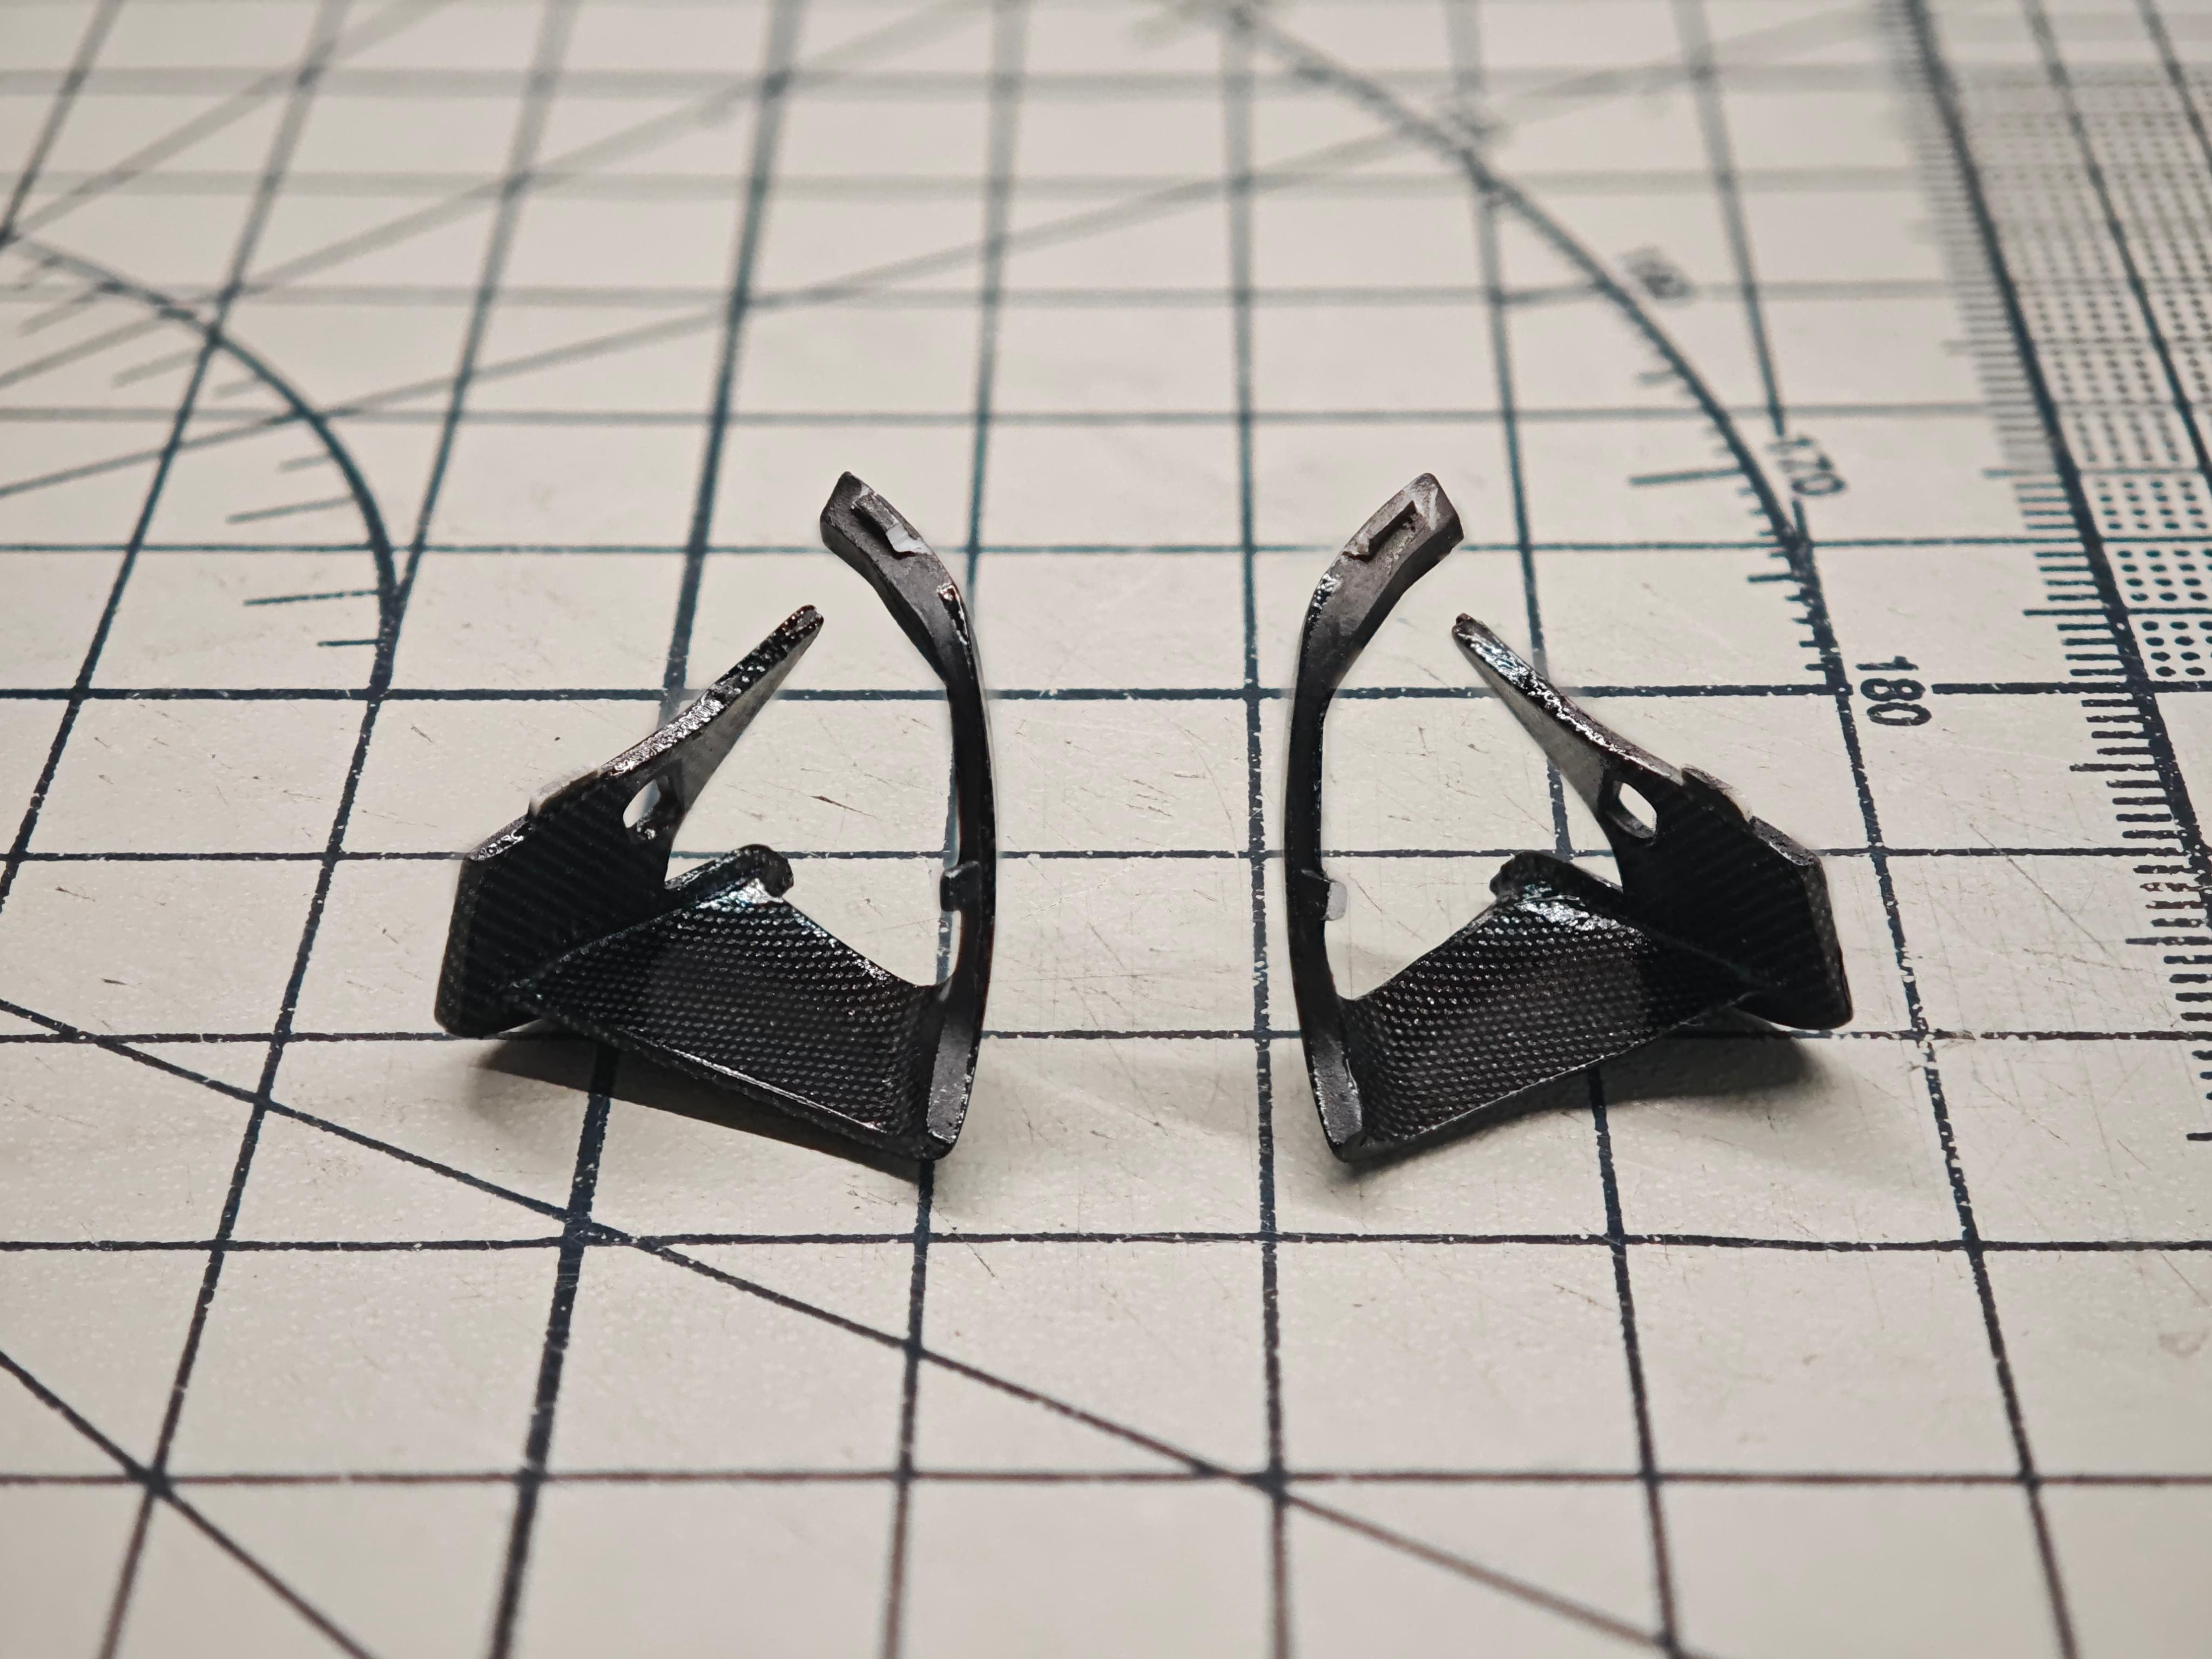
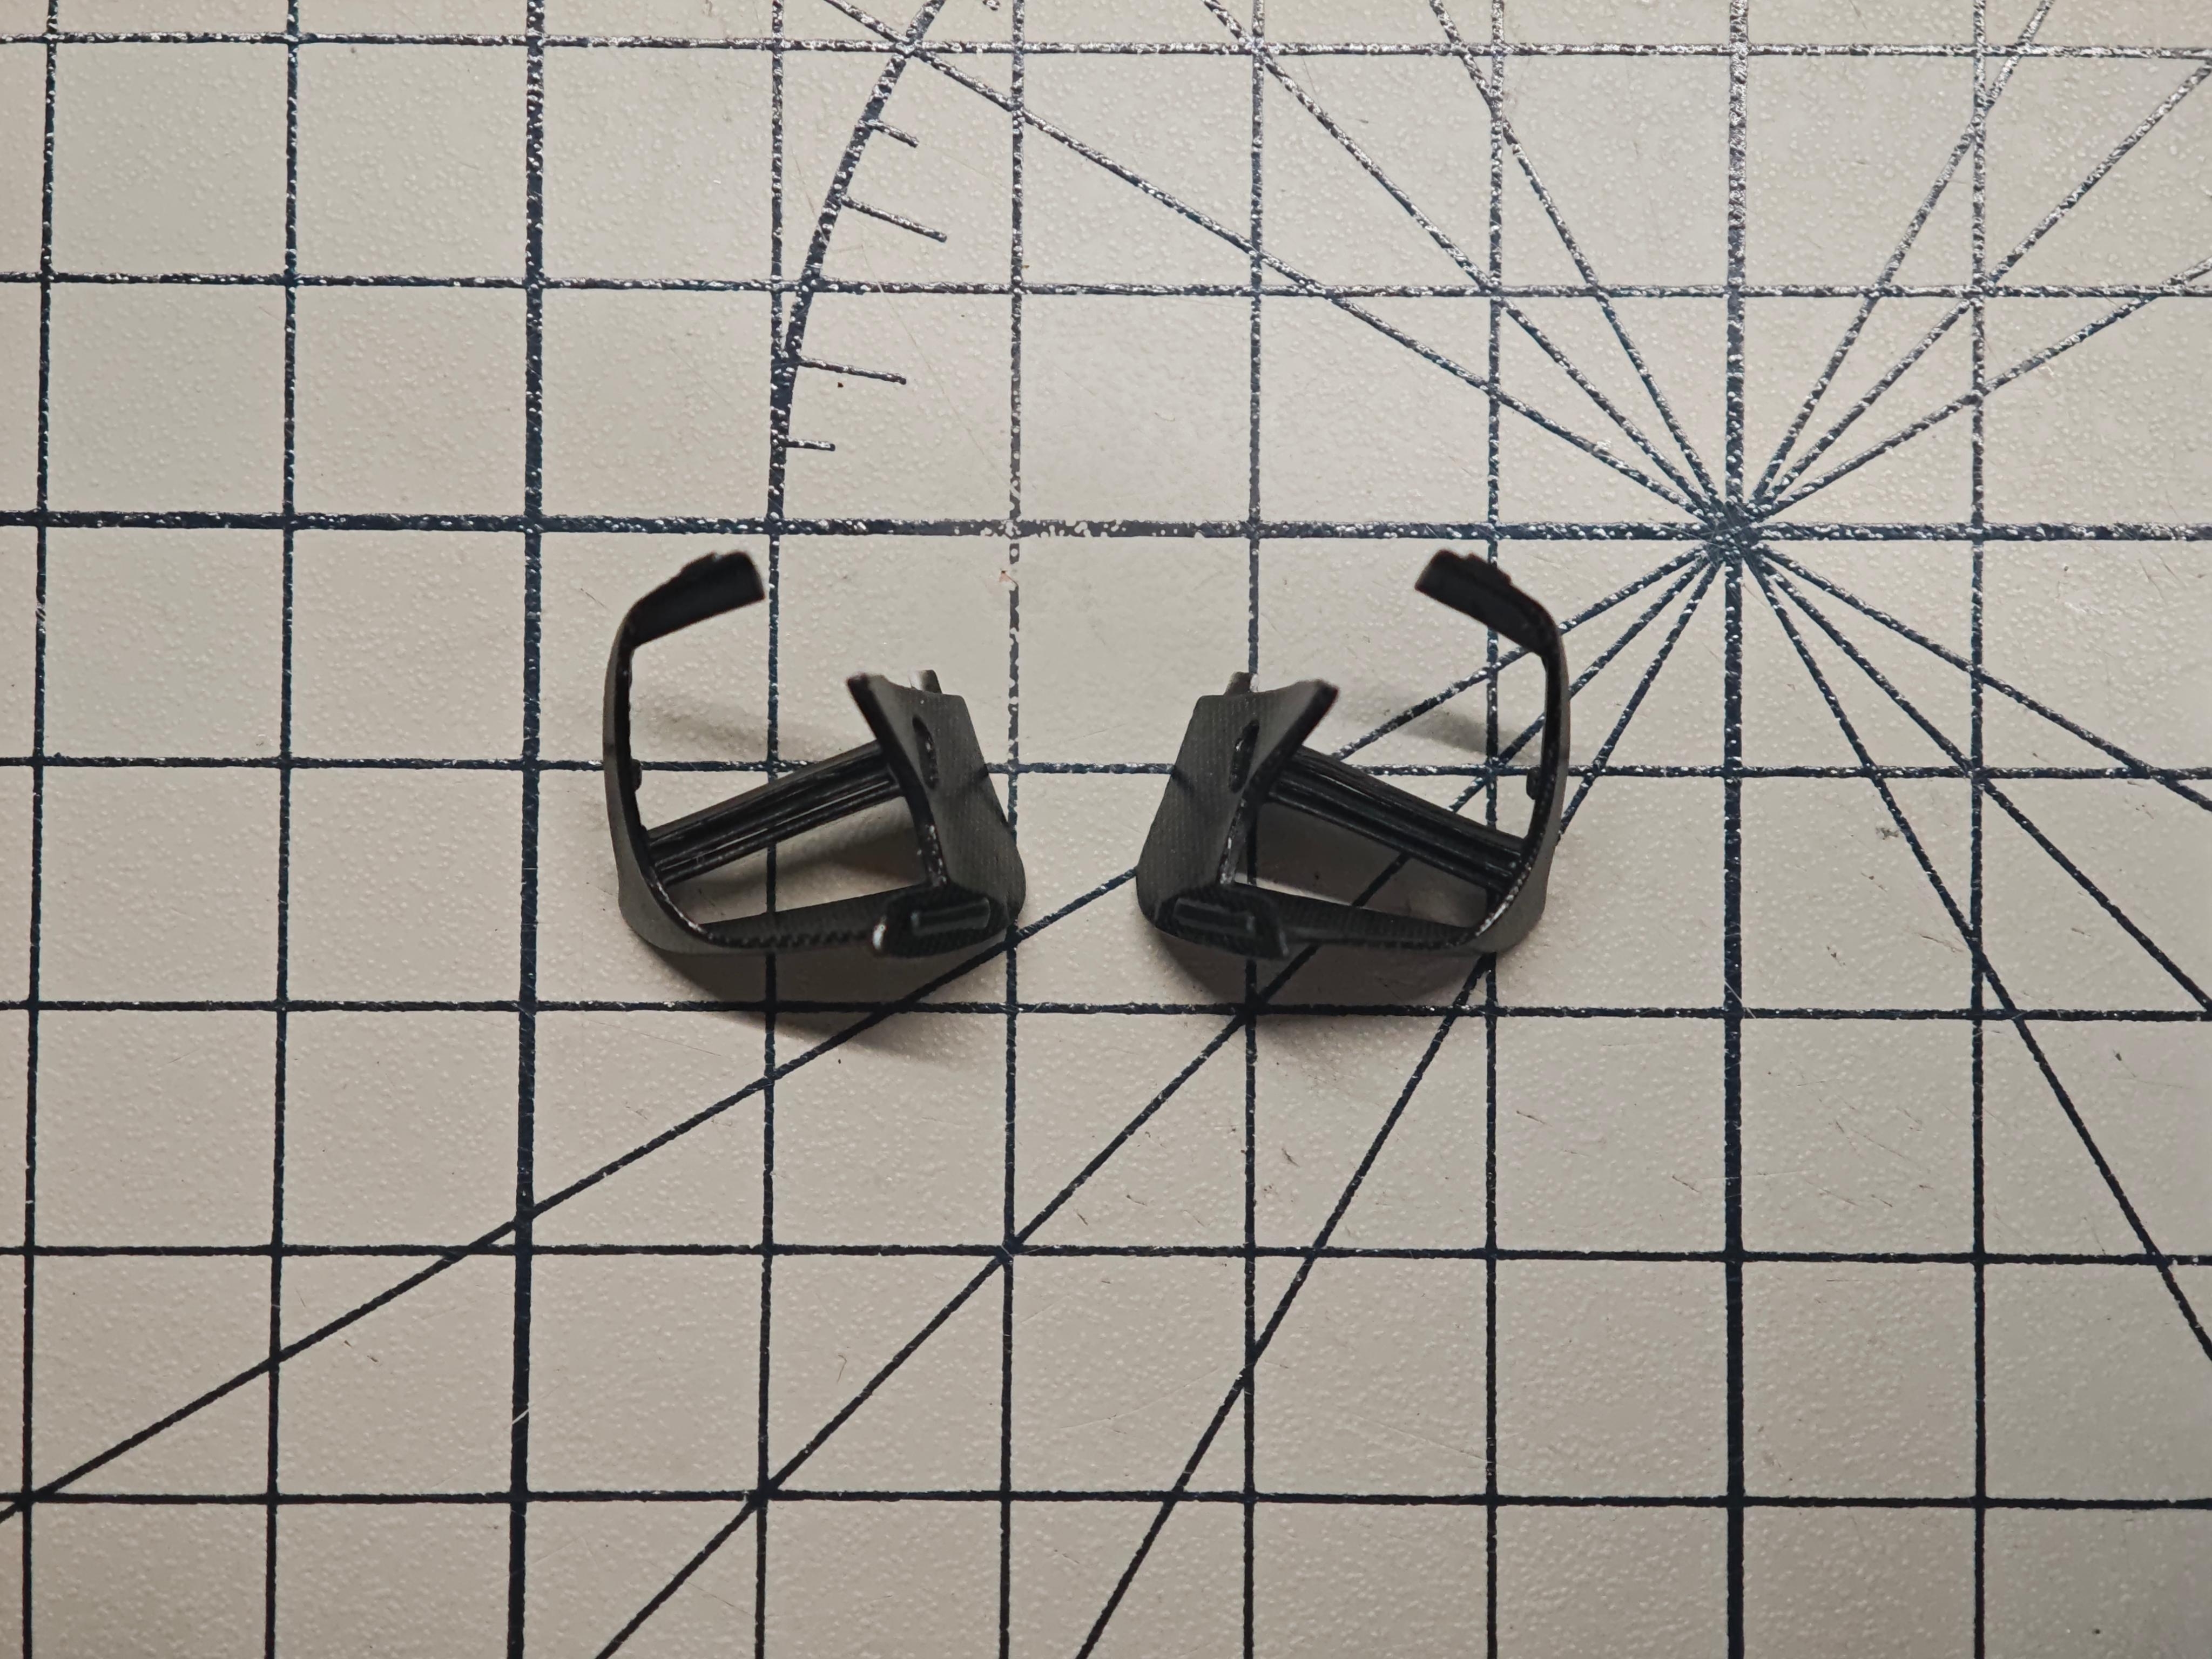
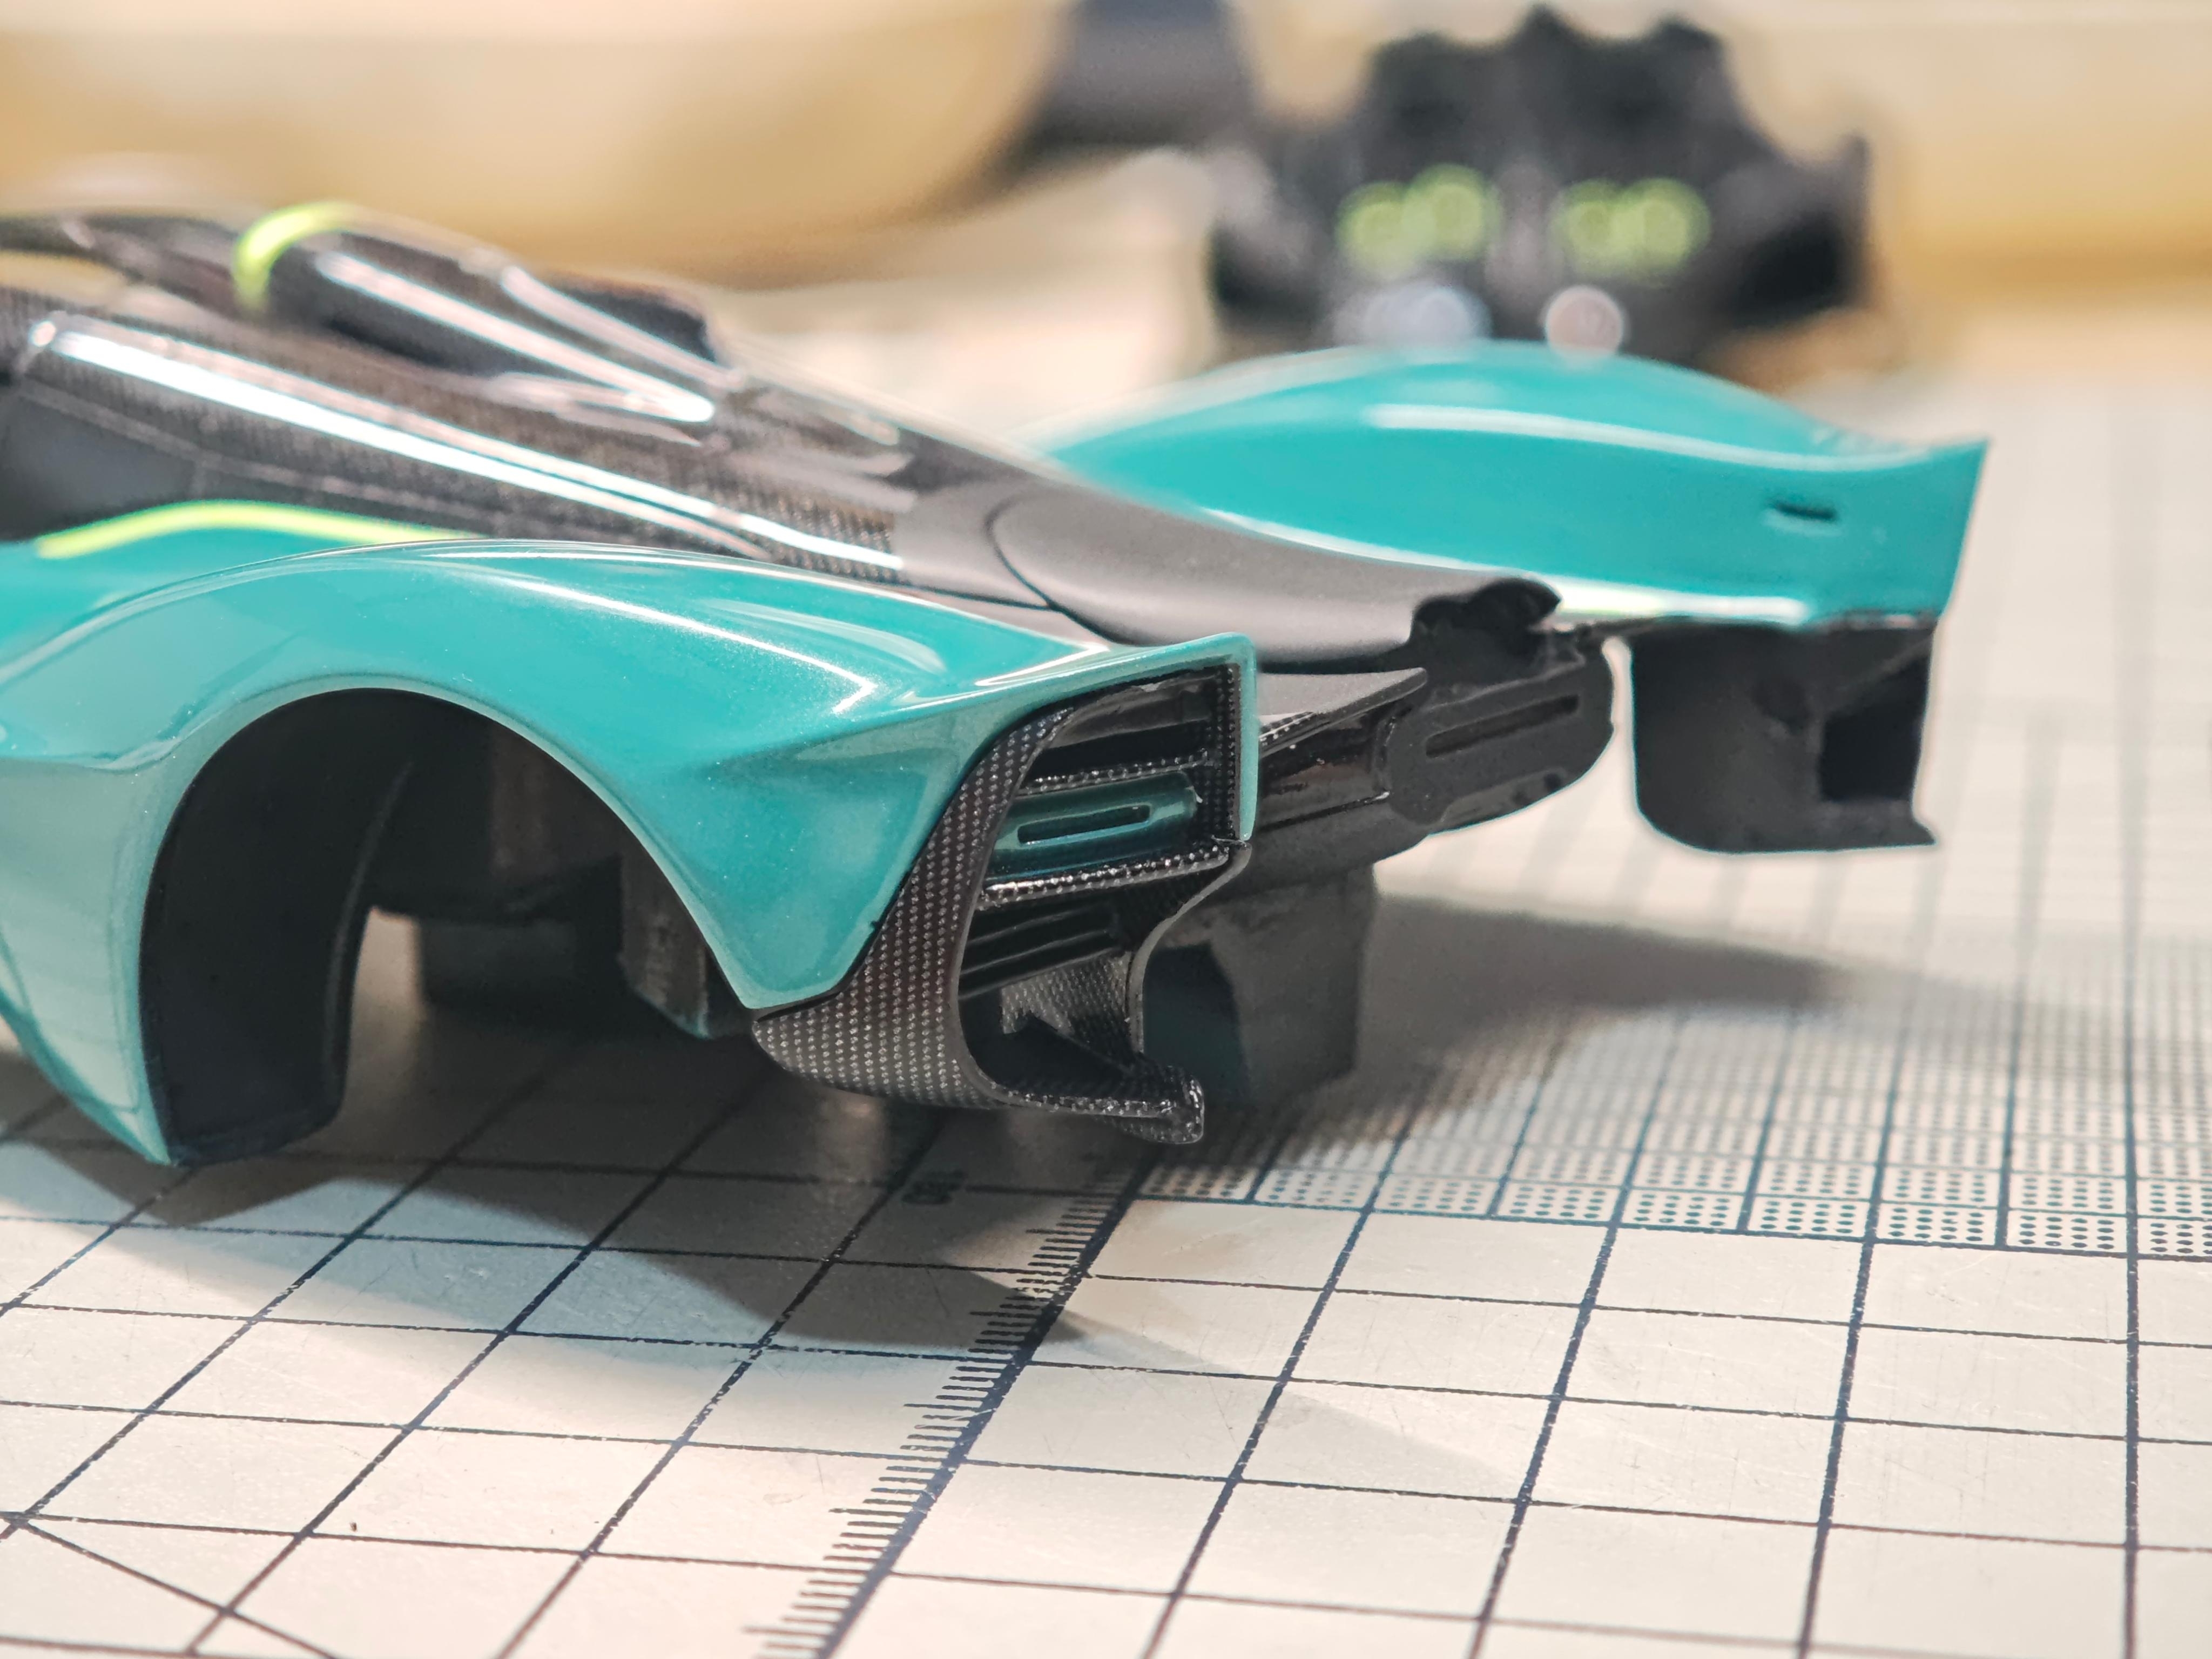
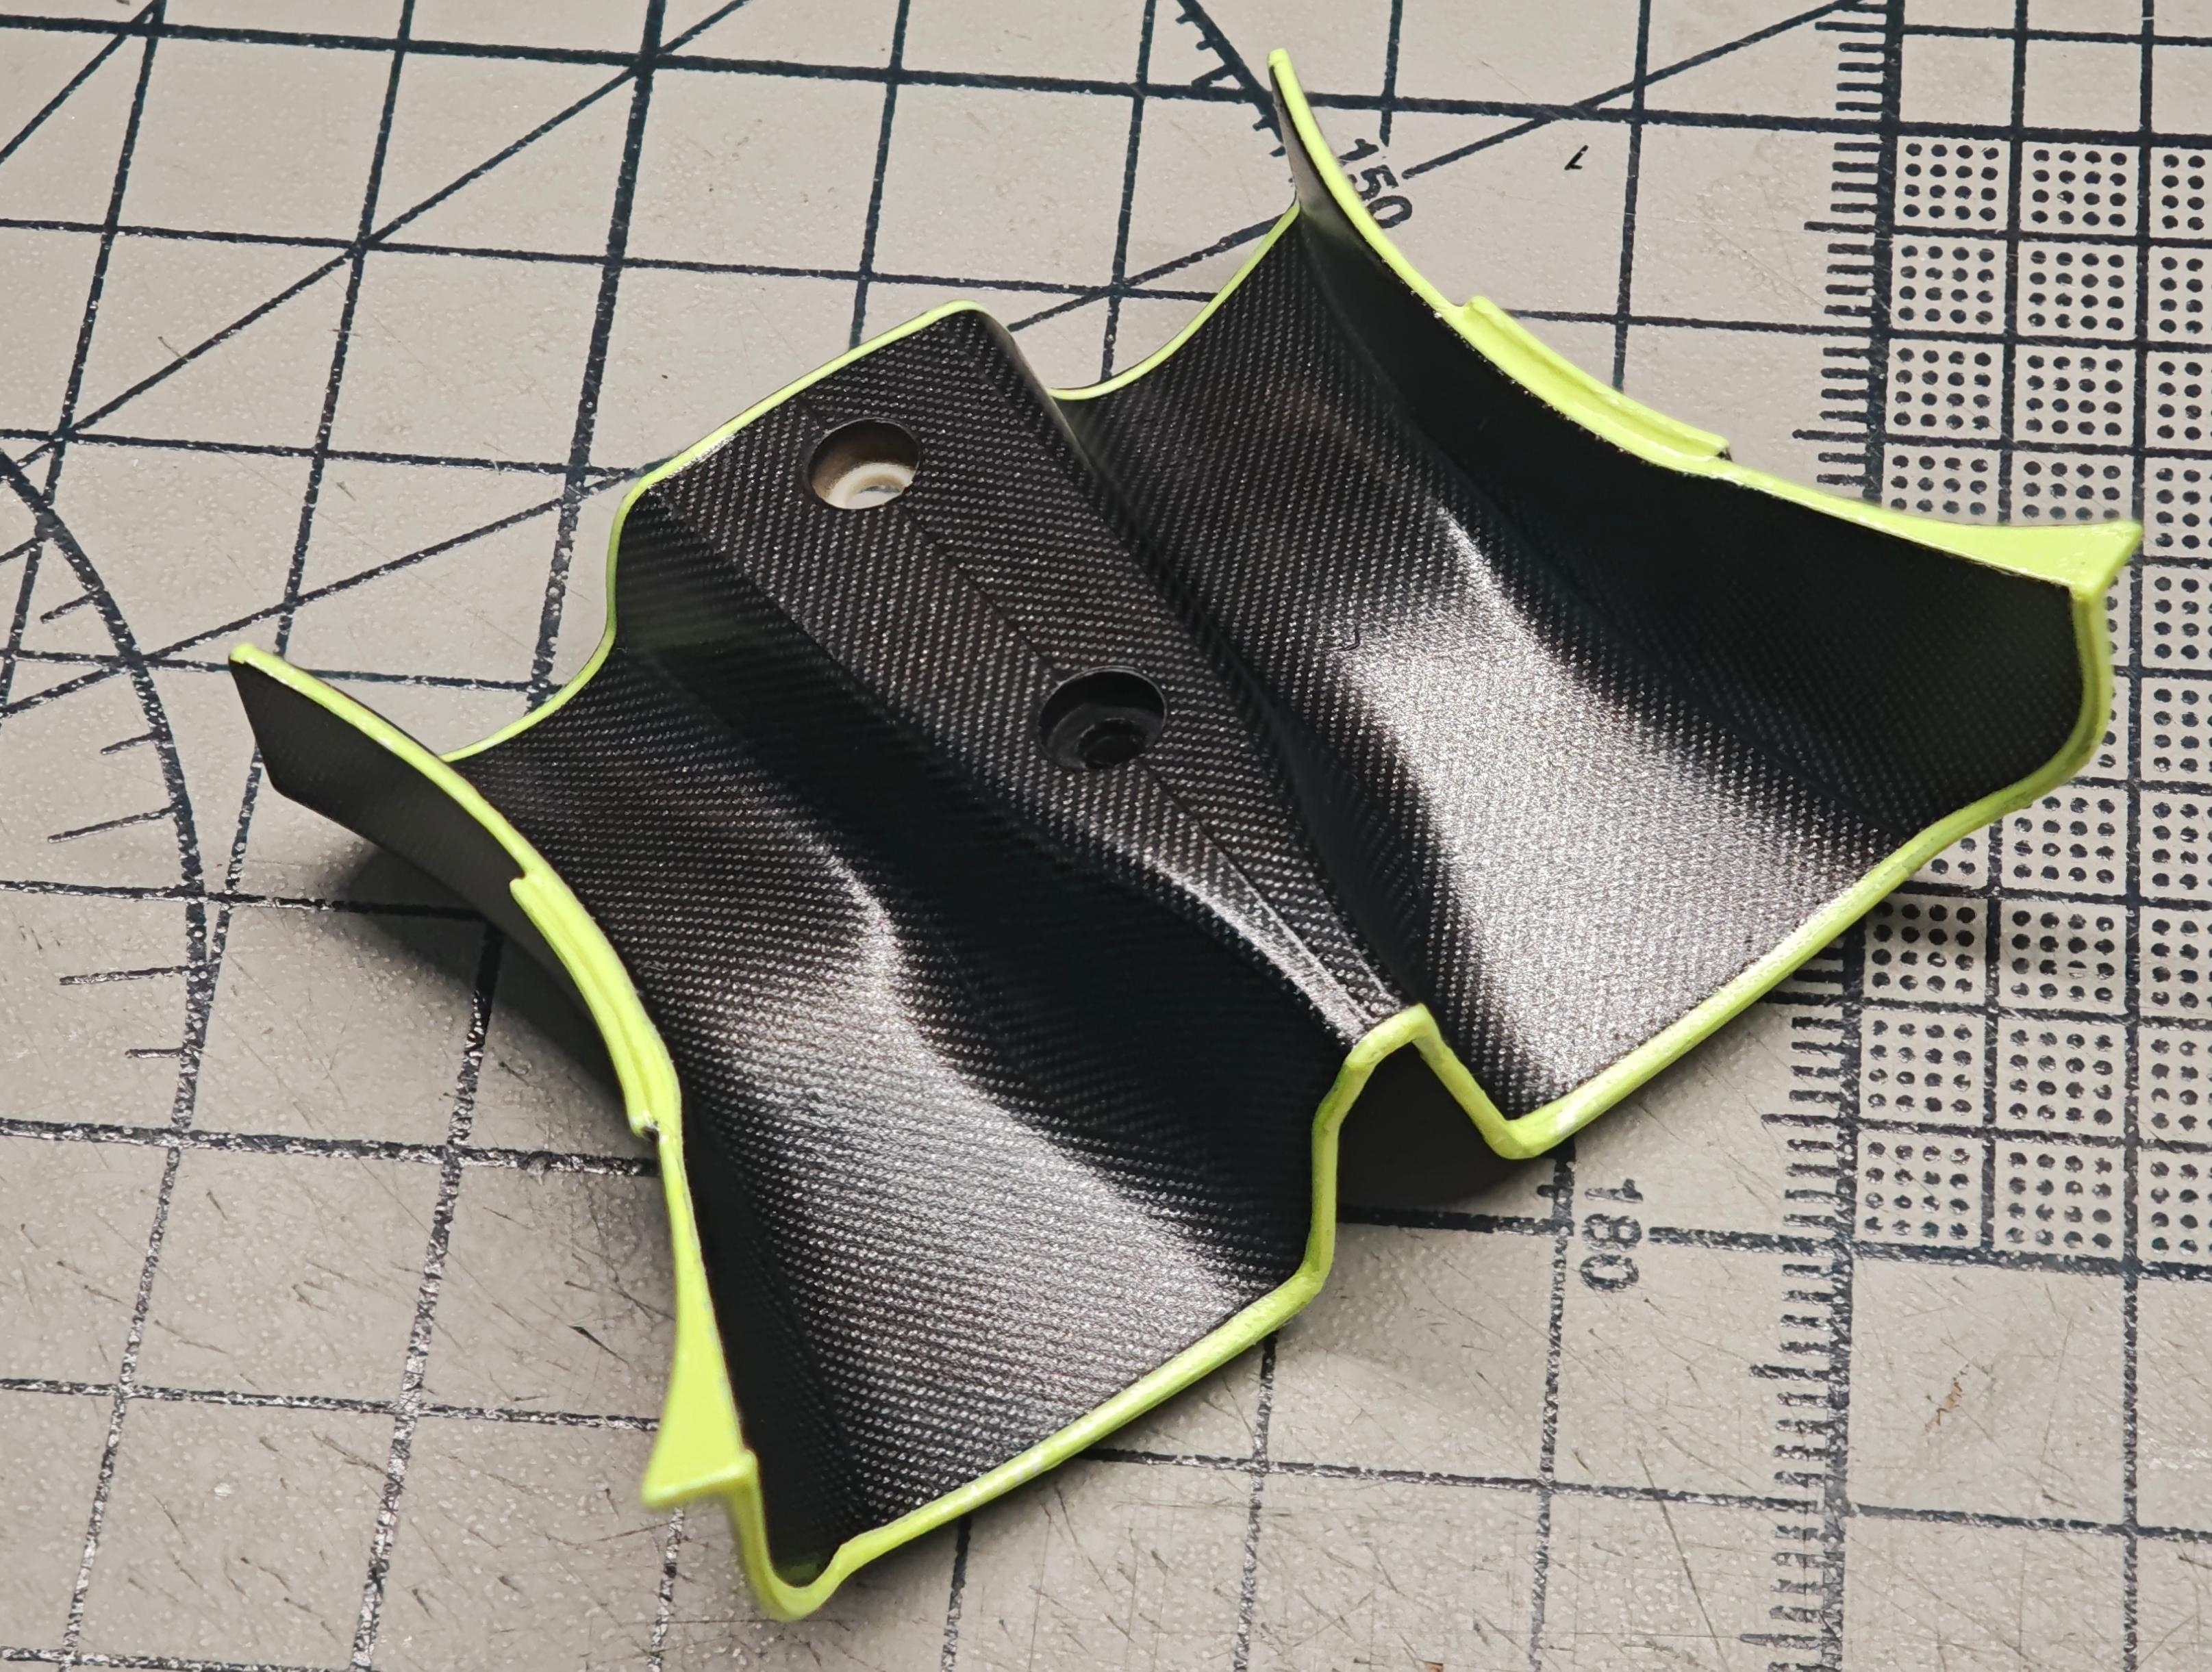
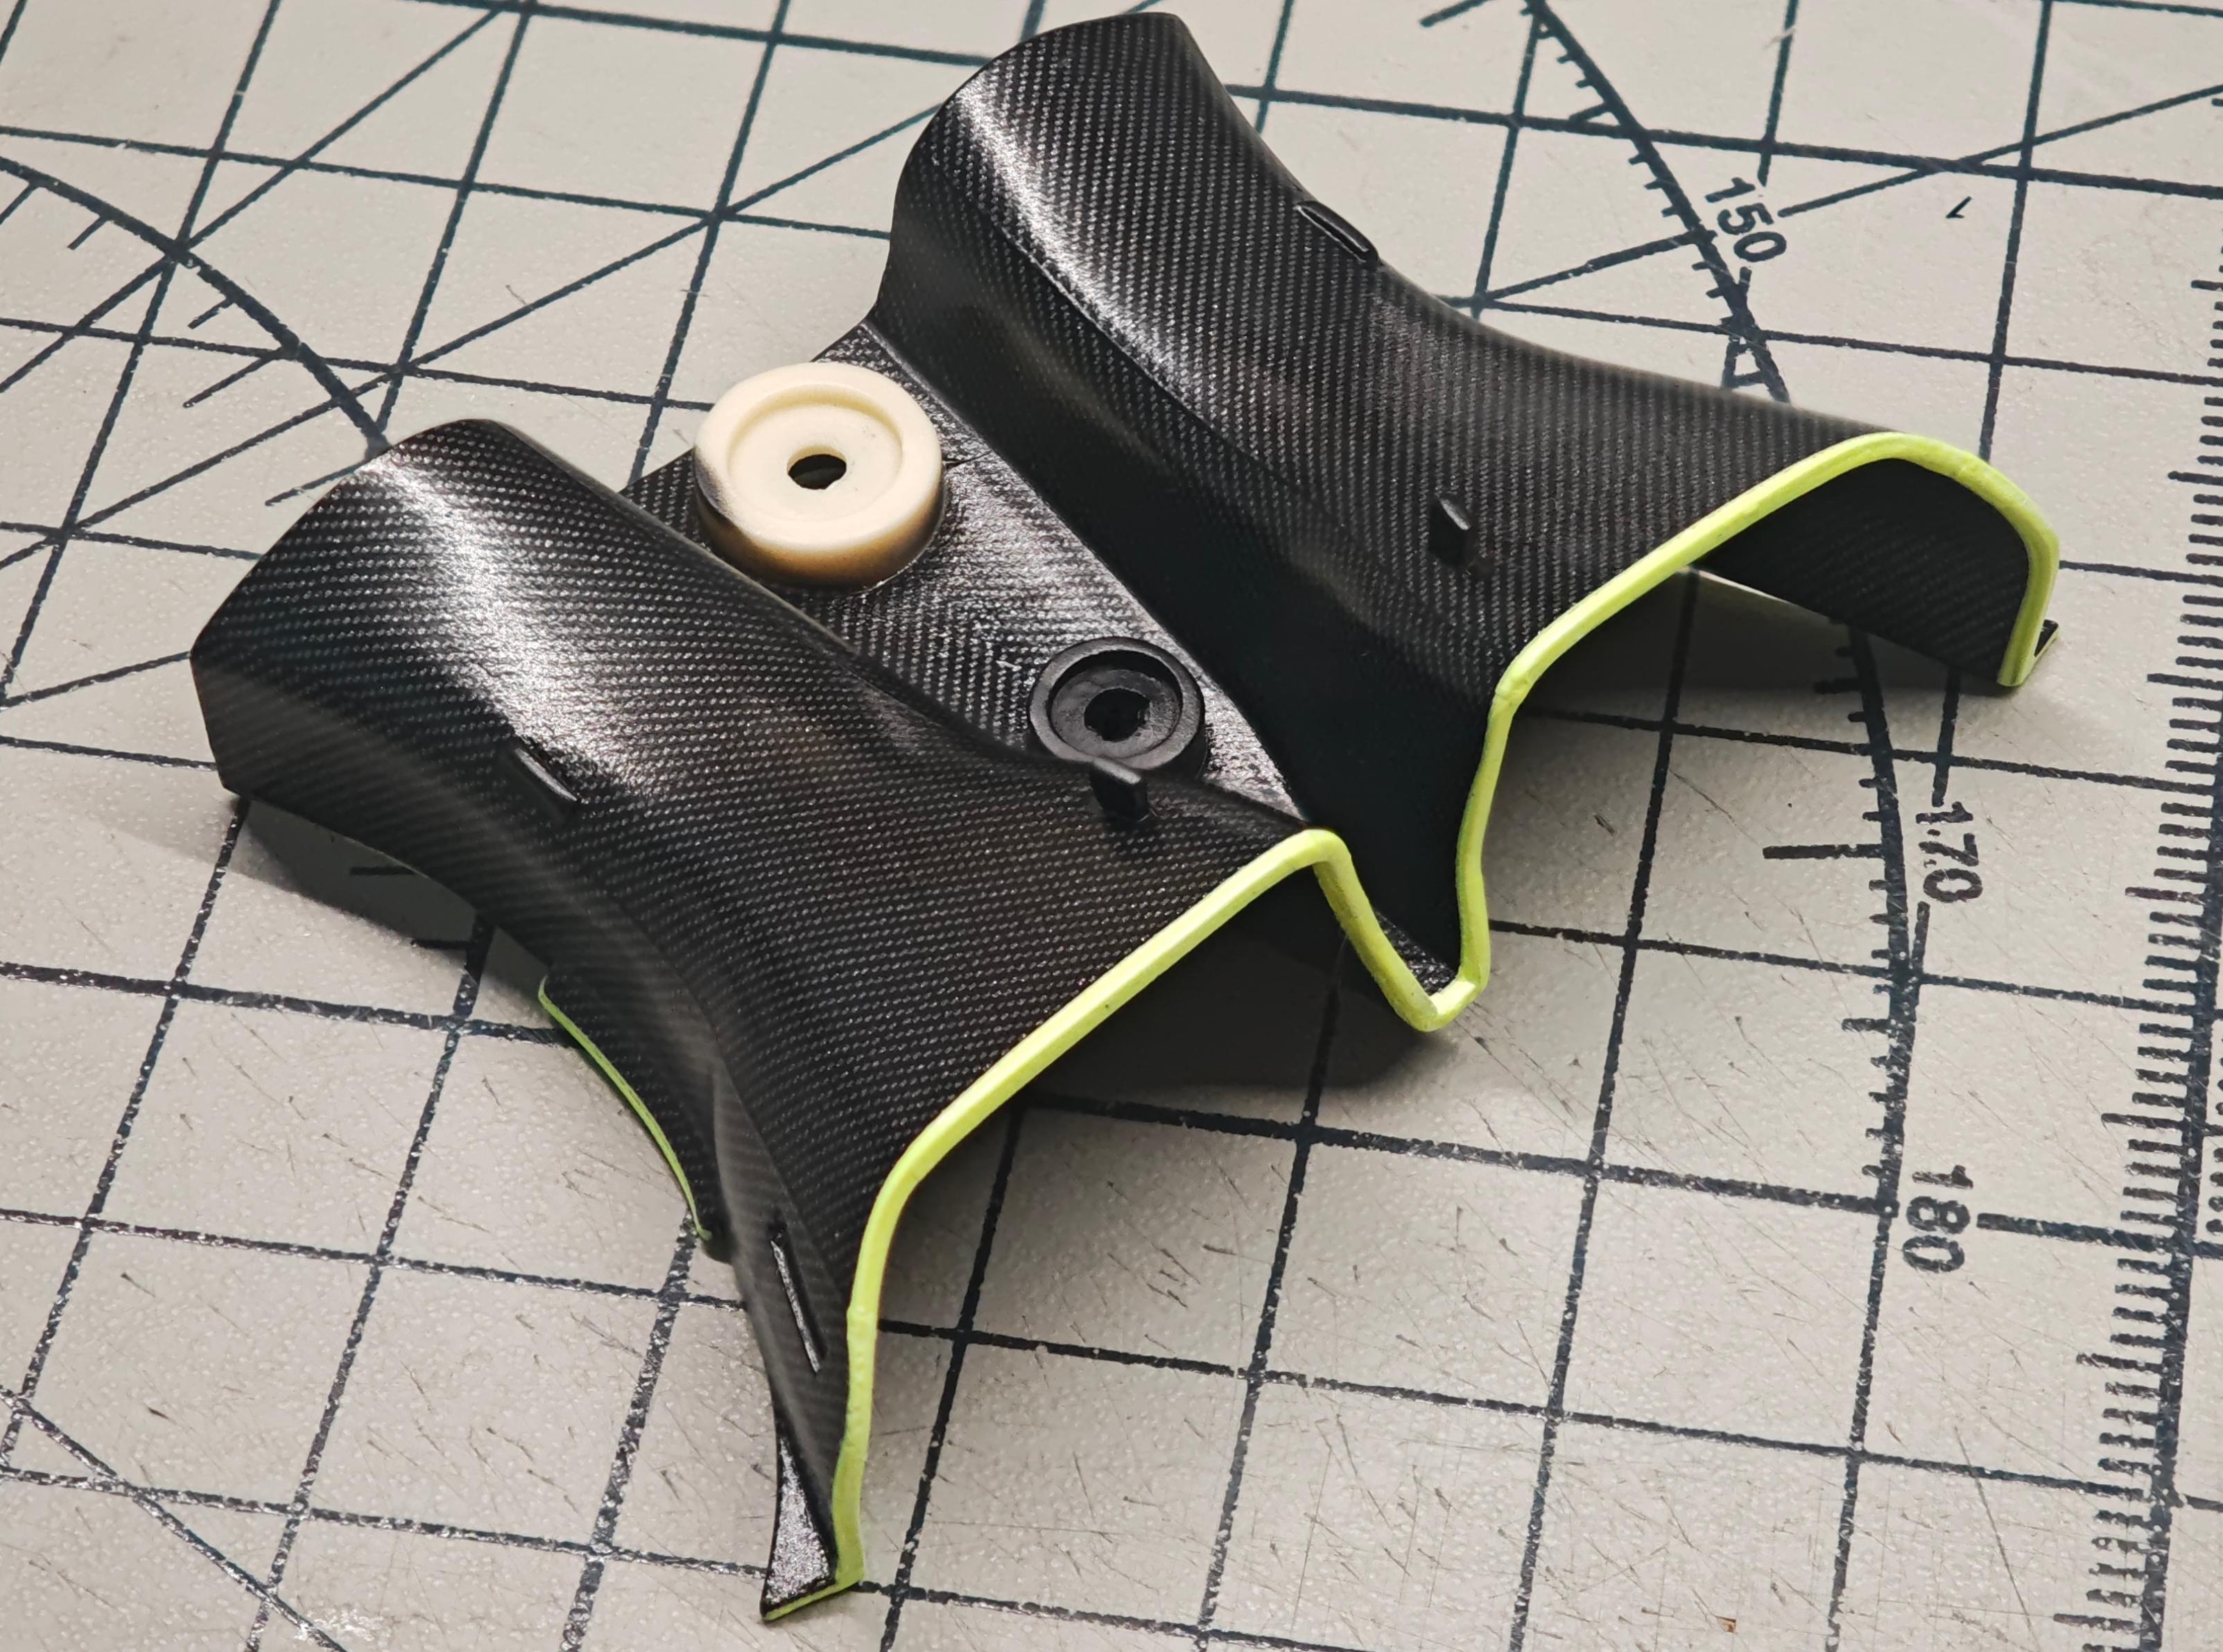
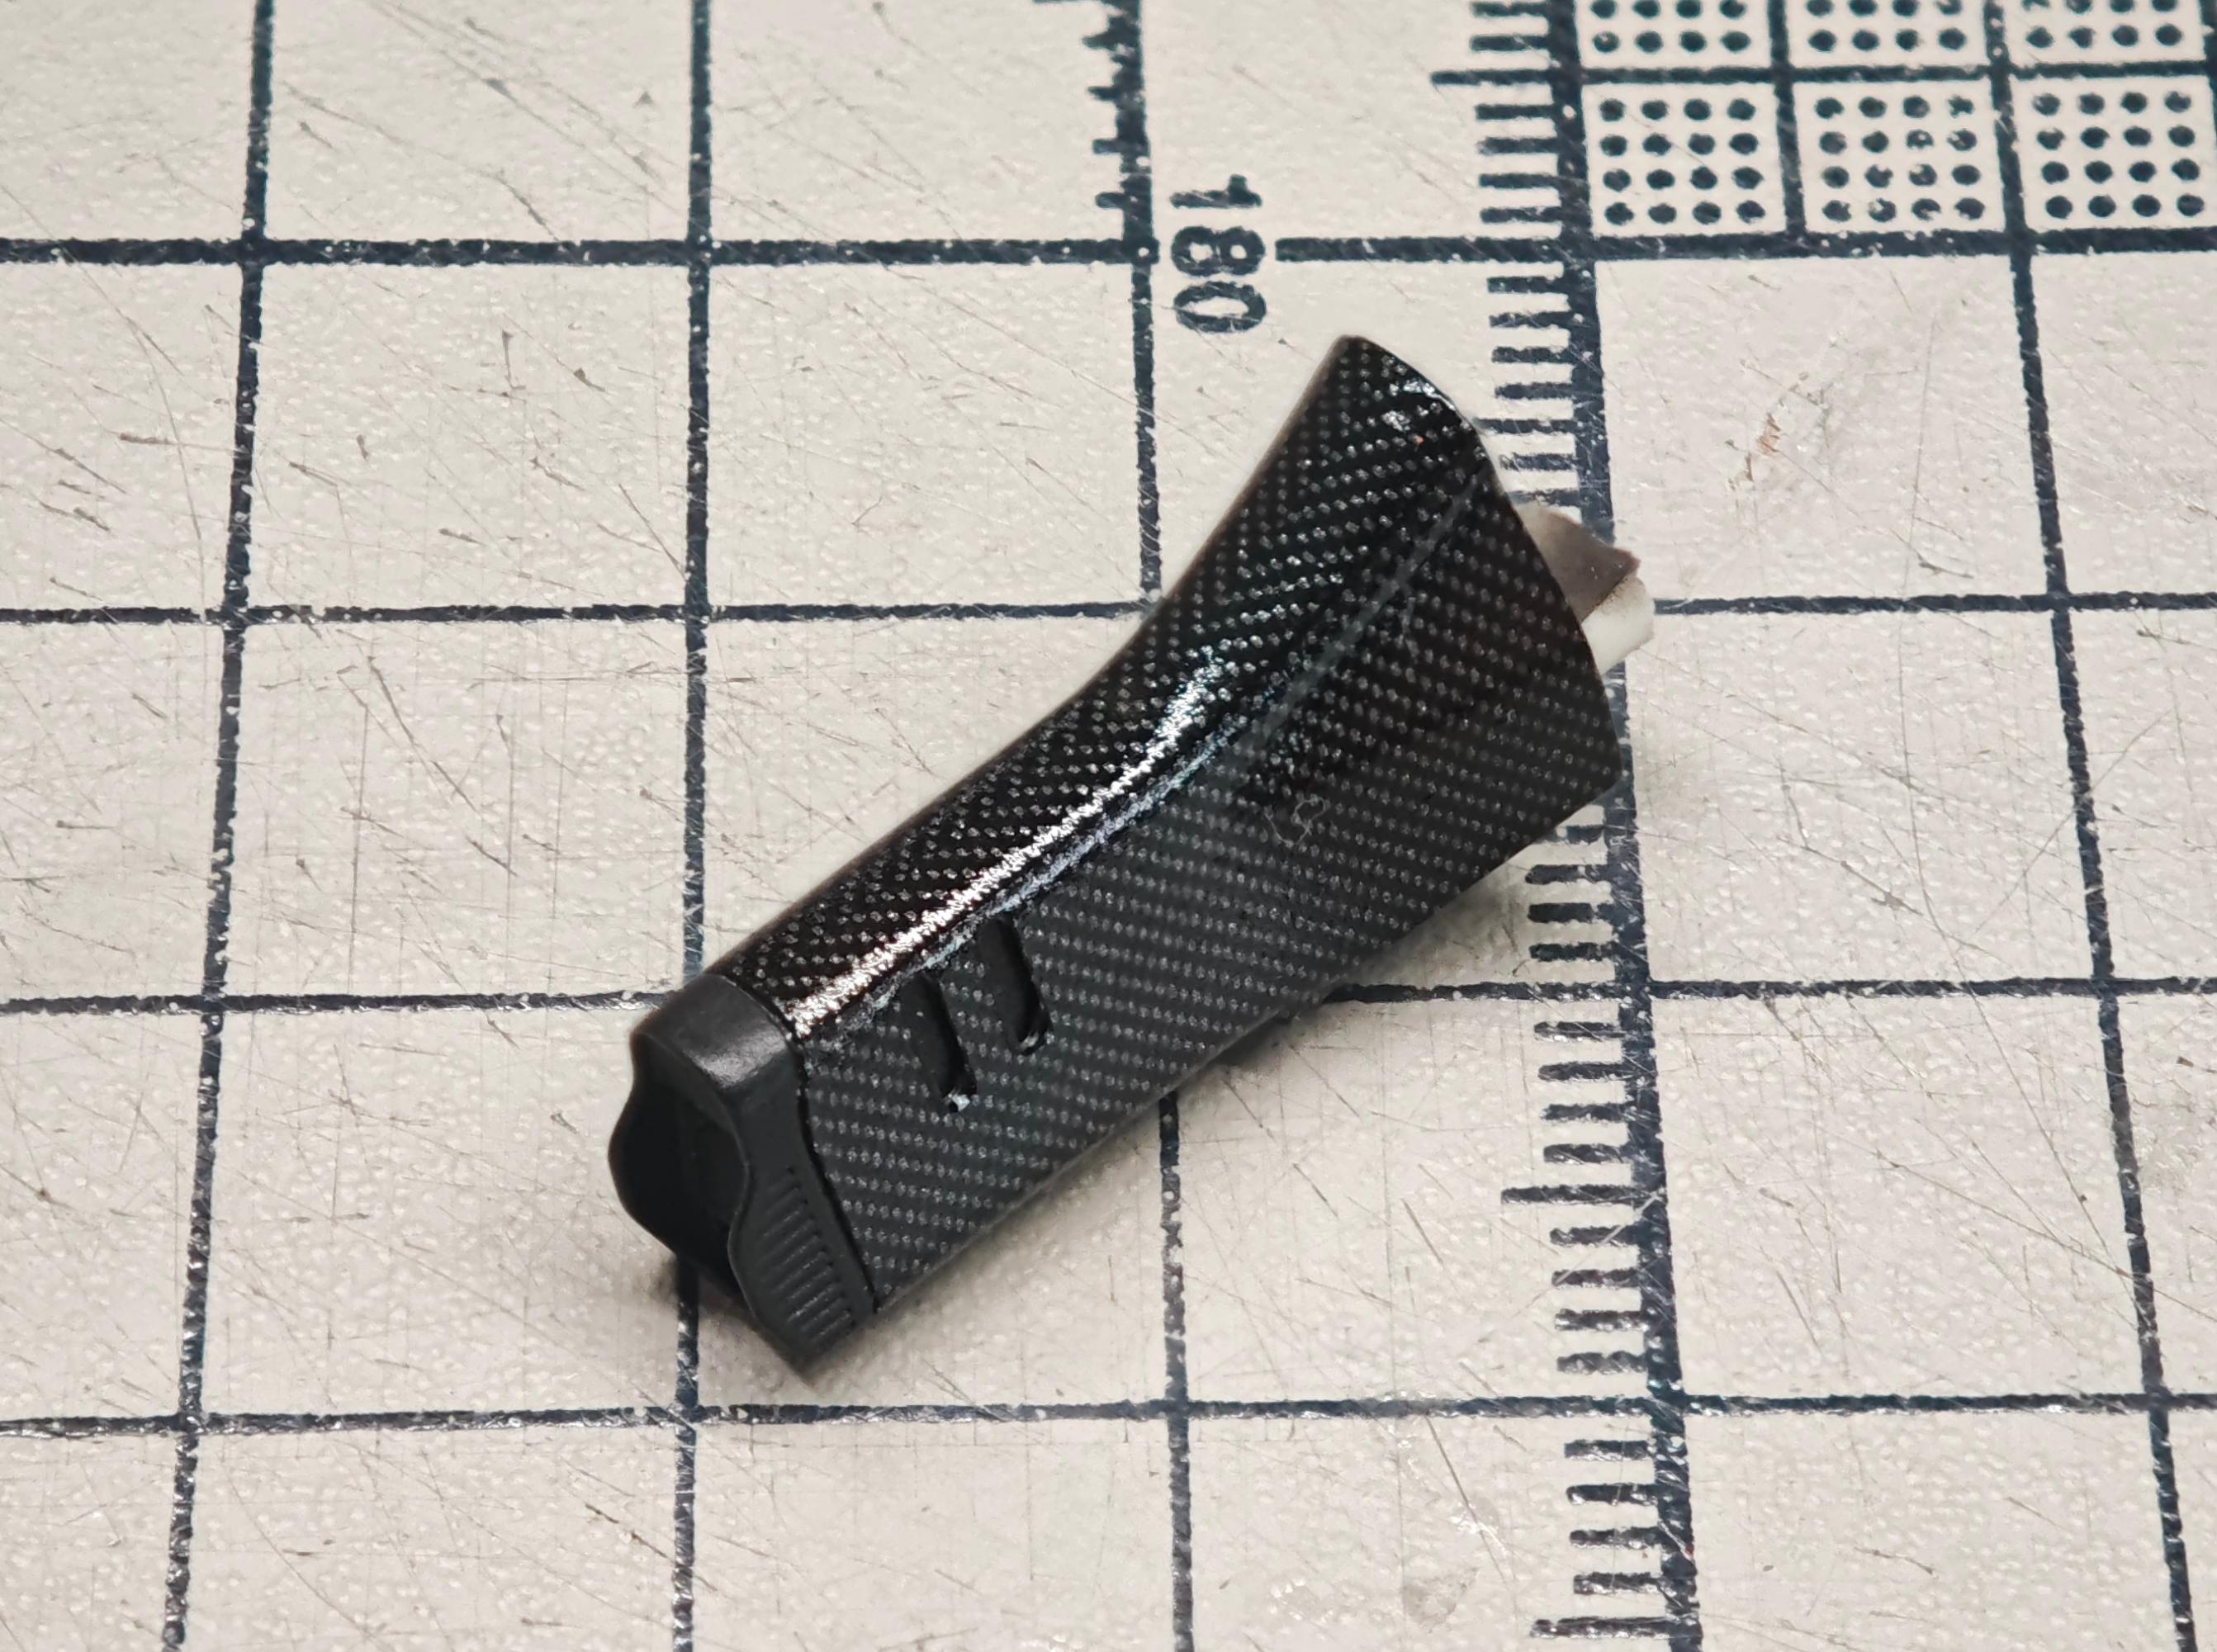
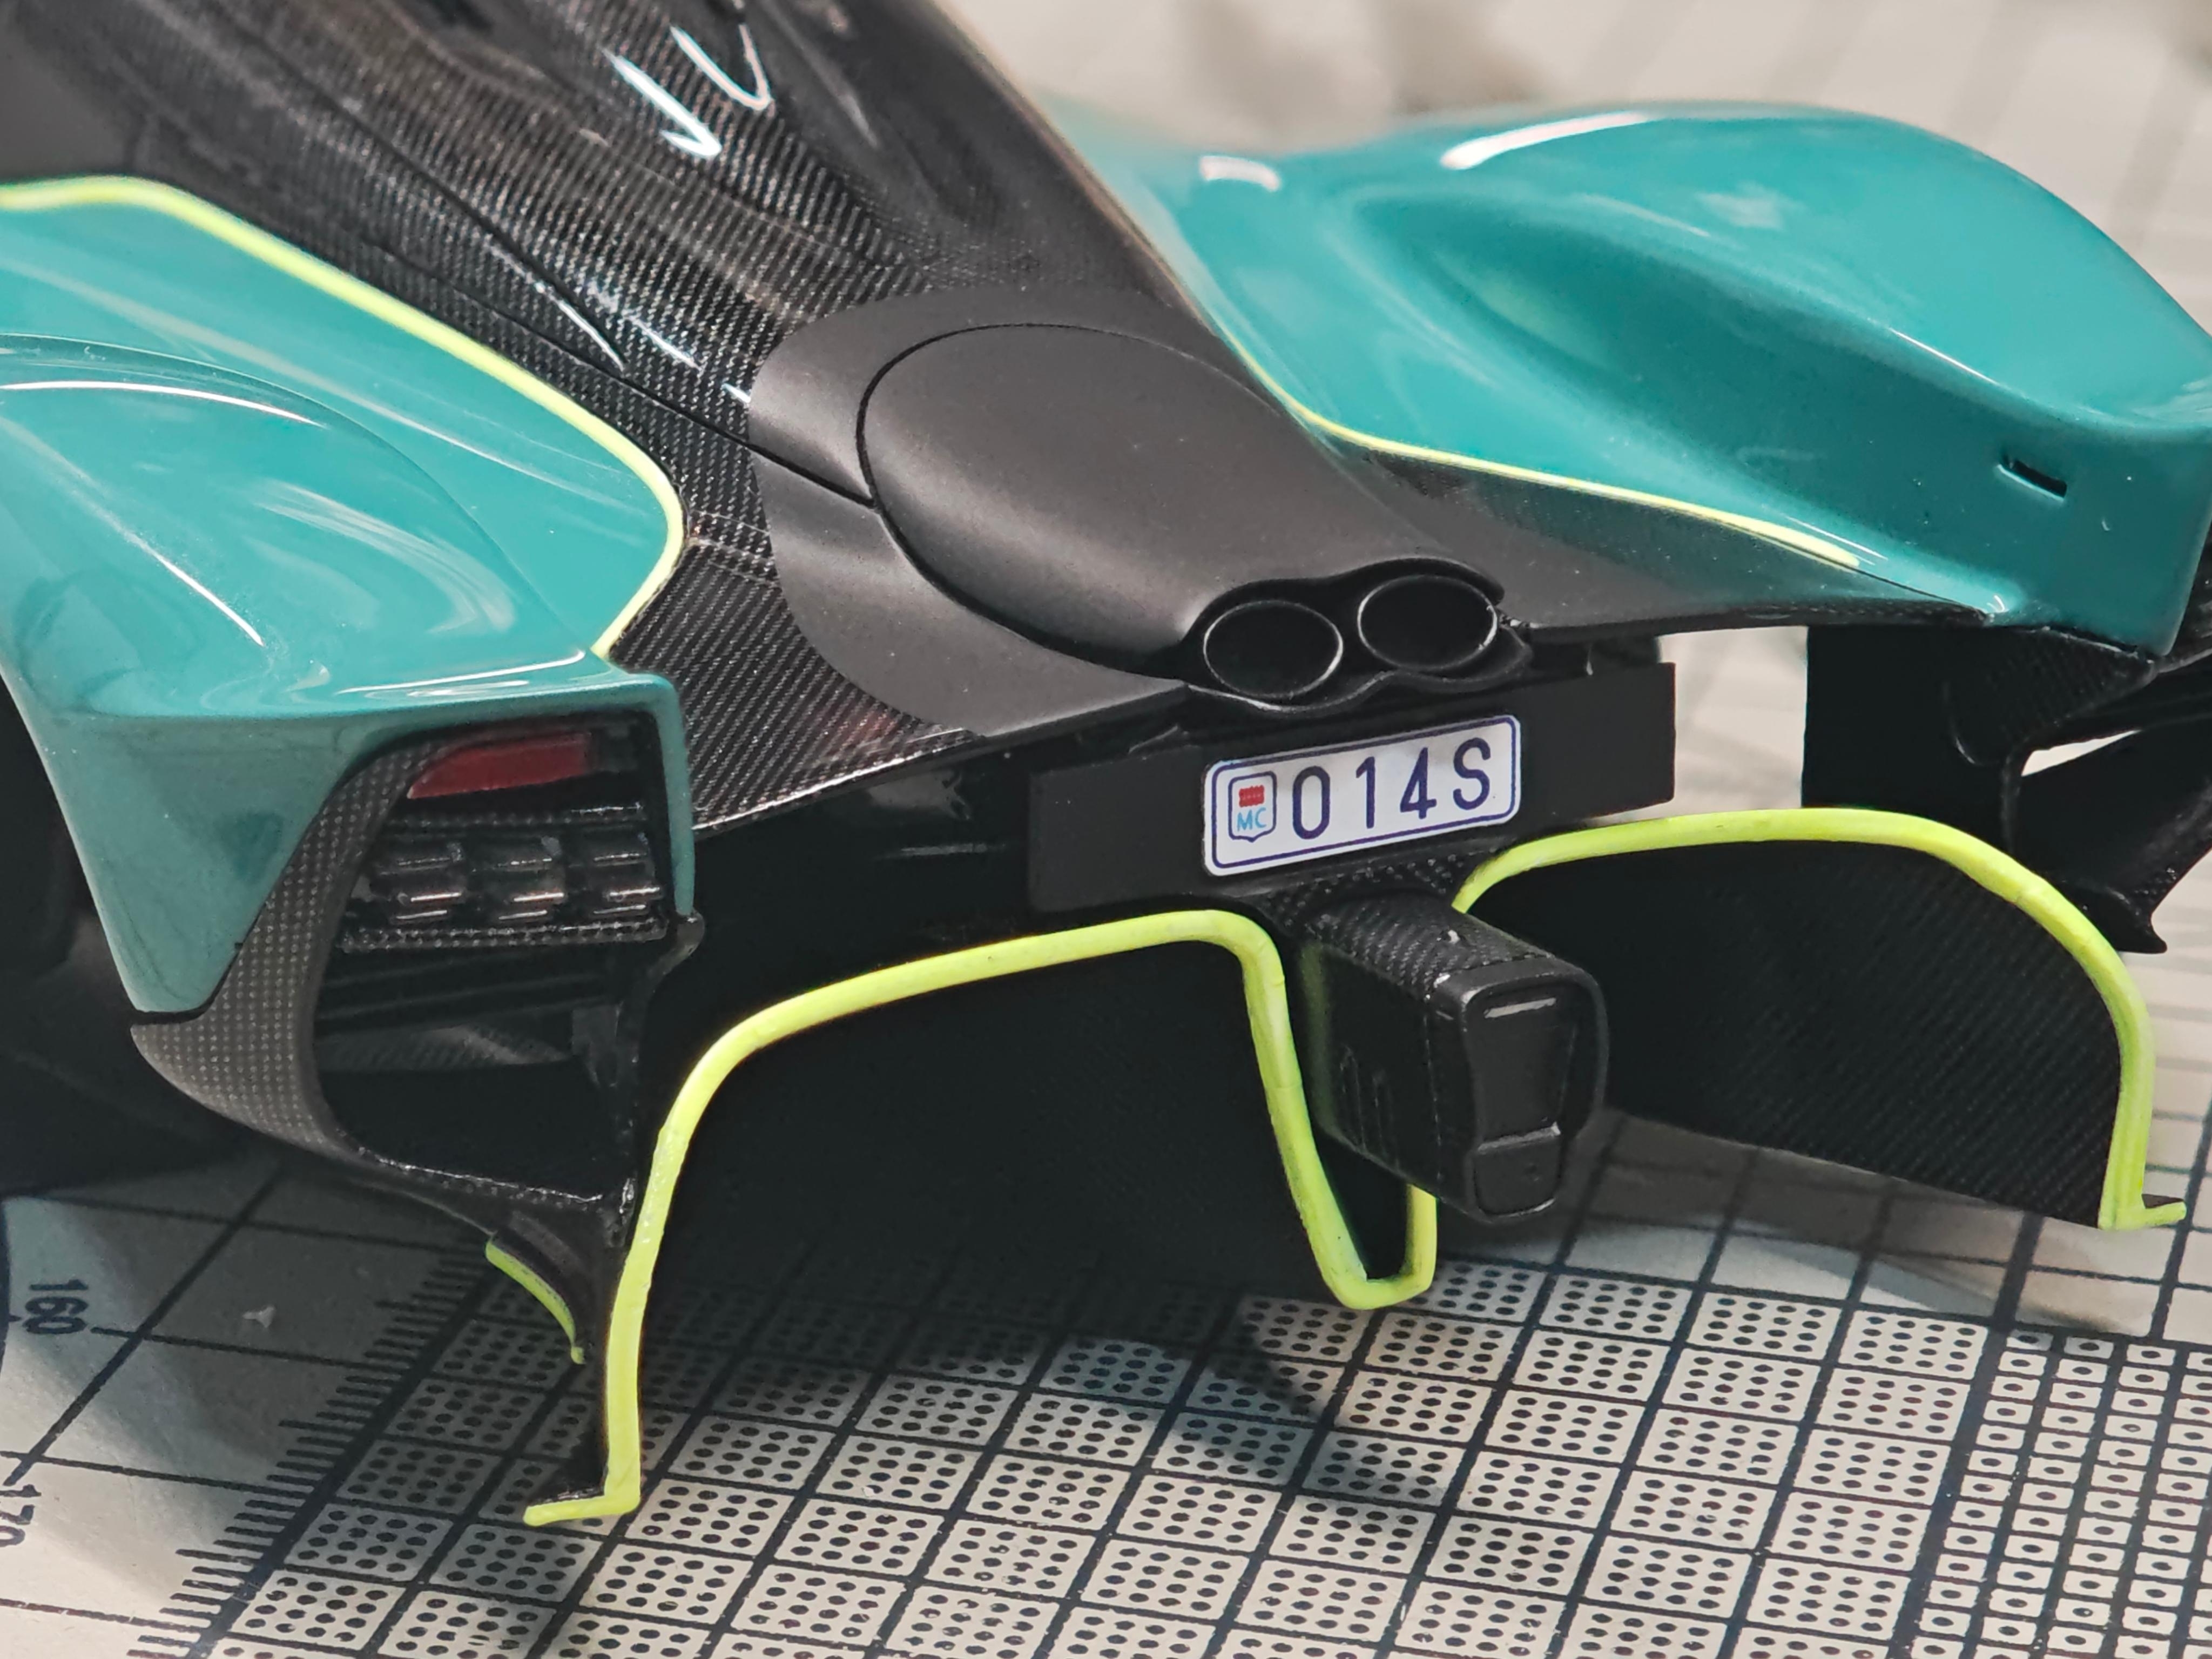
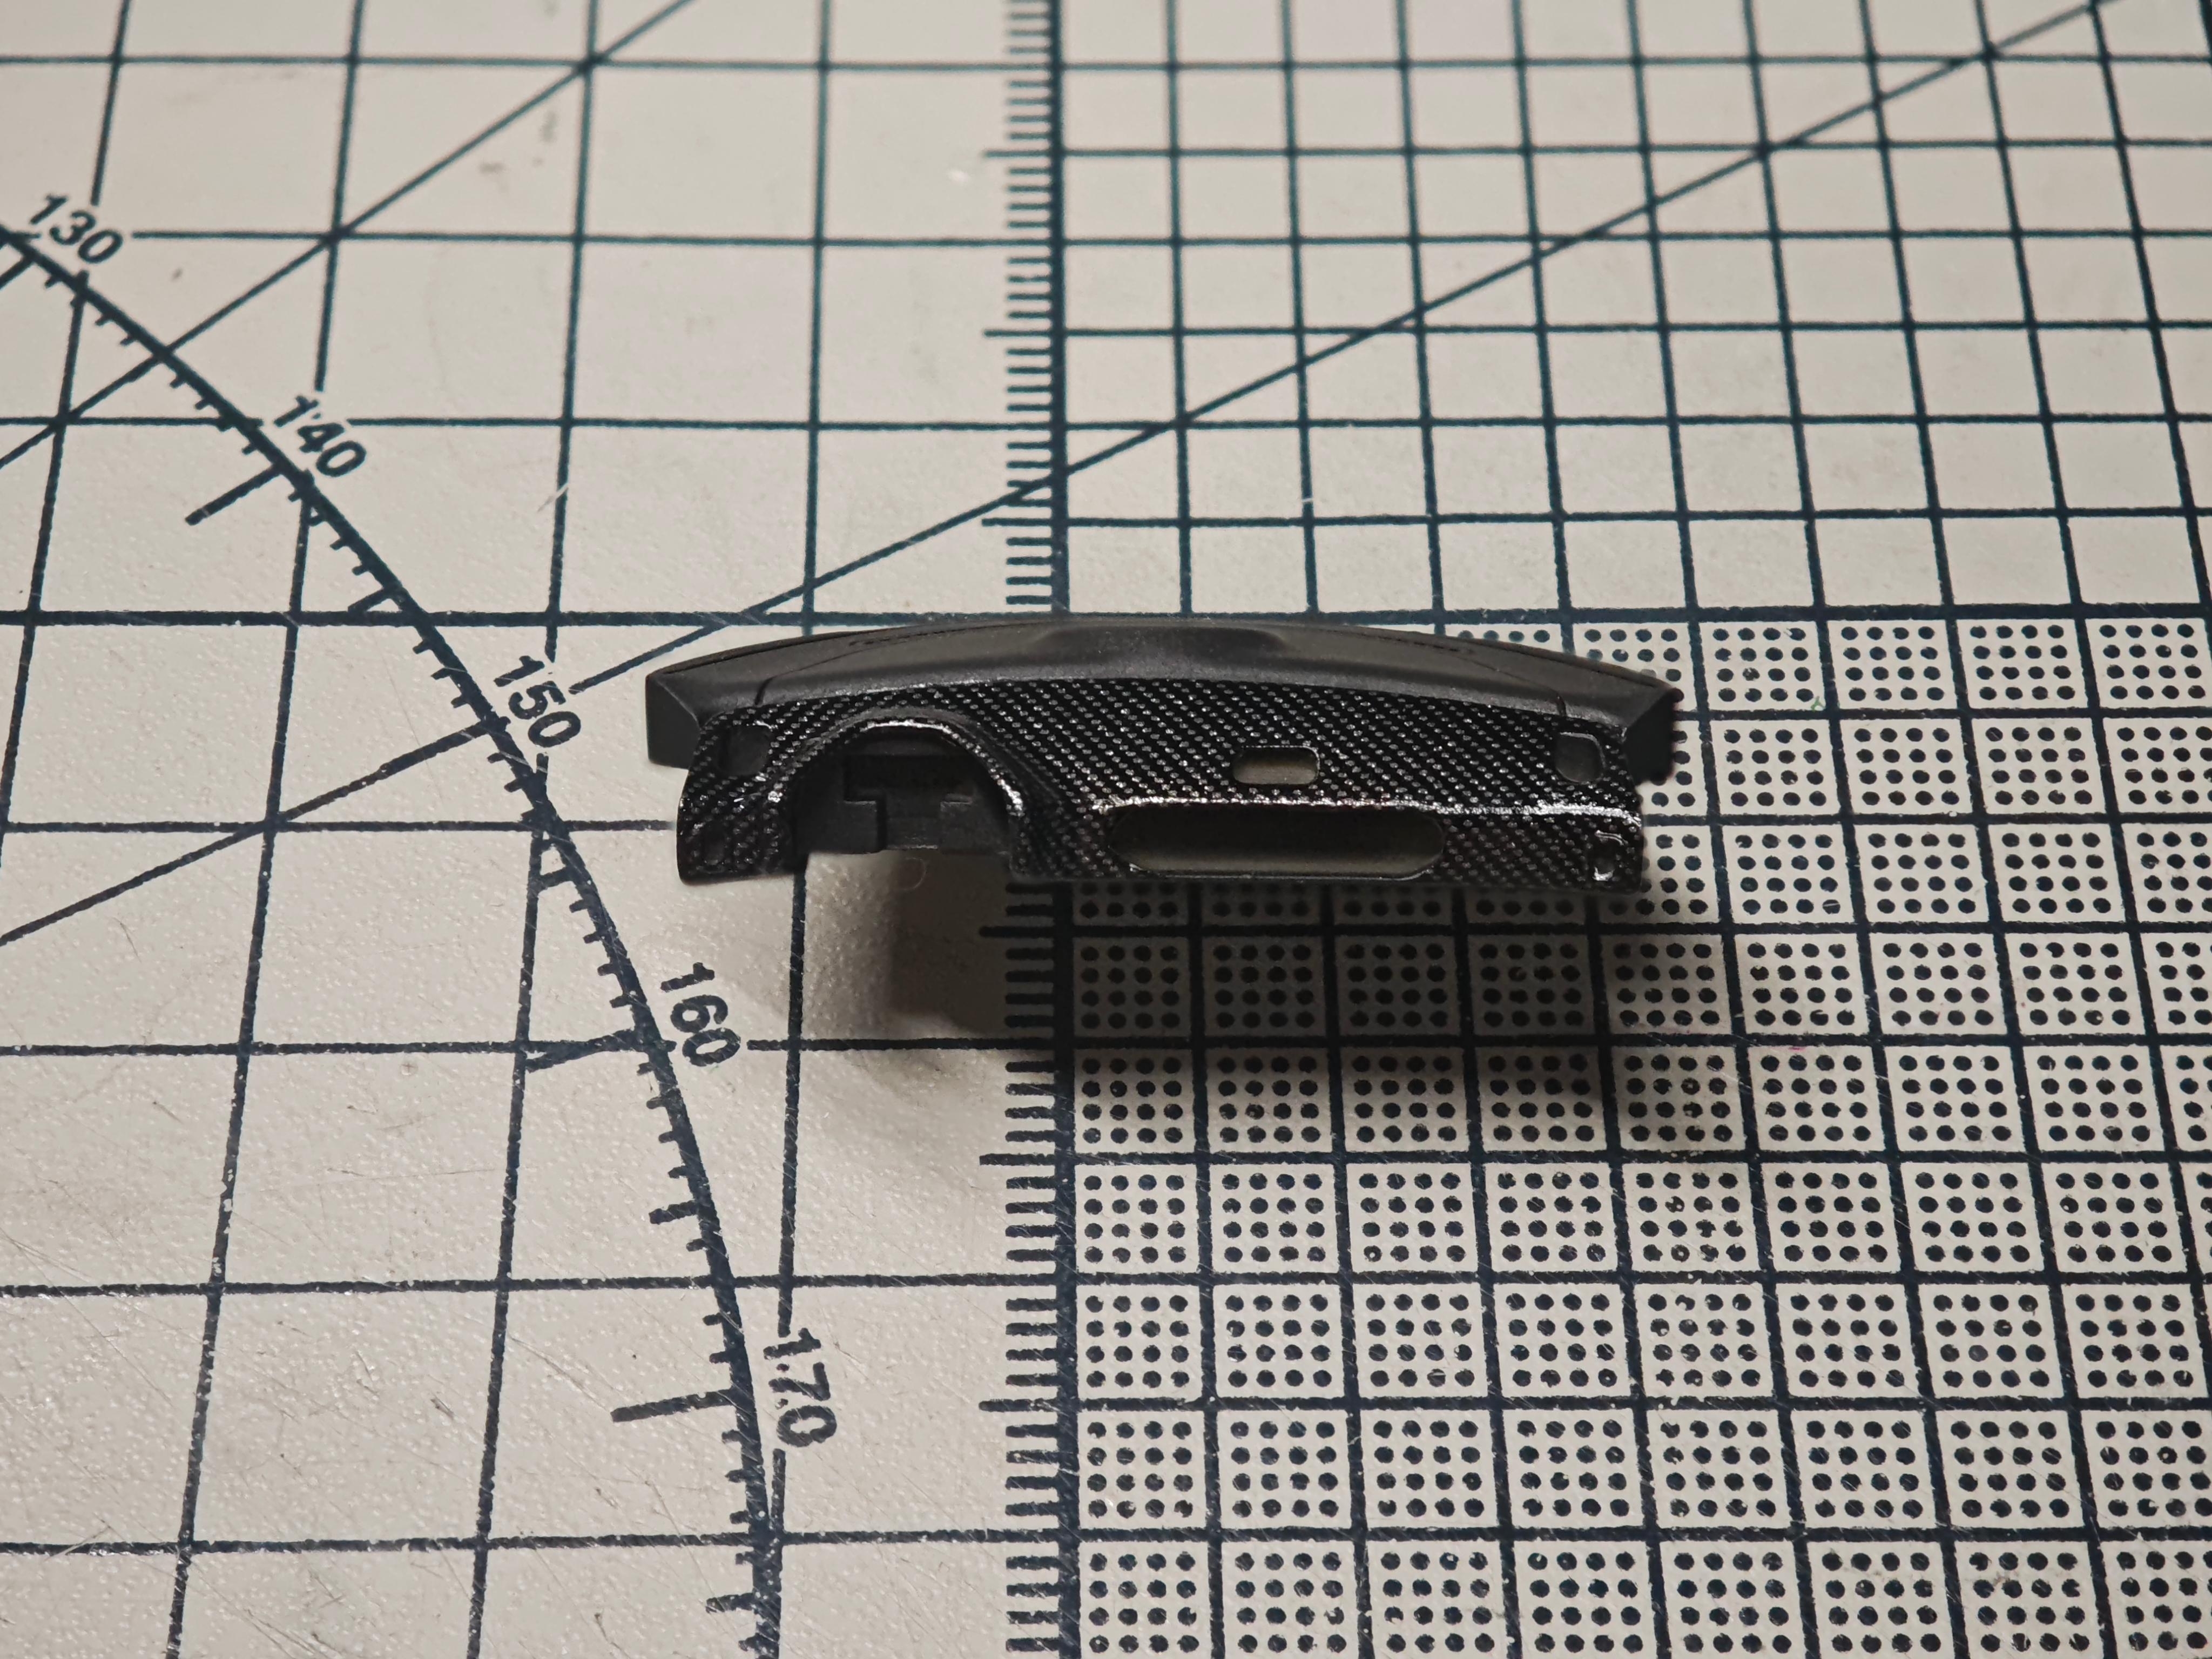
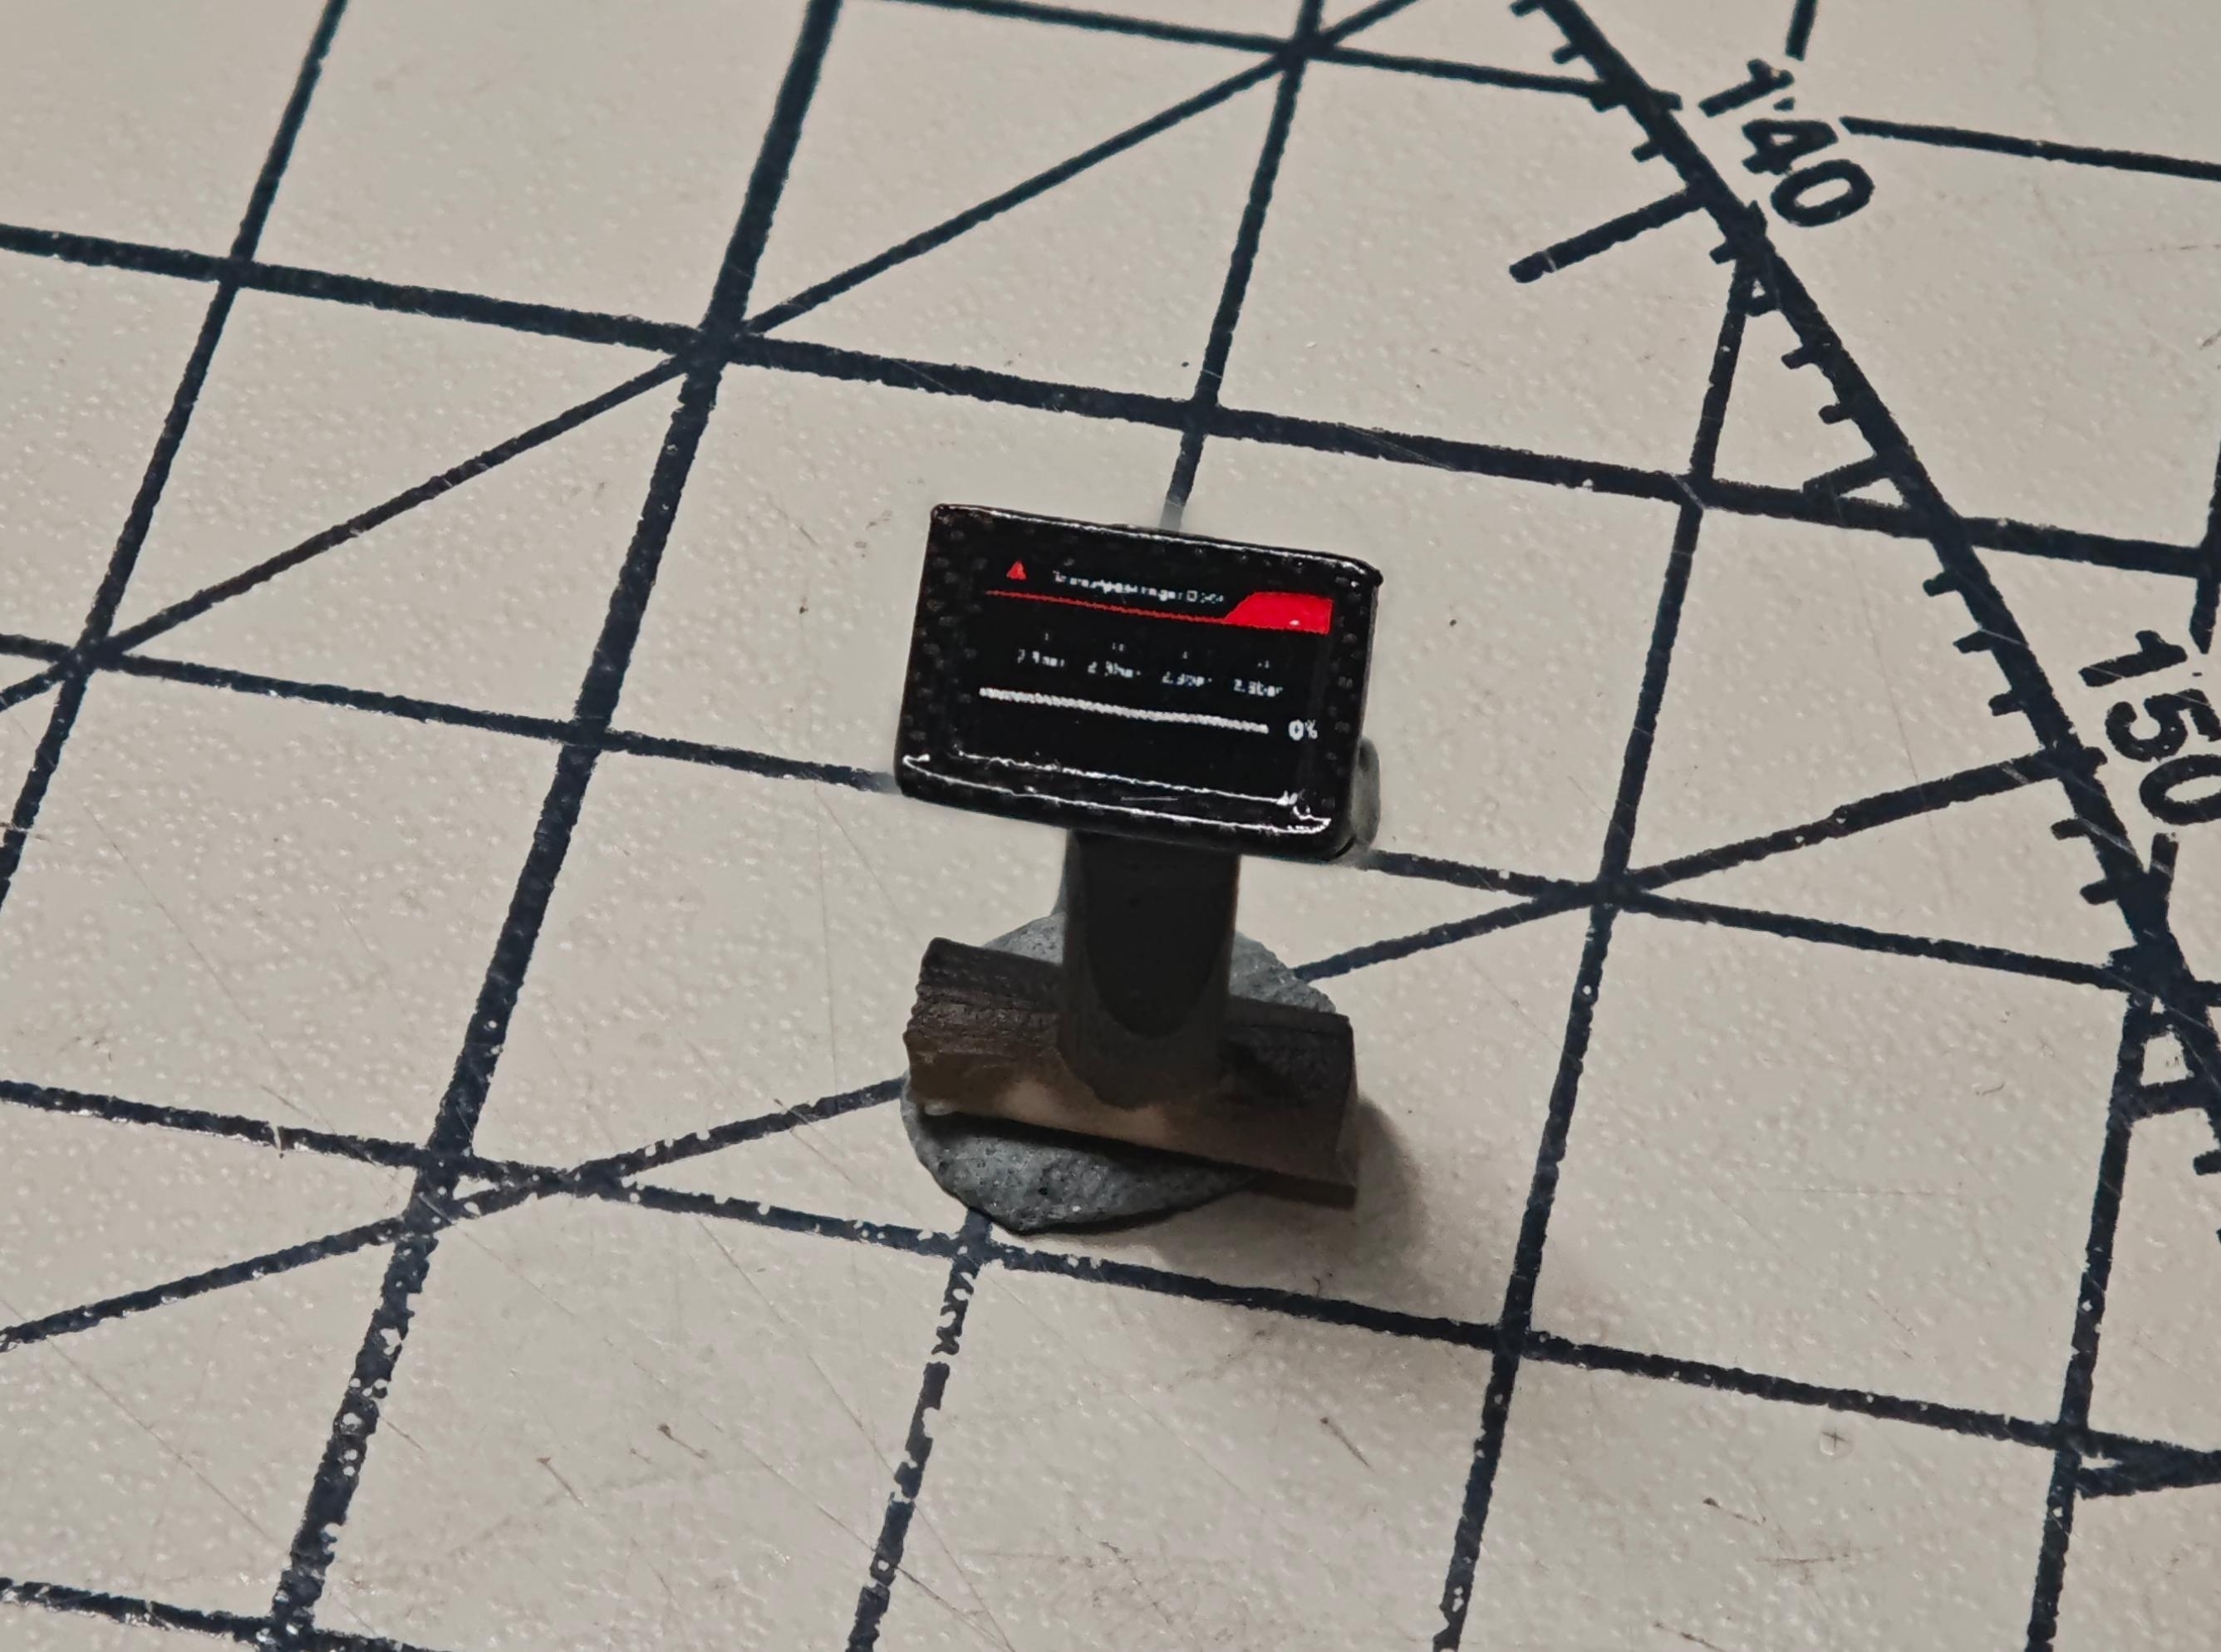
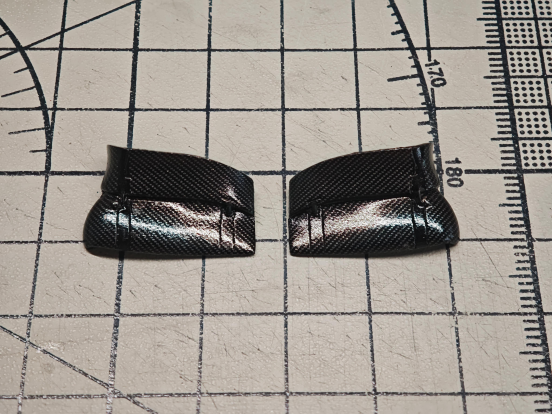
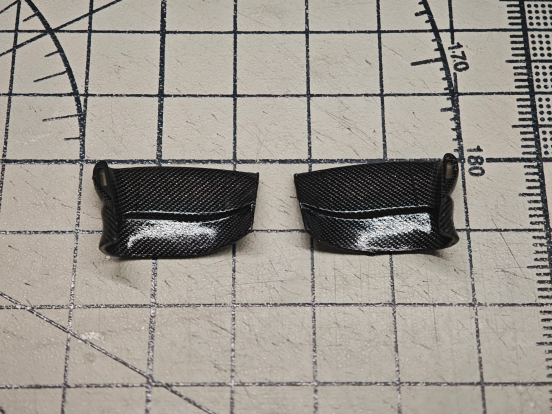
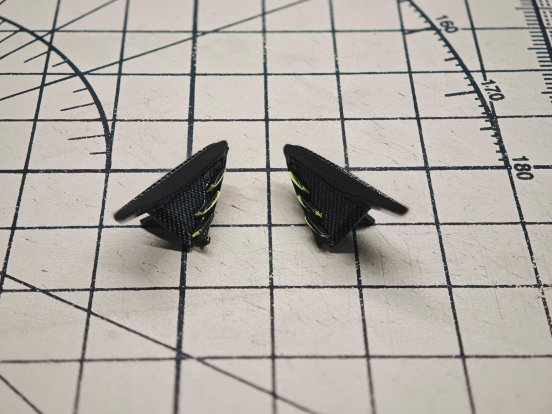
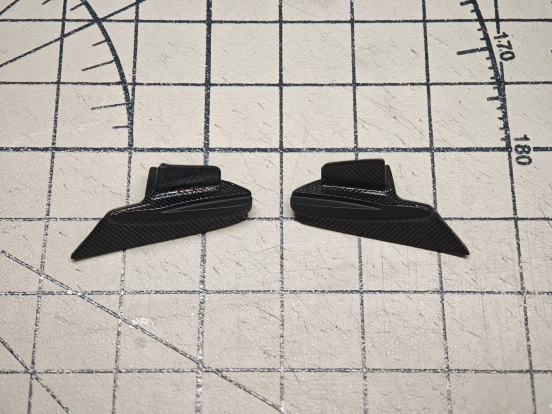
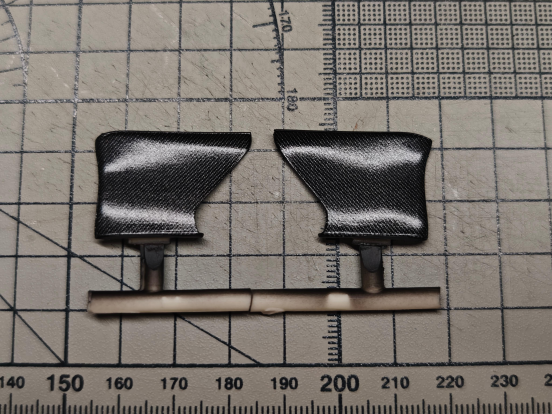
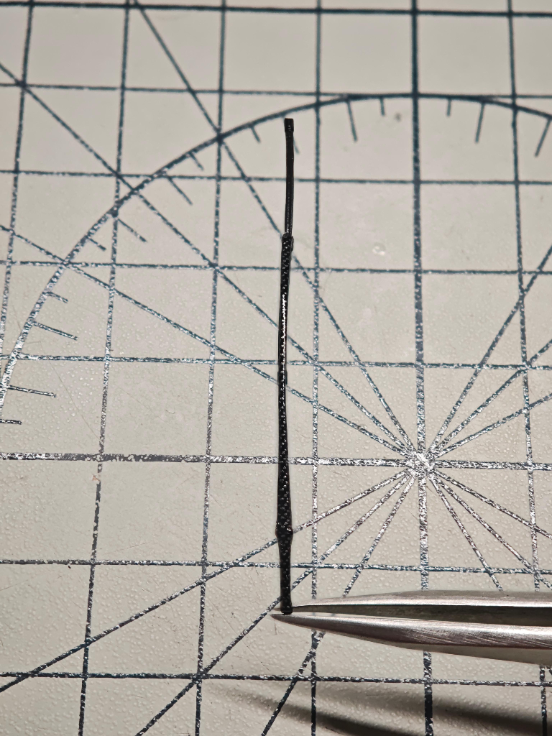
The body shell is finished, but a Valkyrie wears carbon almost everywhere else: the entire underside and diffuser, mirror housings, side-pod vanes, winglets, deck trim and dozens of tiny parts. Break wraps each component while it is still loose — once glued in place, half these surfaces become unreachable.
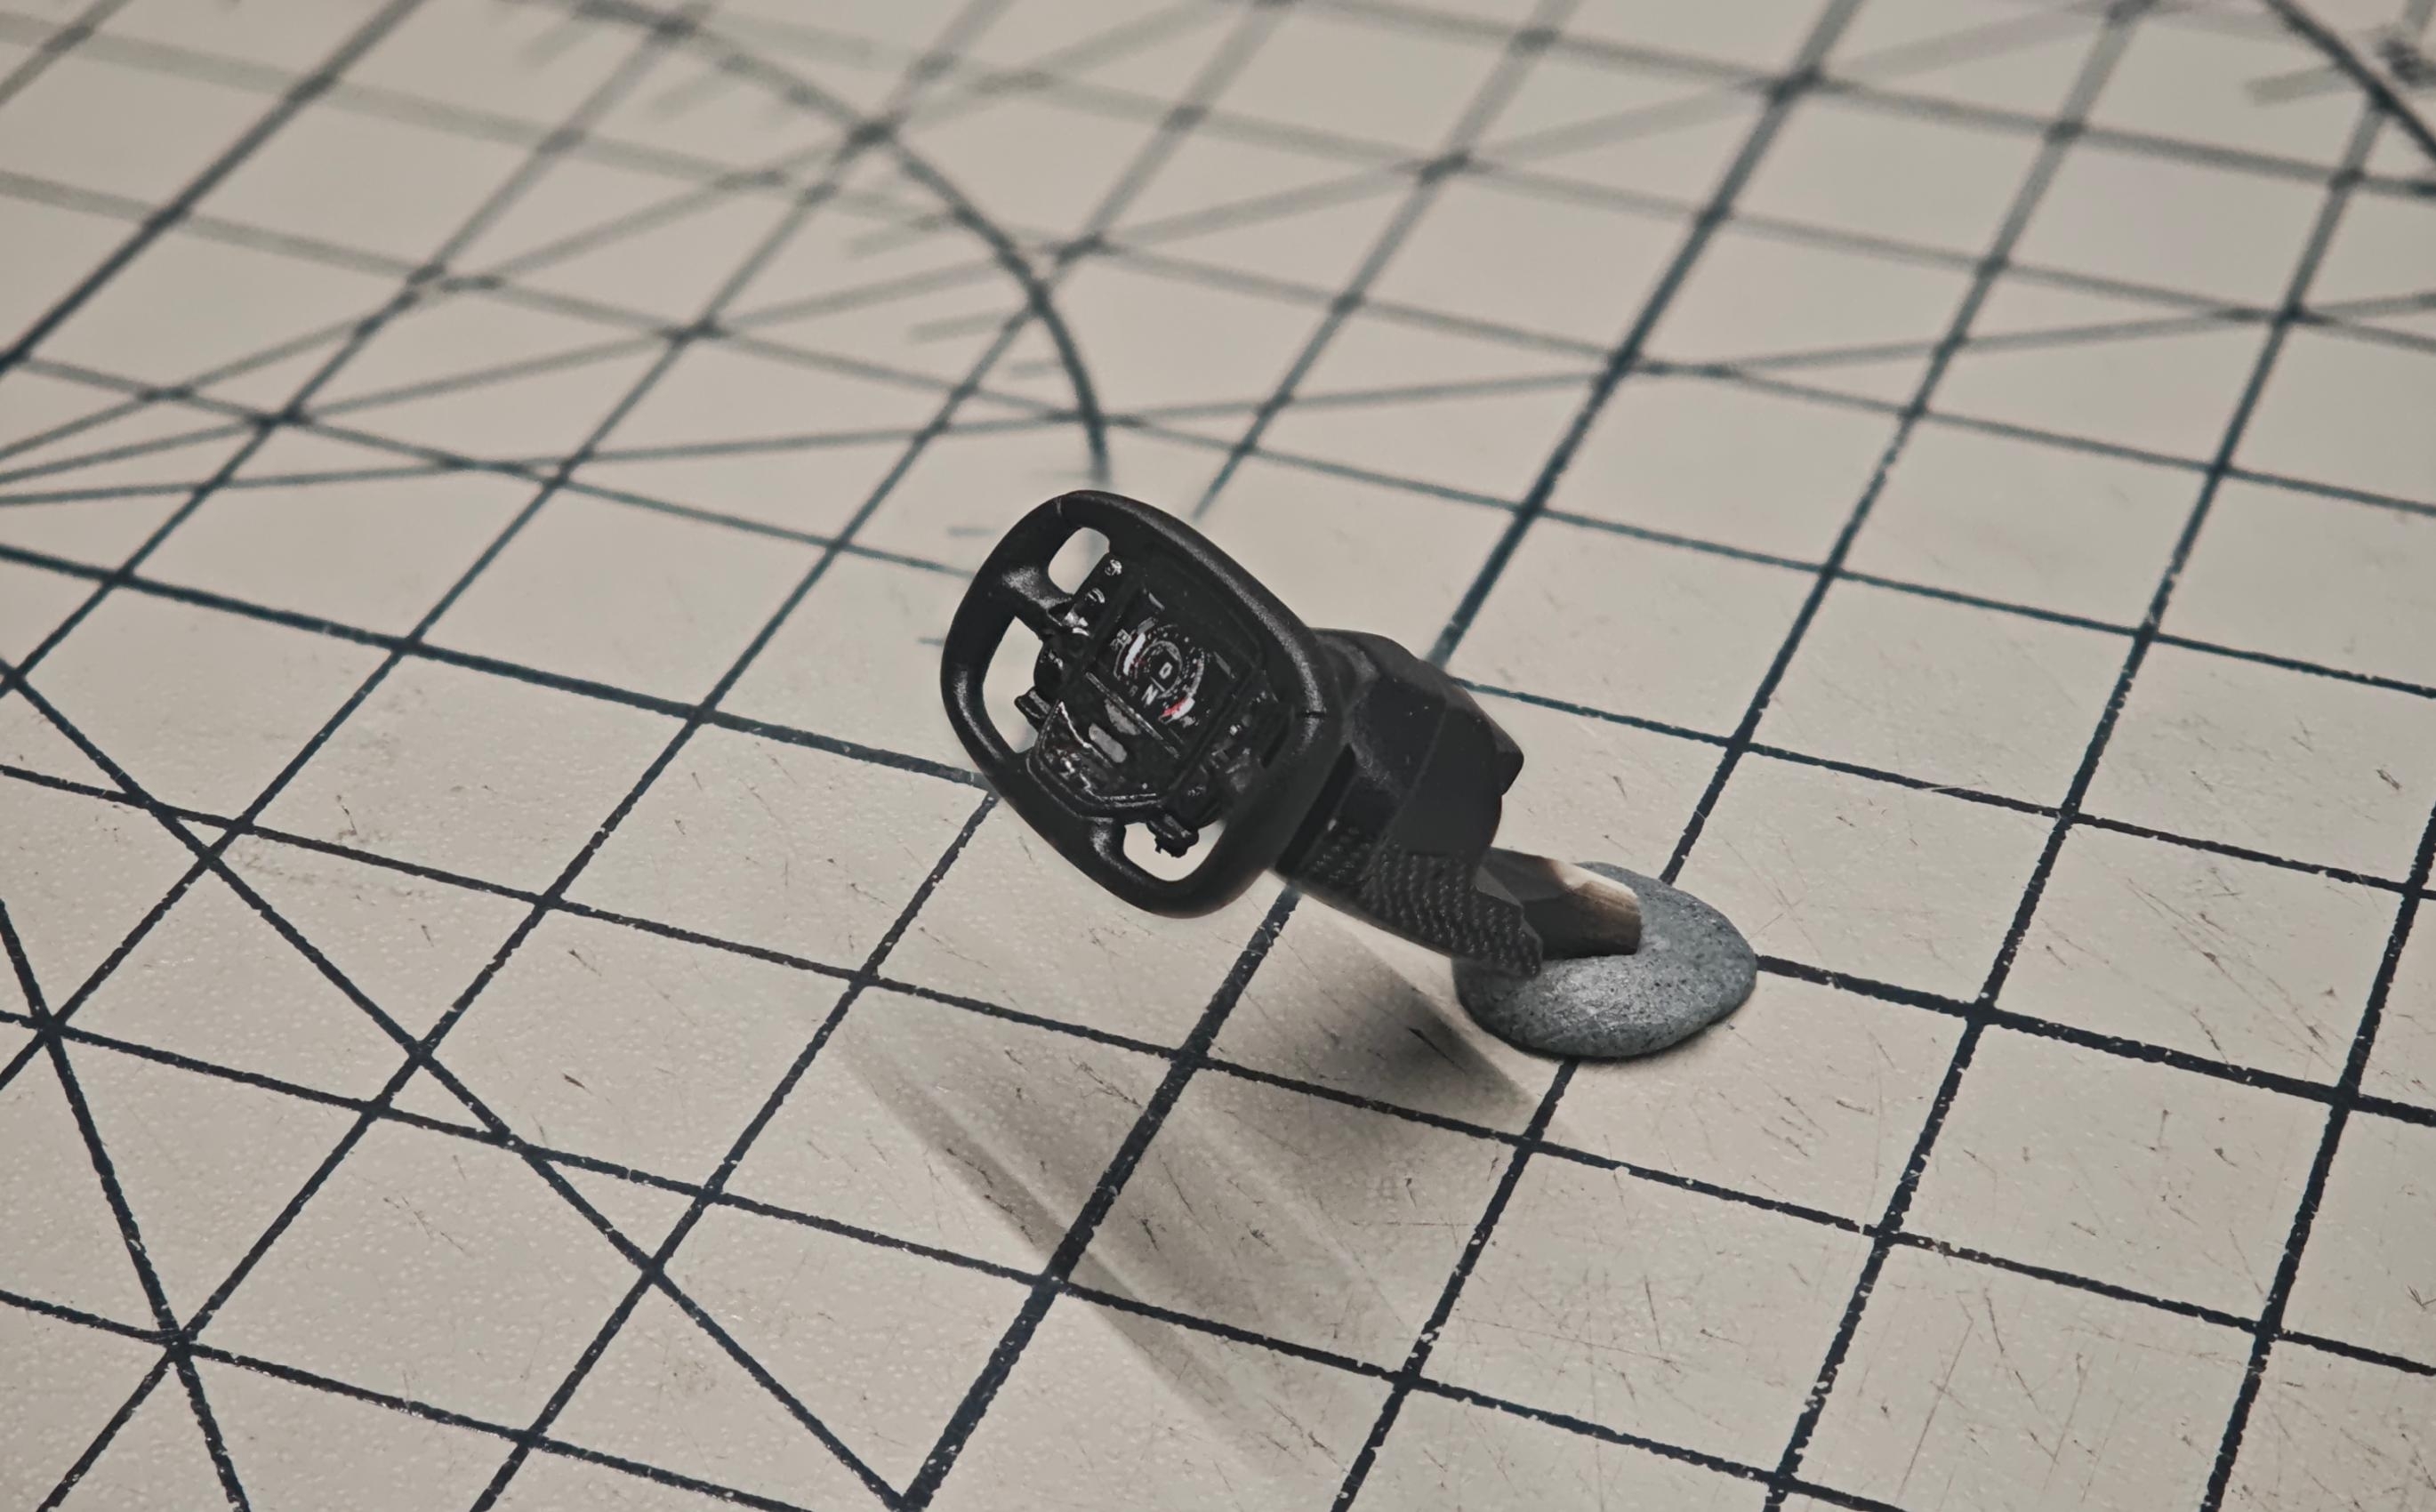
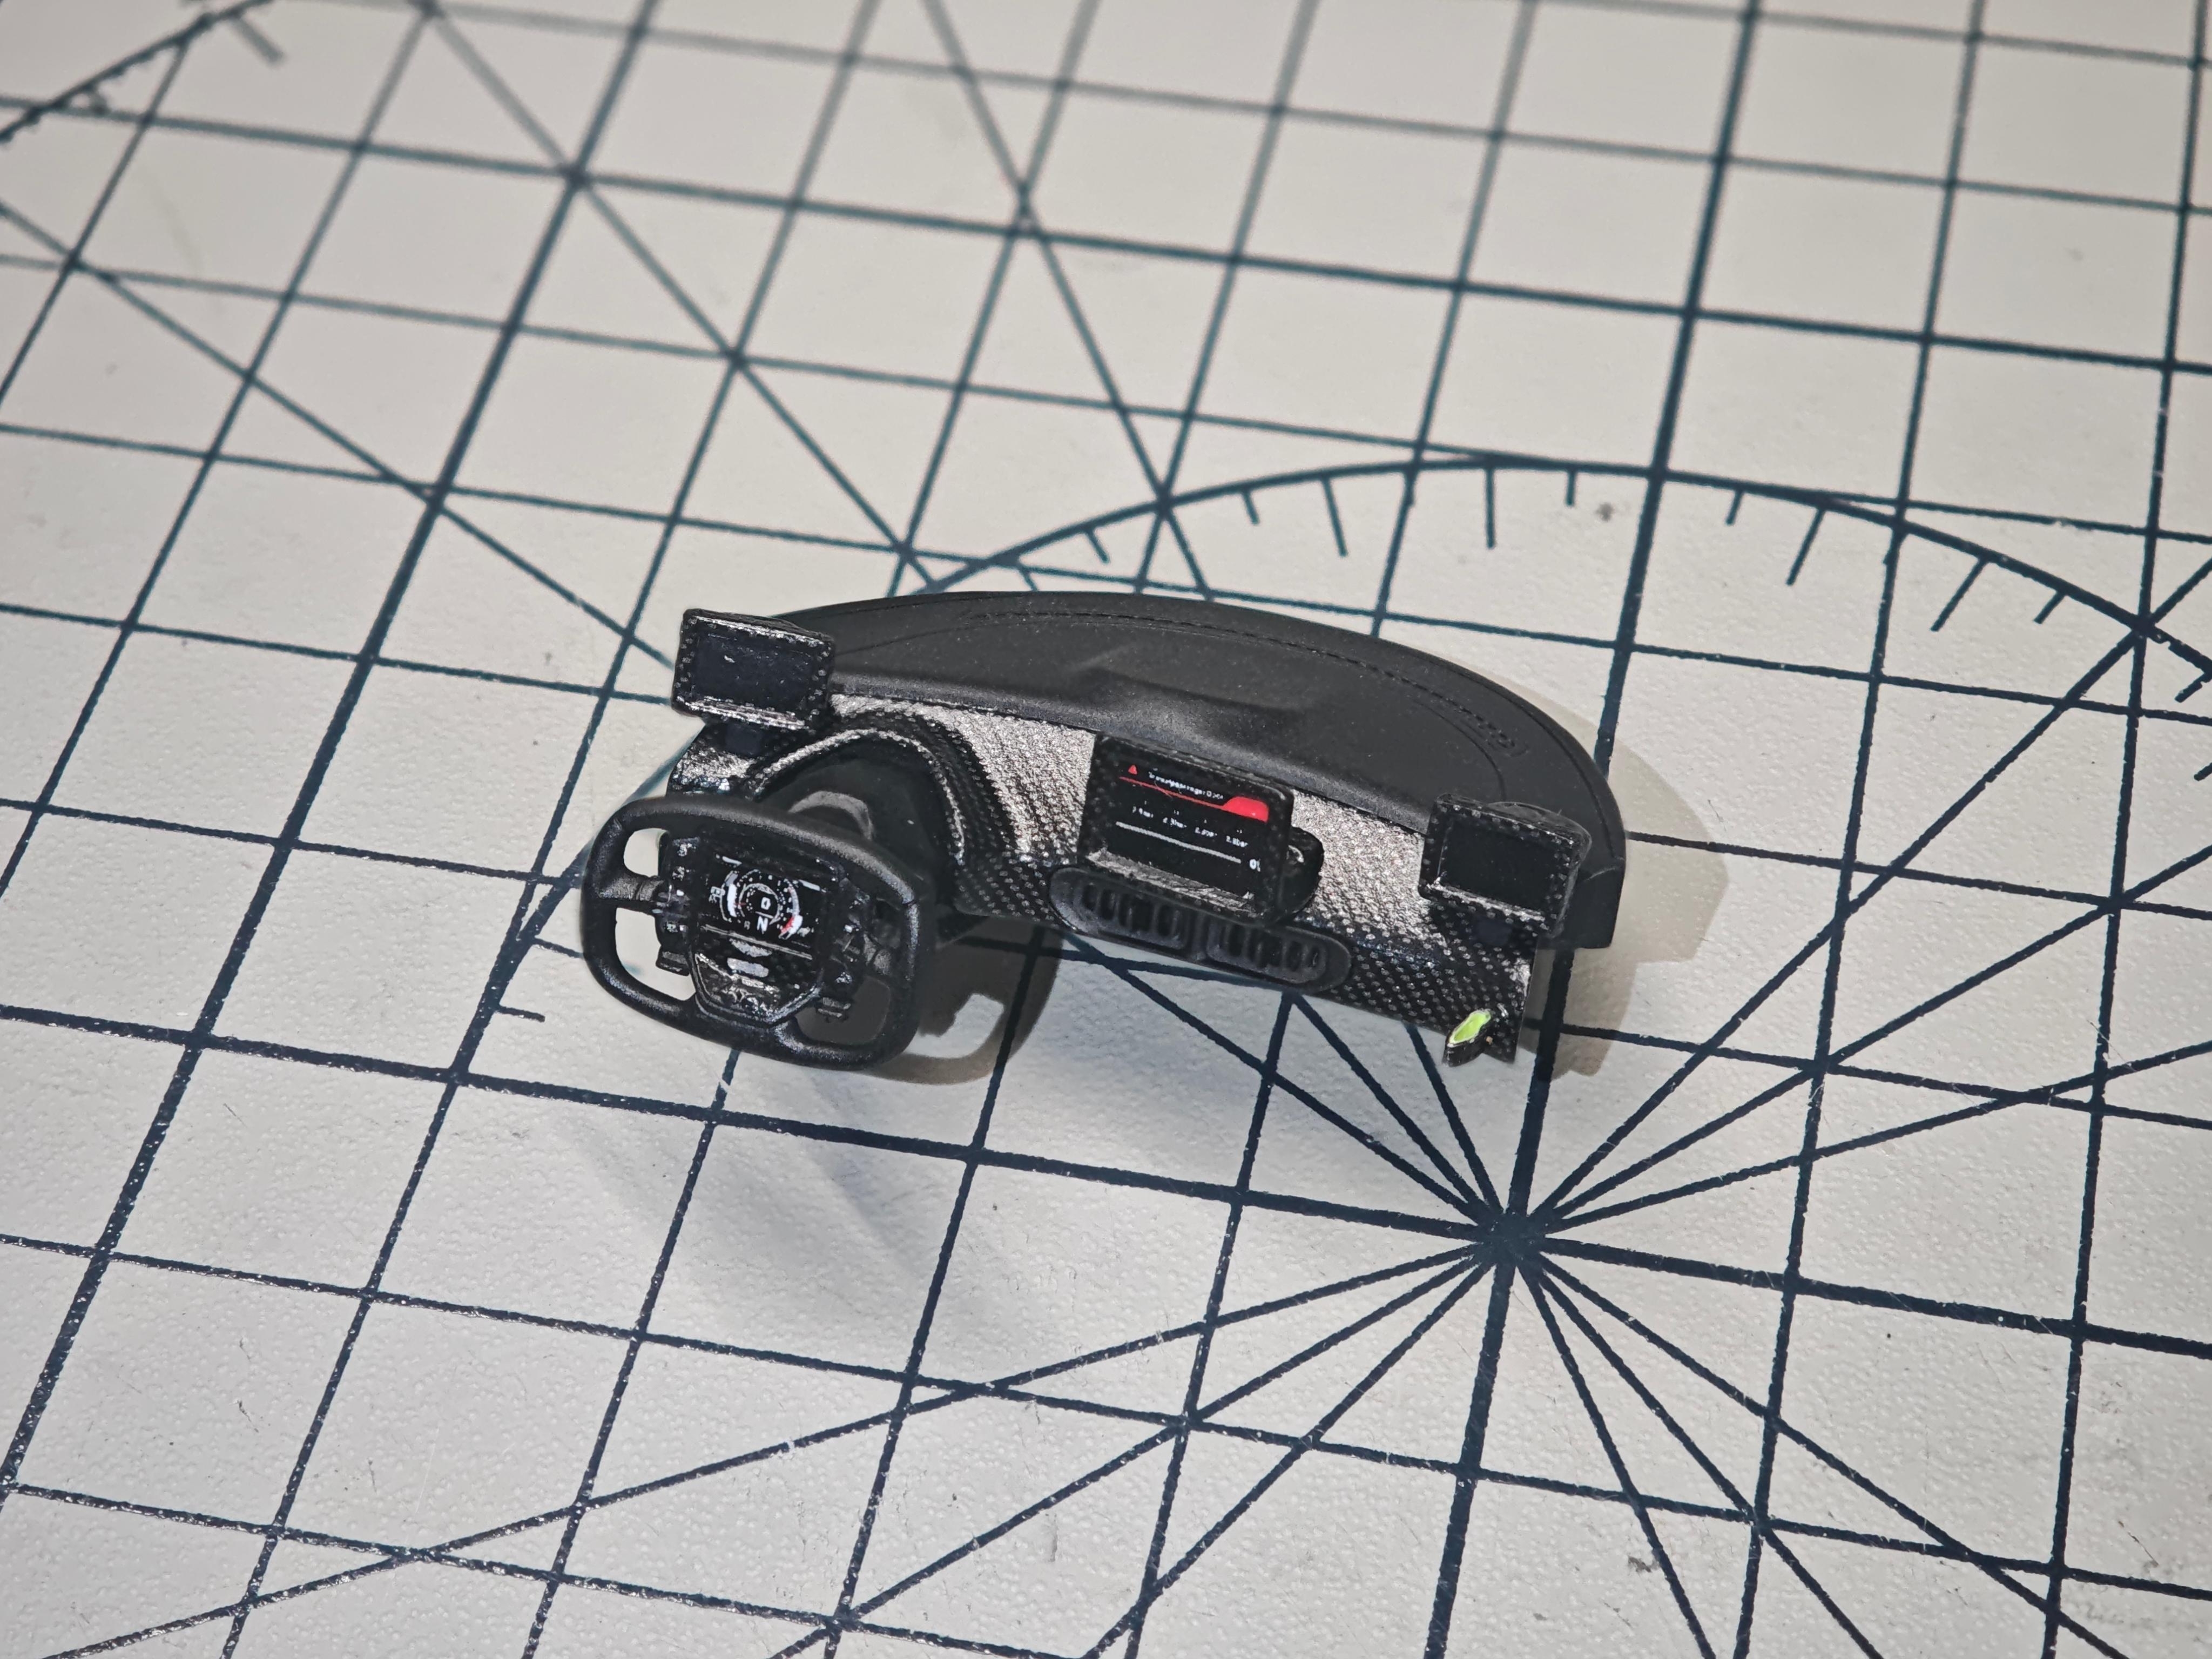
Interior Assembly — Carbon Tub, Seats, Screens & Harnesses
The cabin is essentially a carbon survival cell: a separate monocoque tub, twin fixed buckets and minimal trim, so almost every surface ends up either bare carbon or matte black.
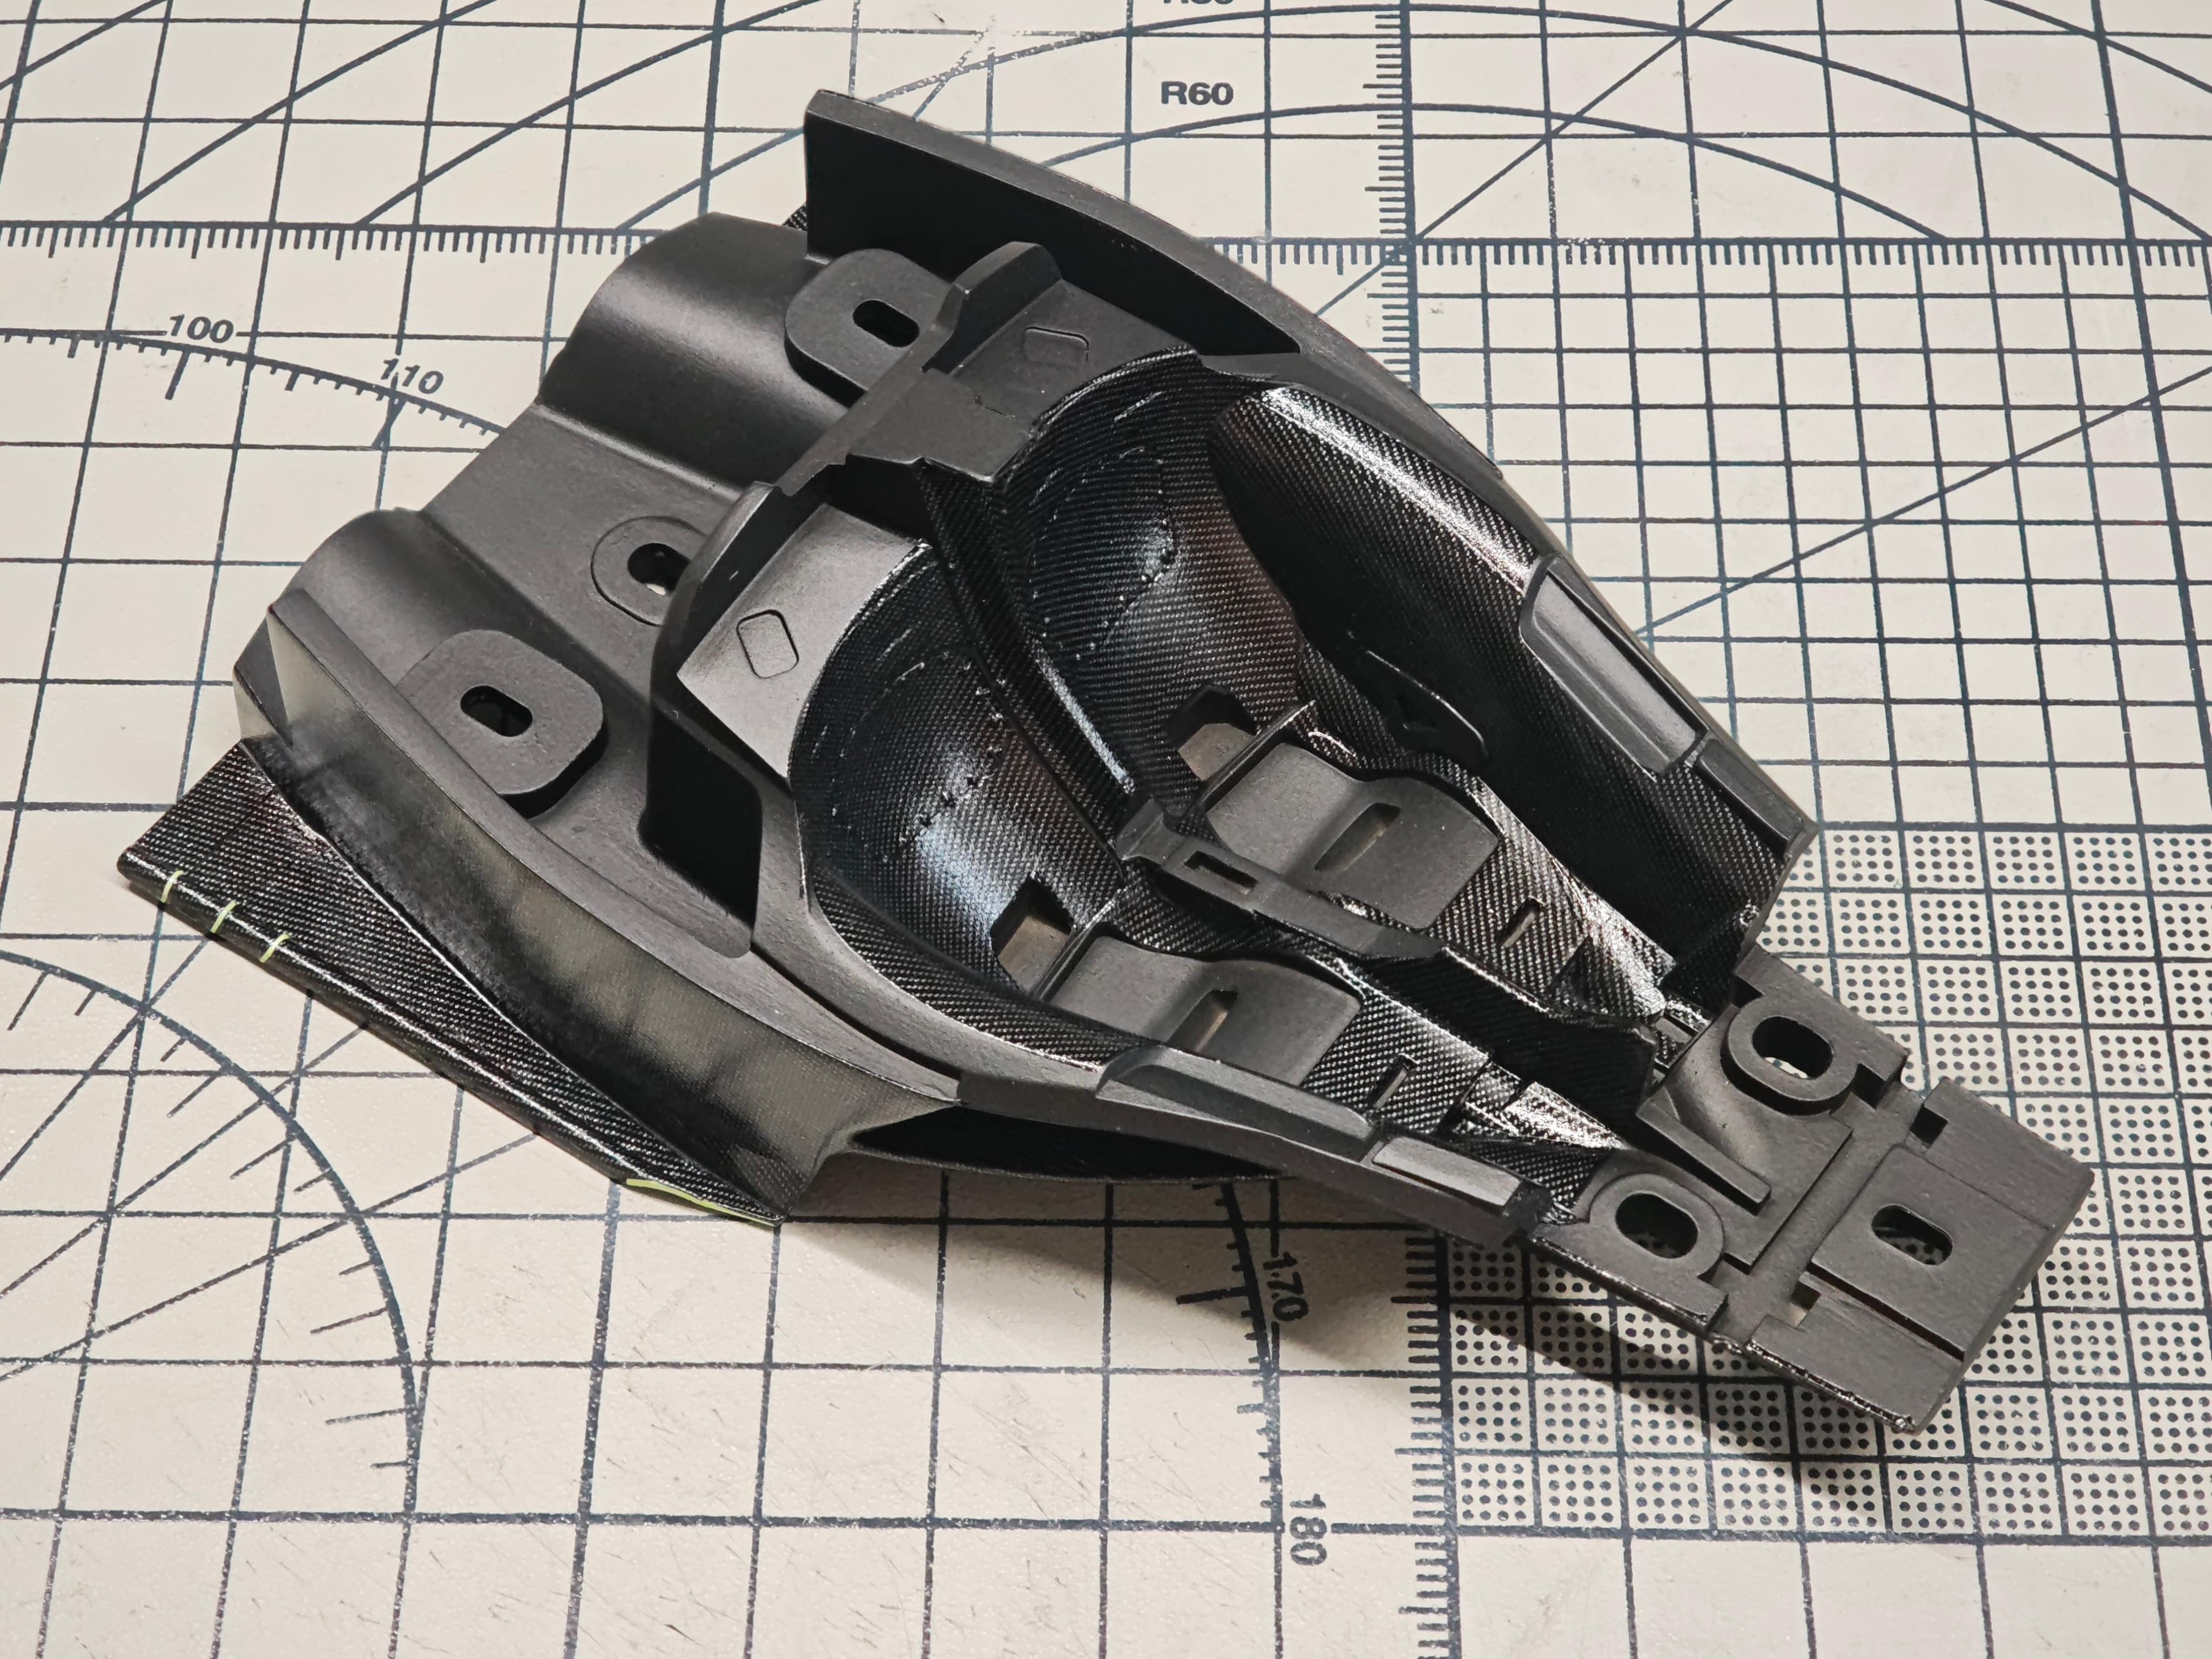
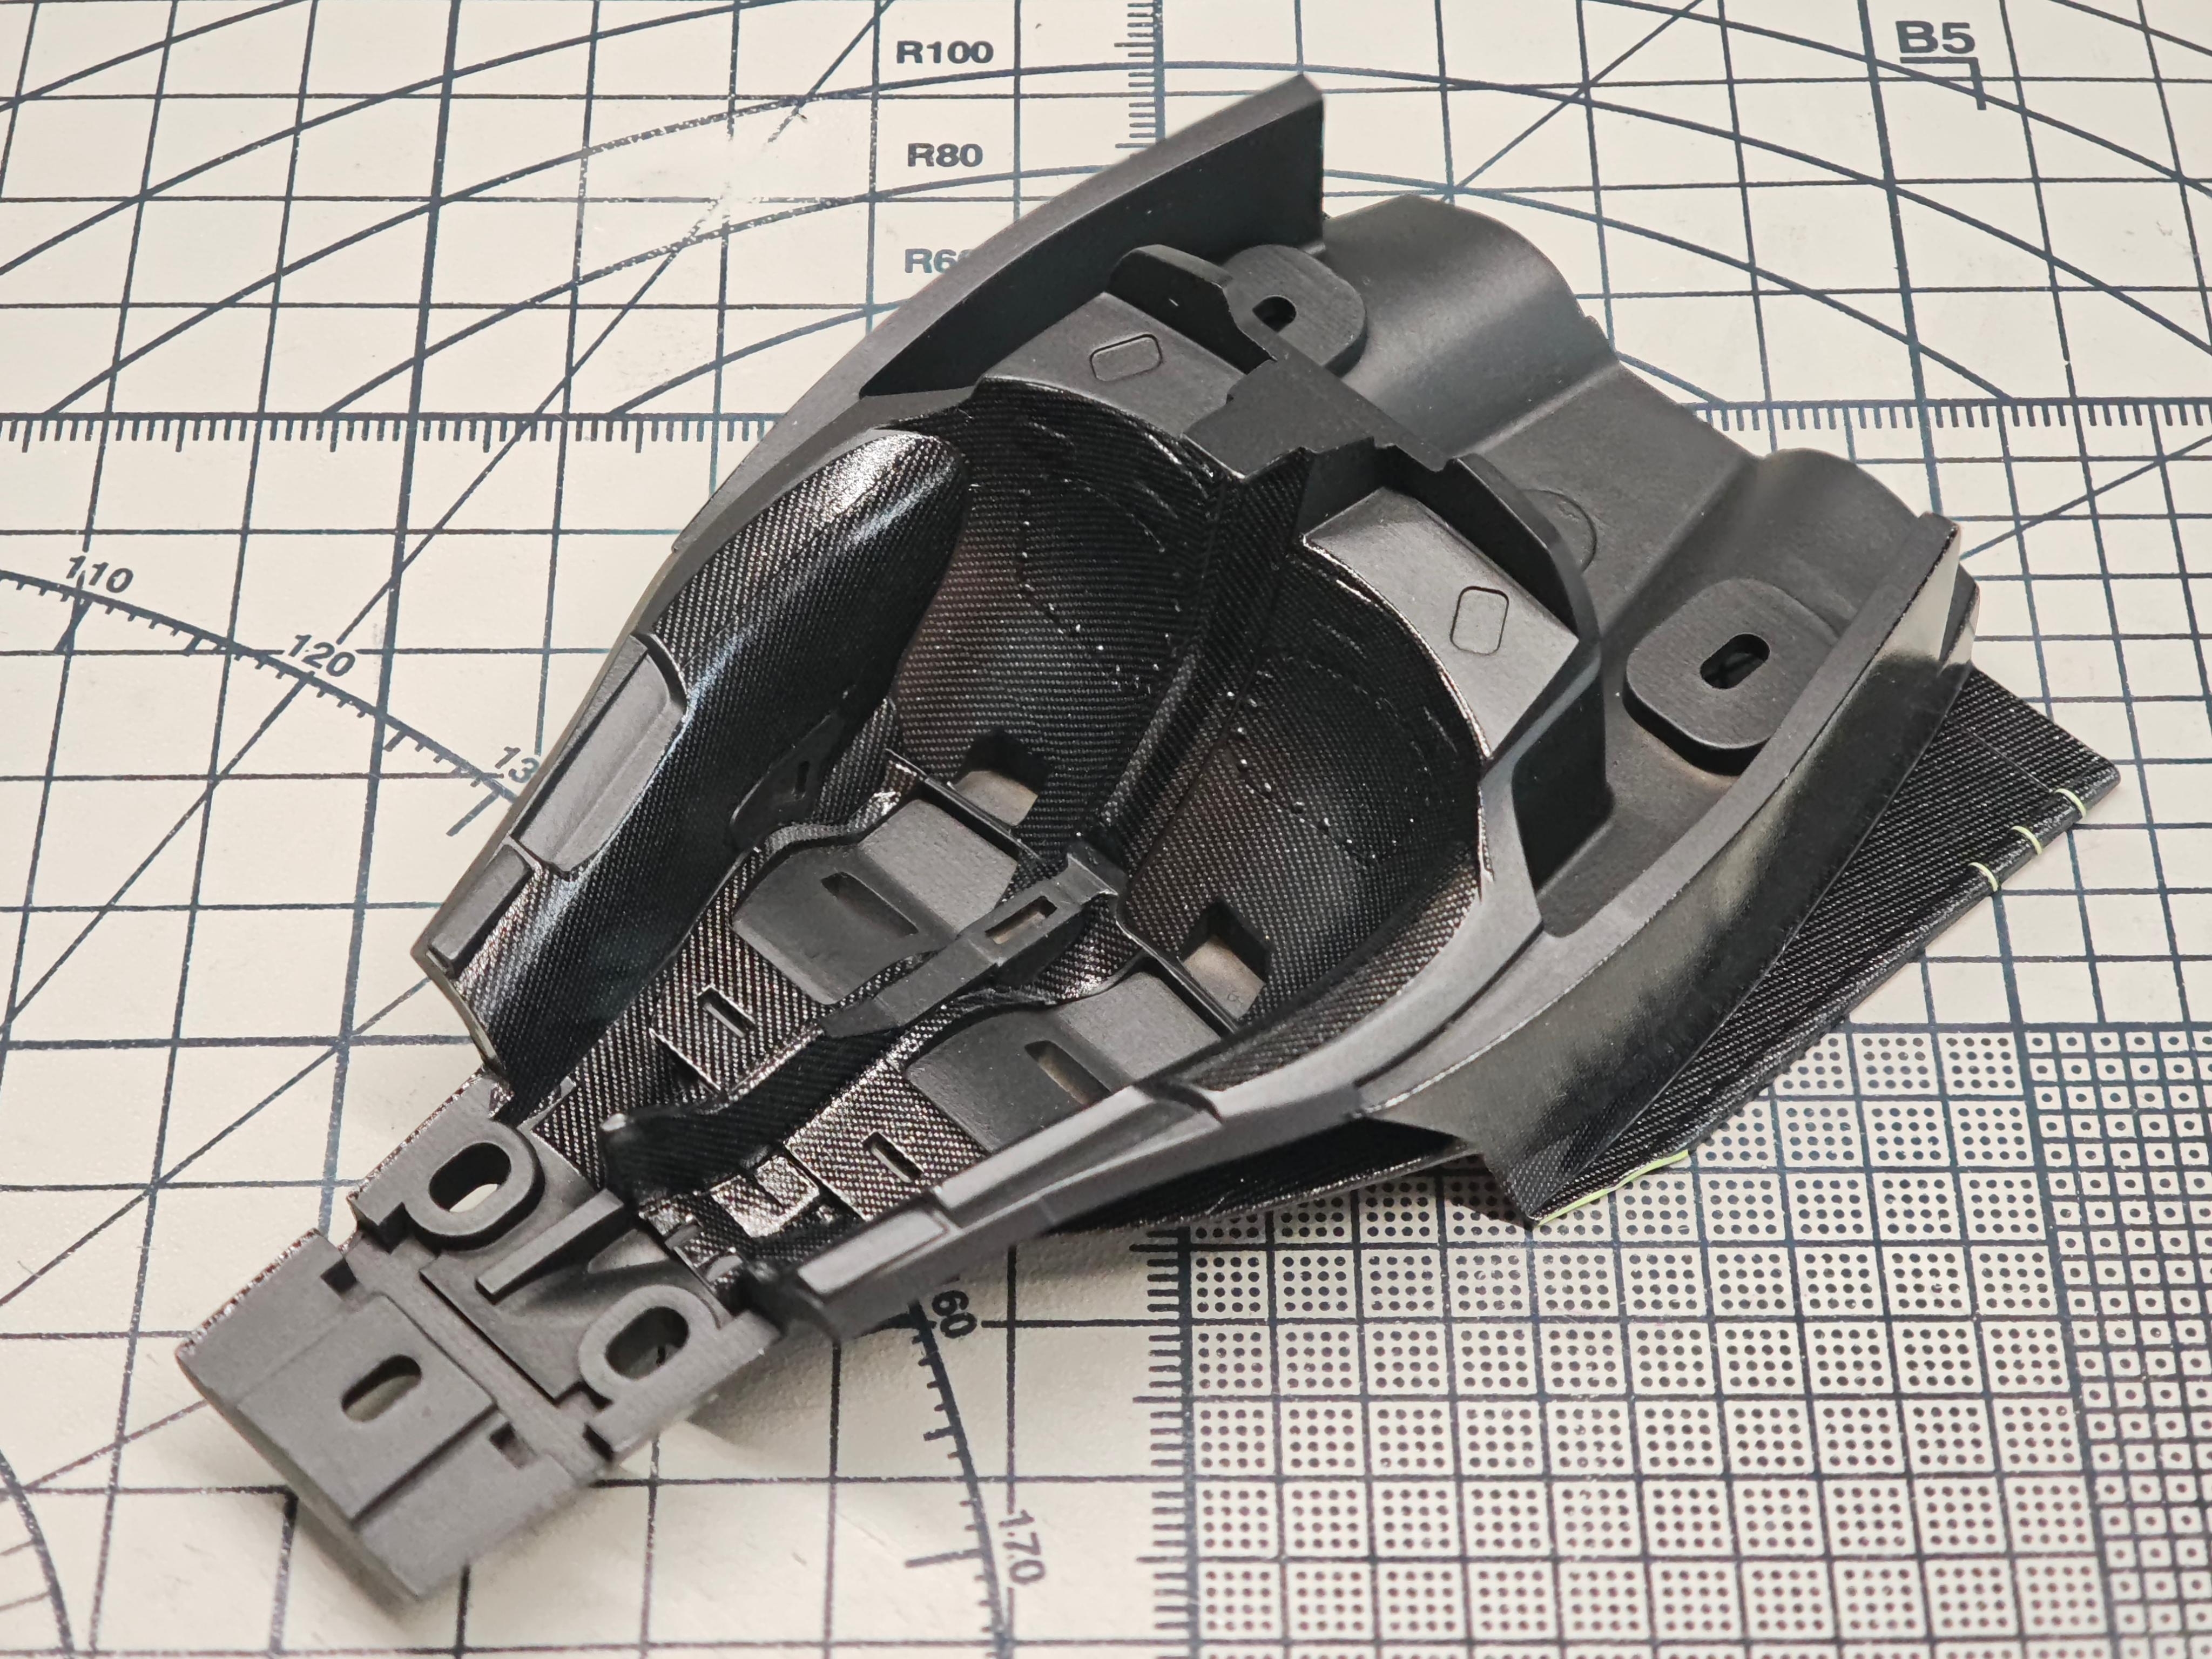
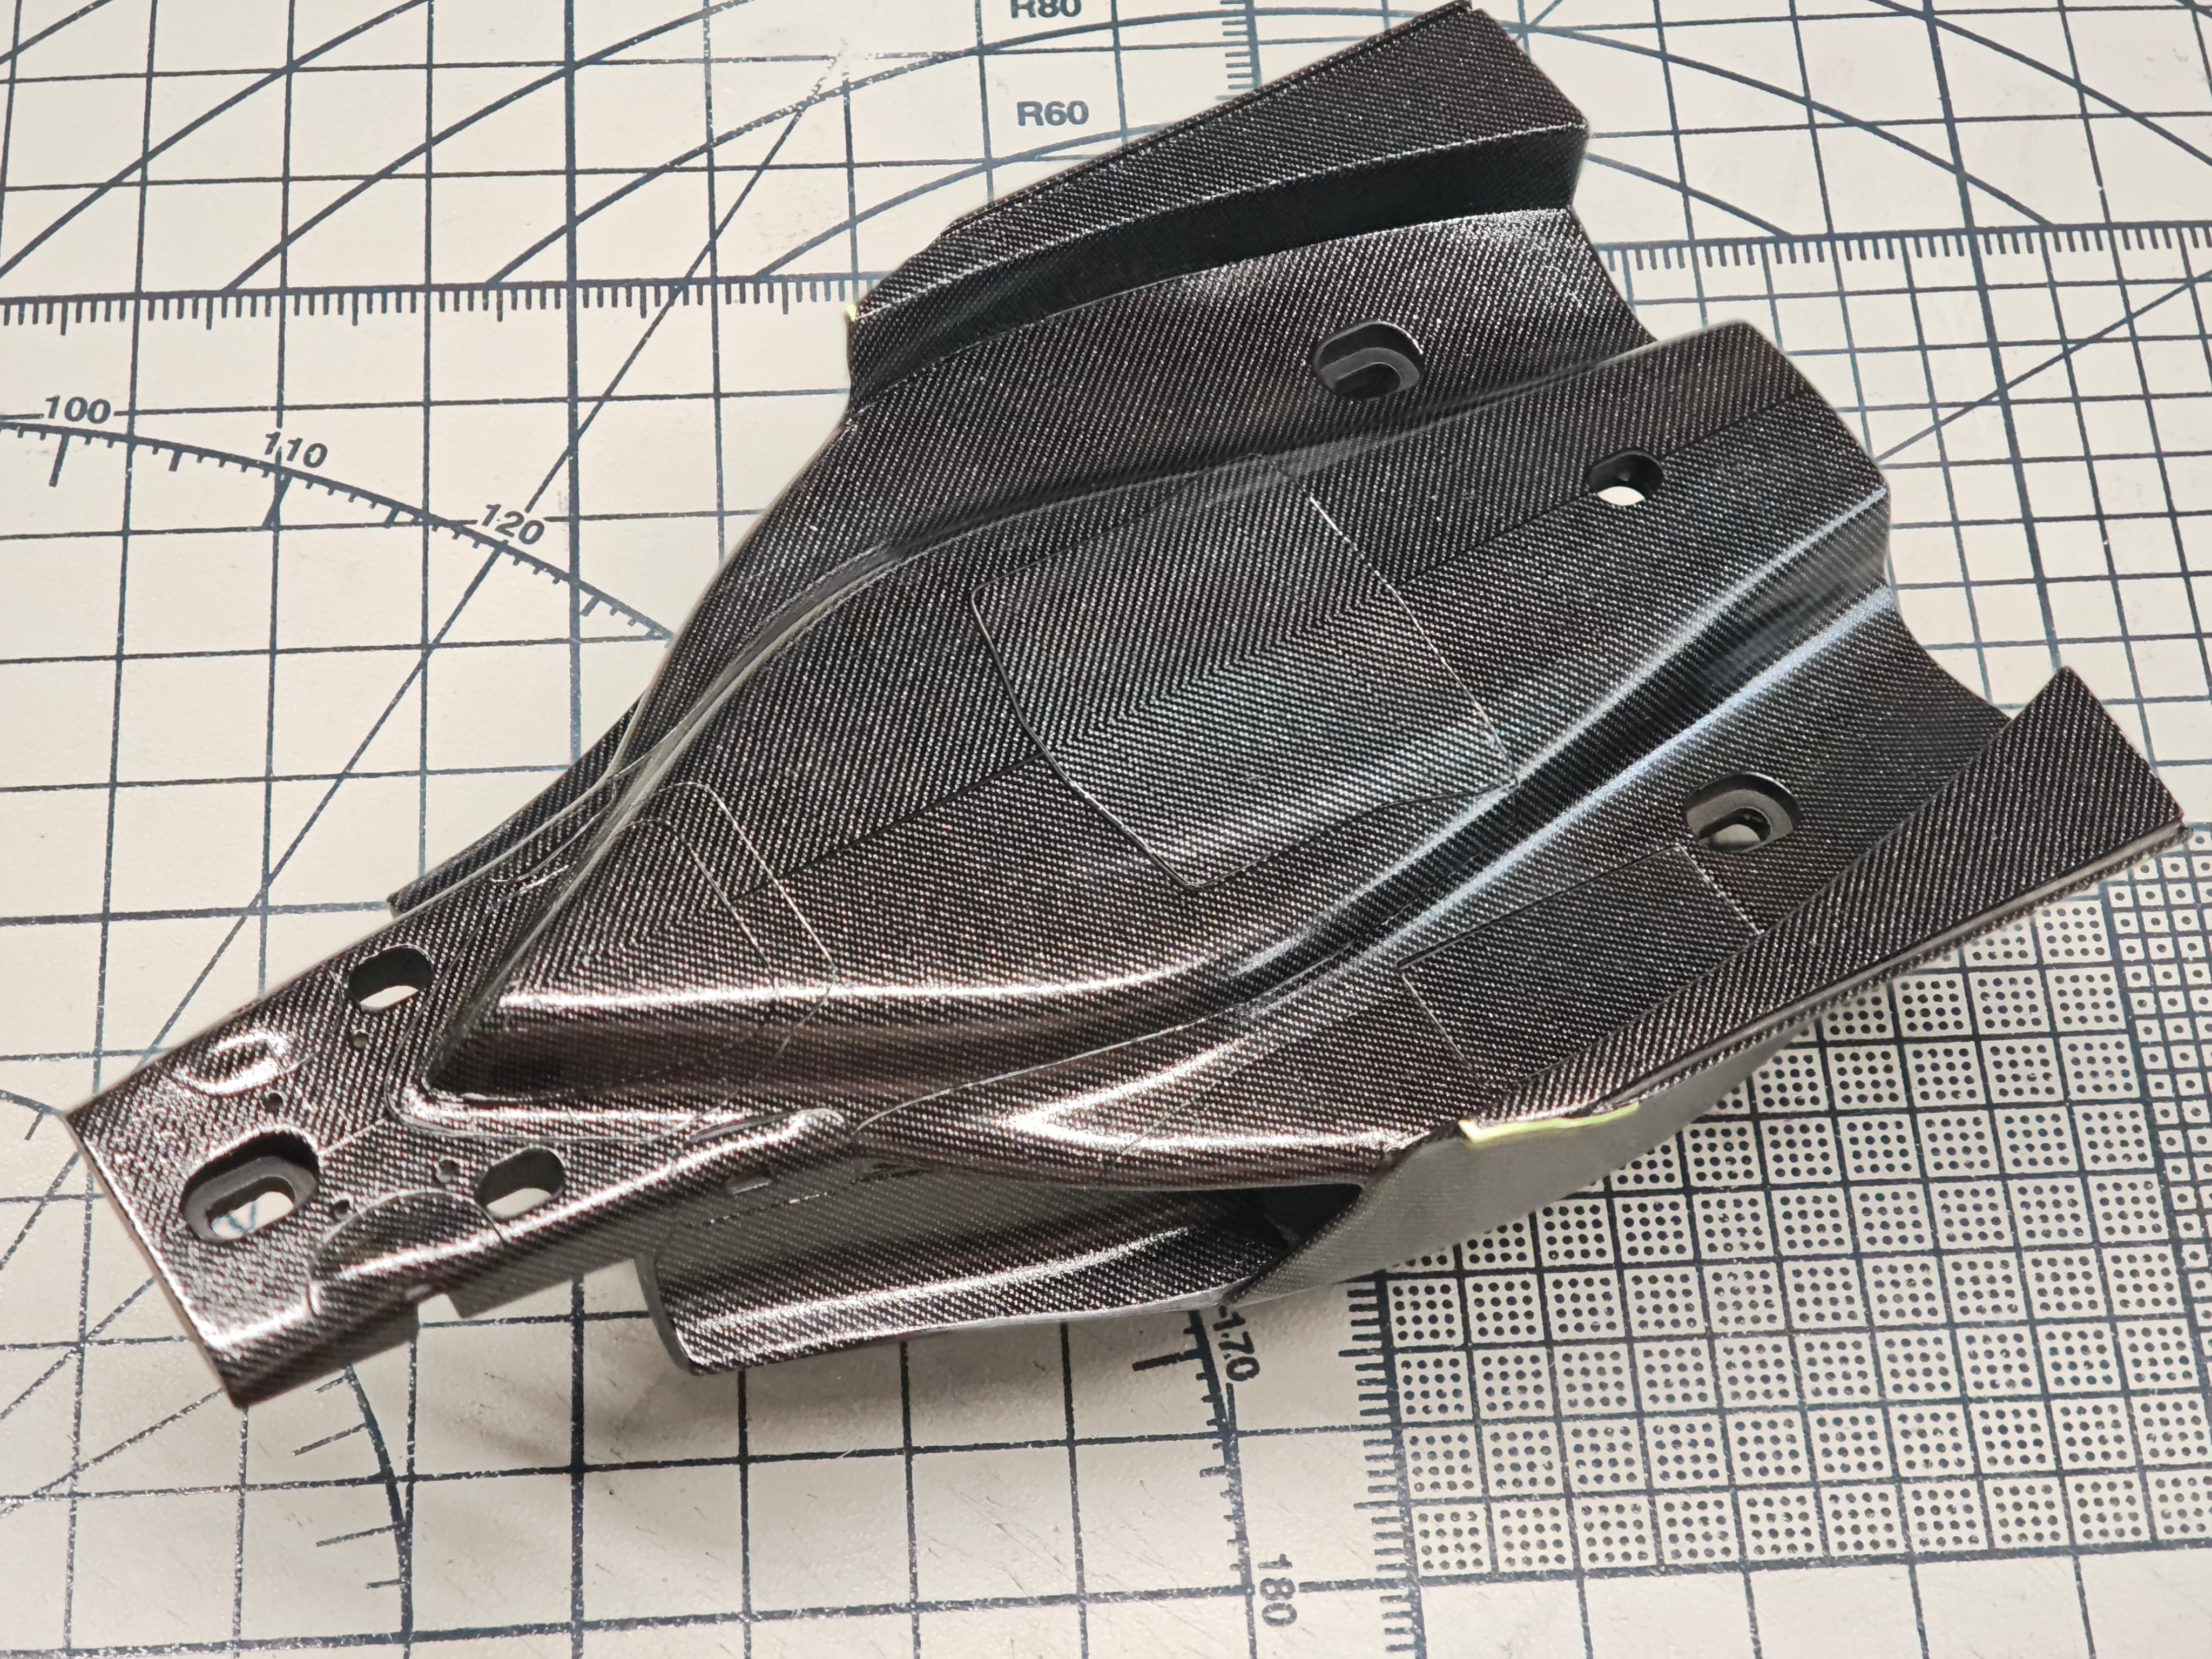
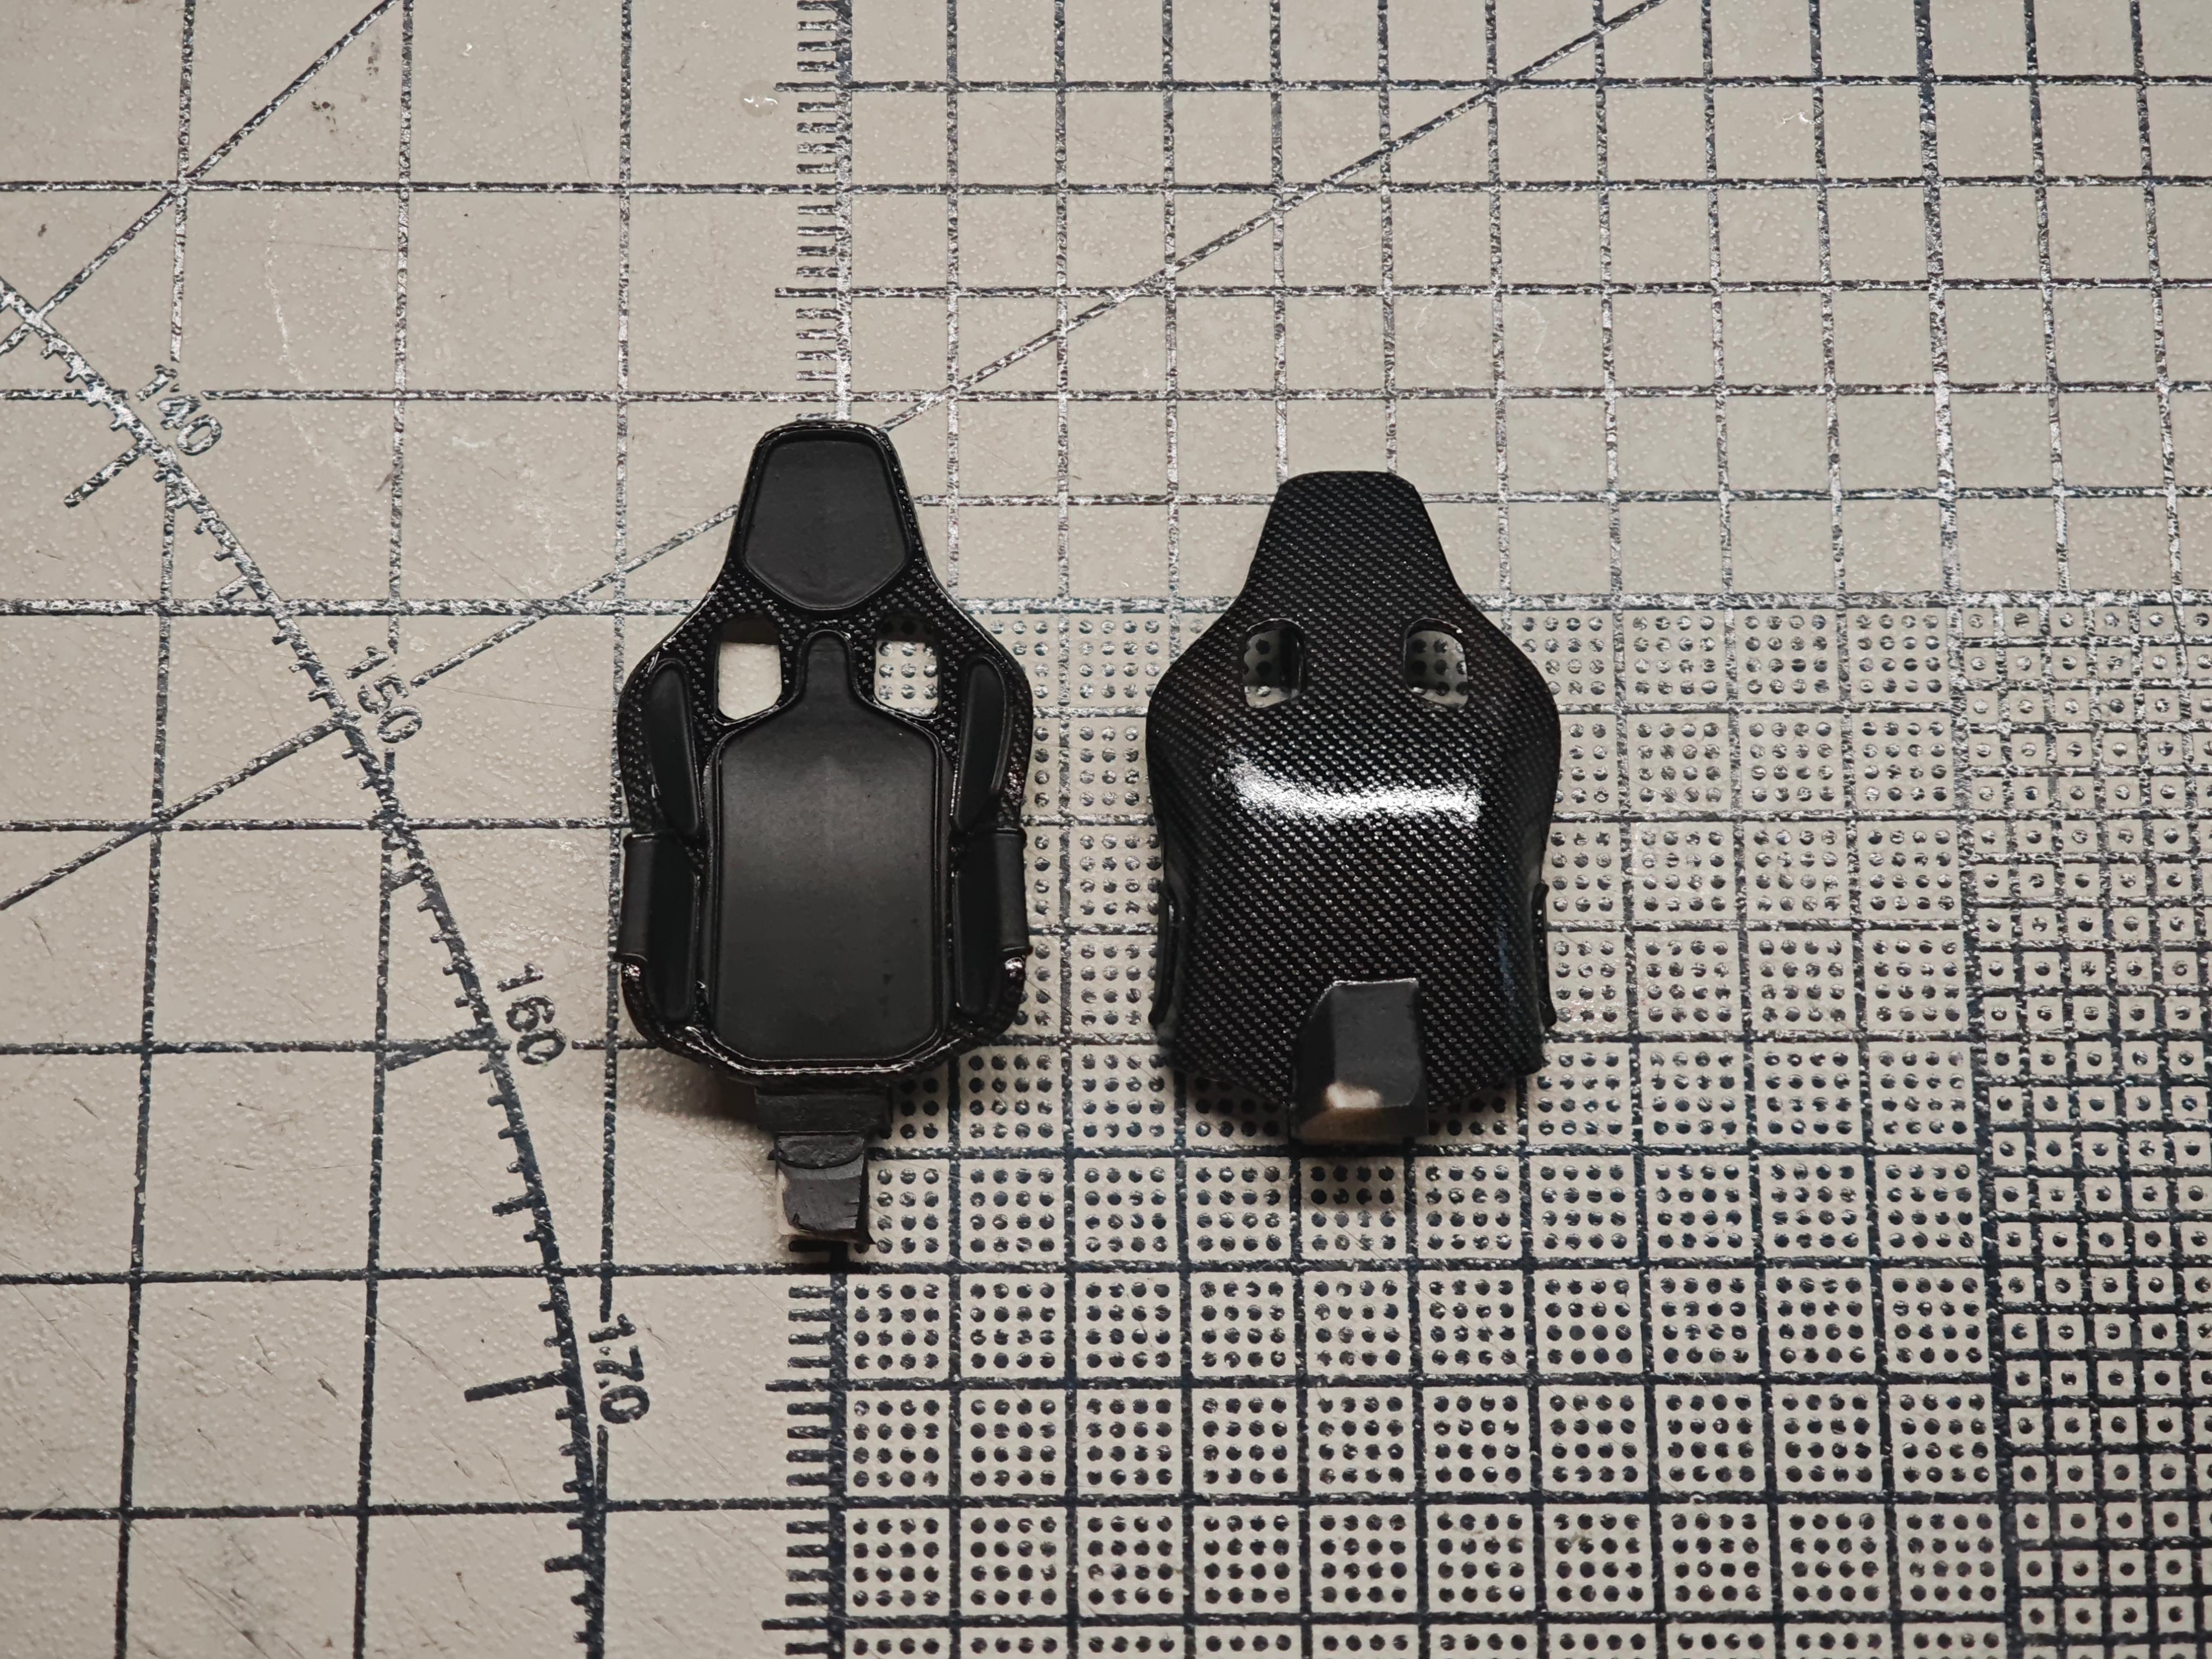
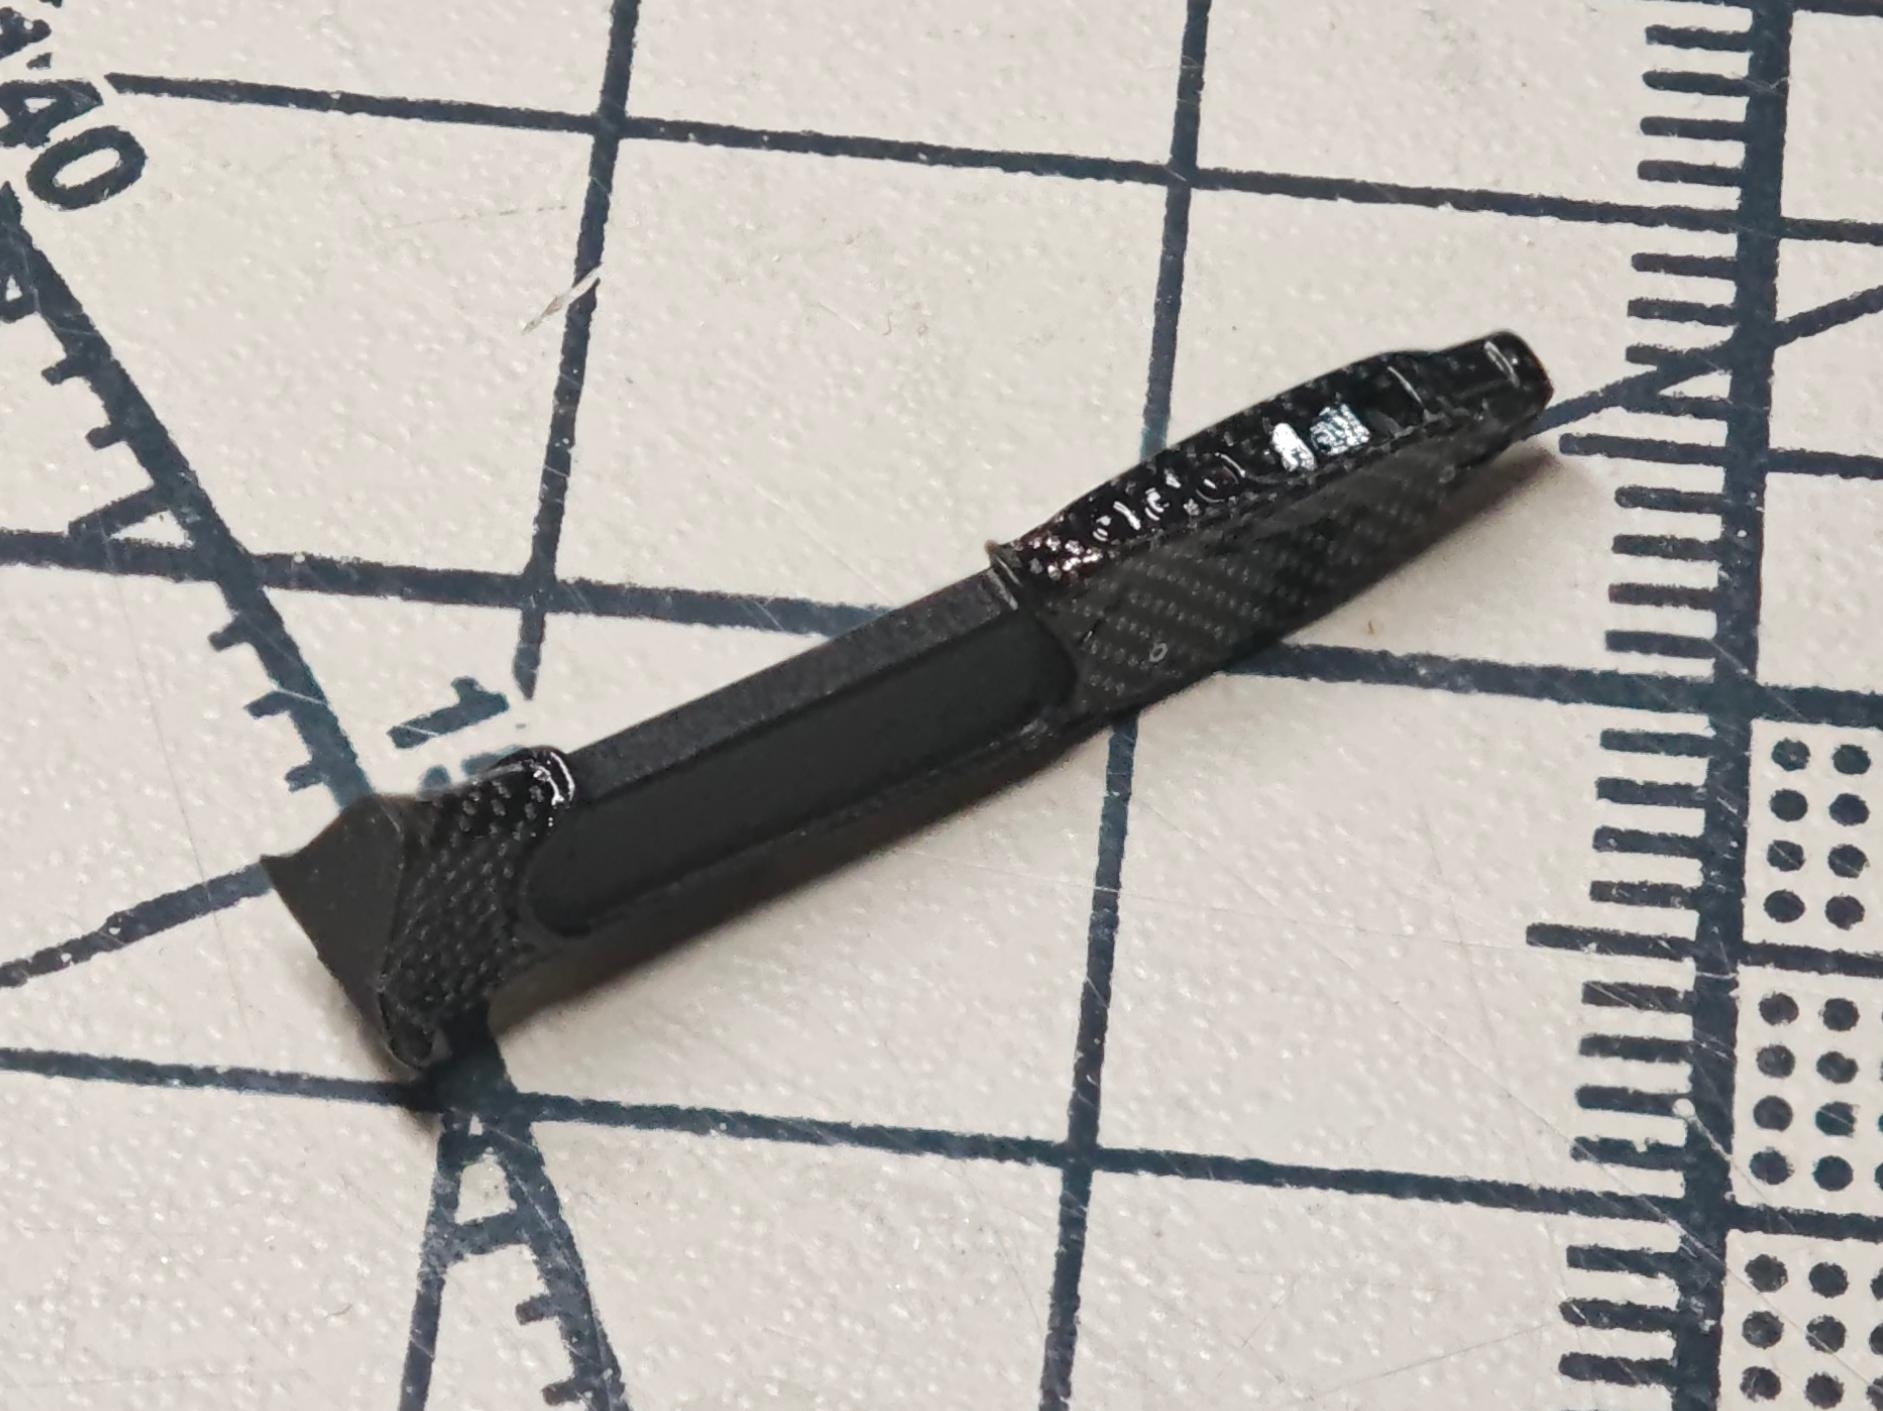
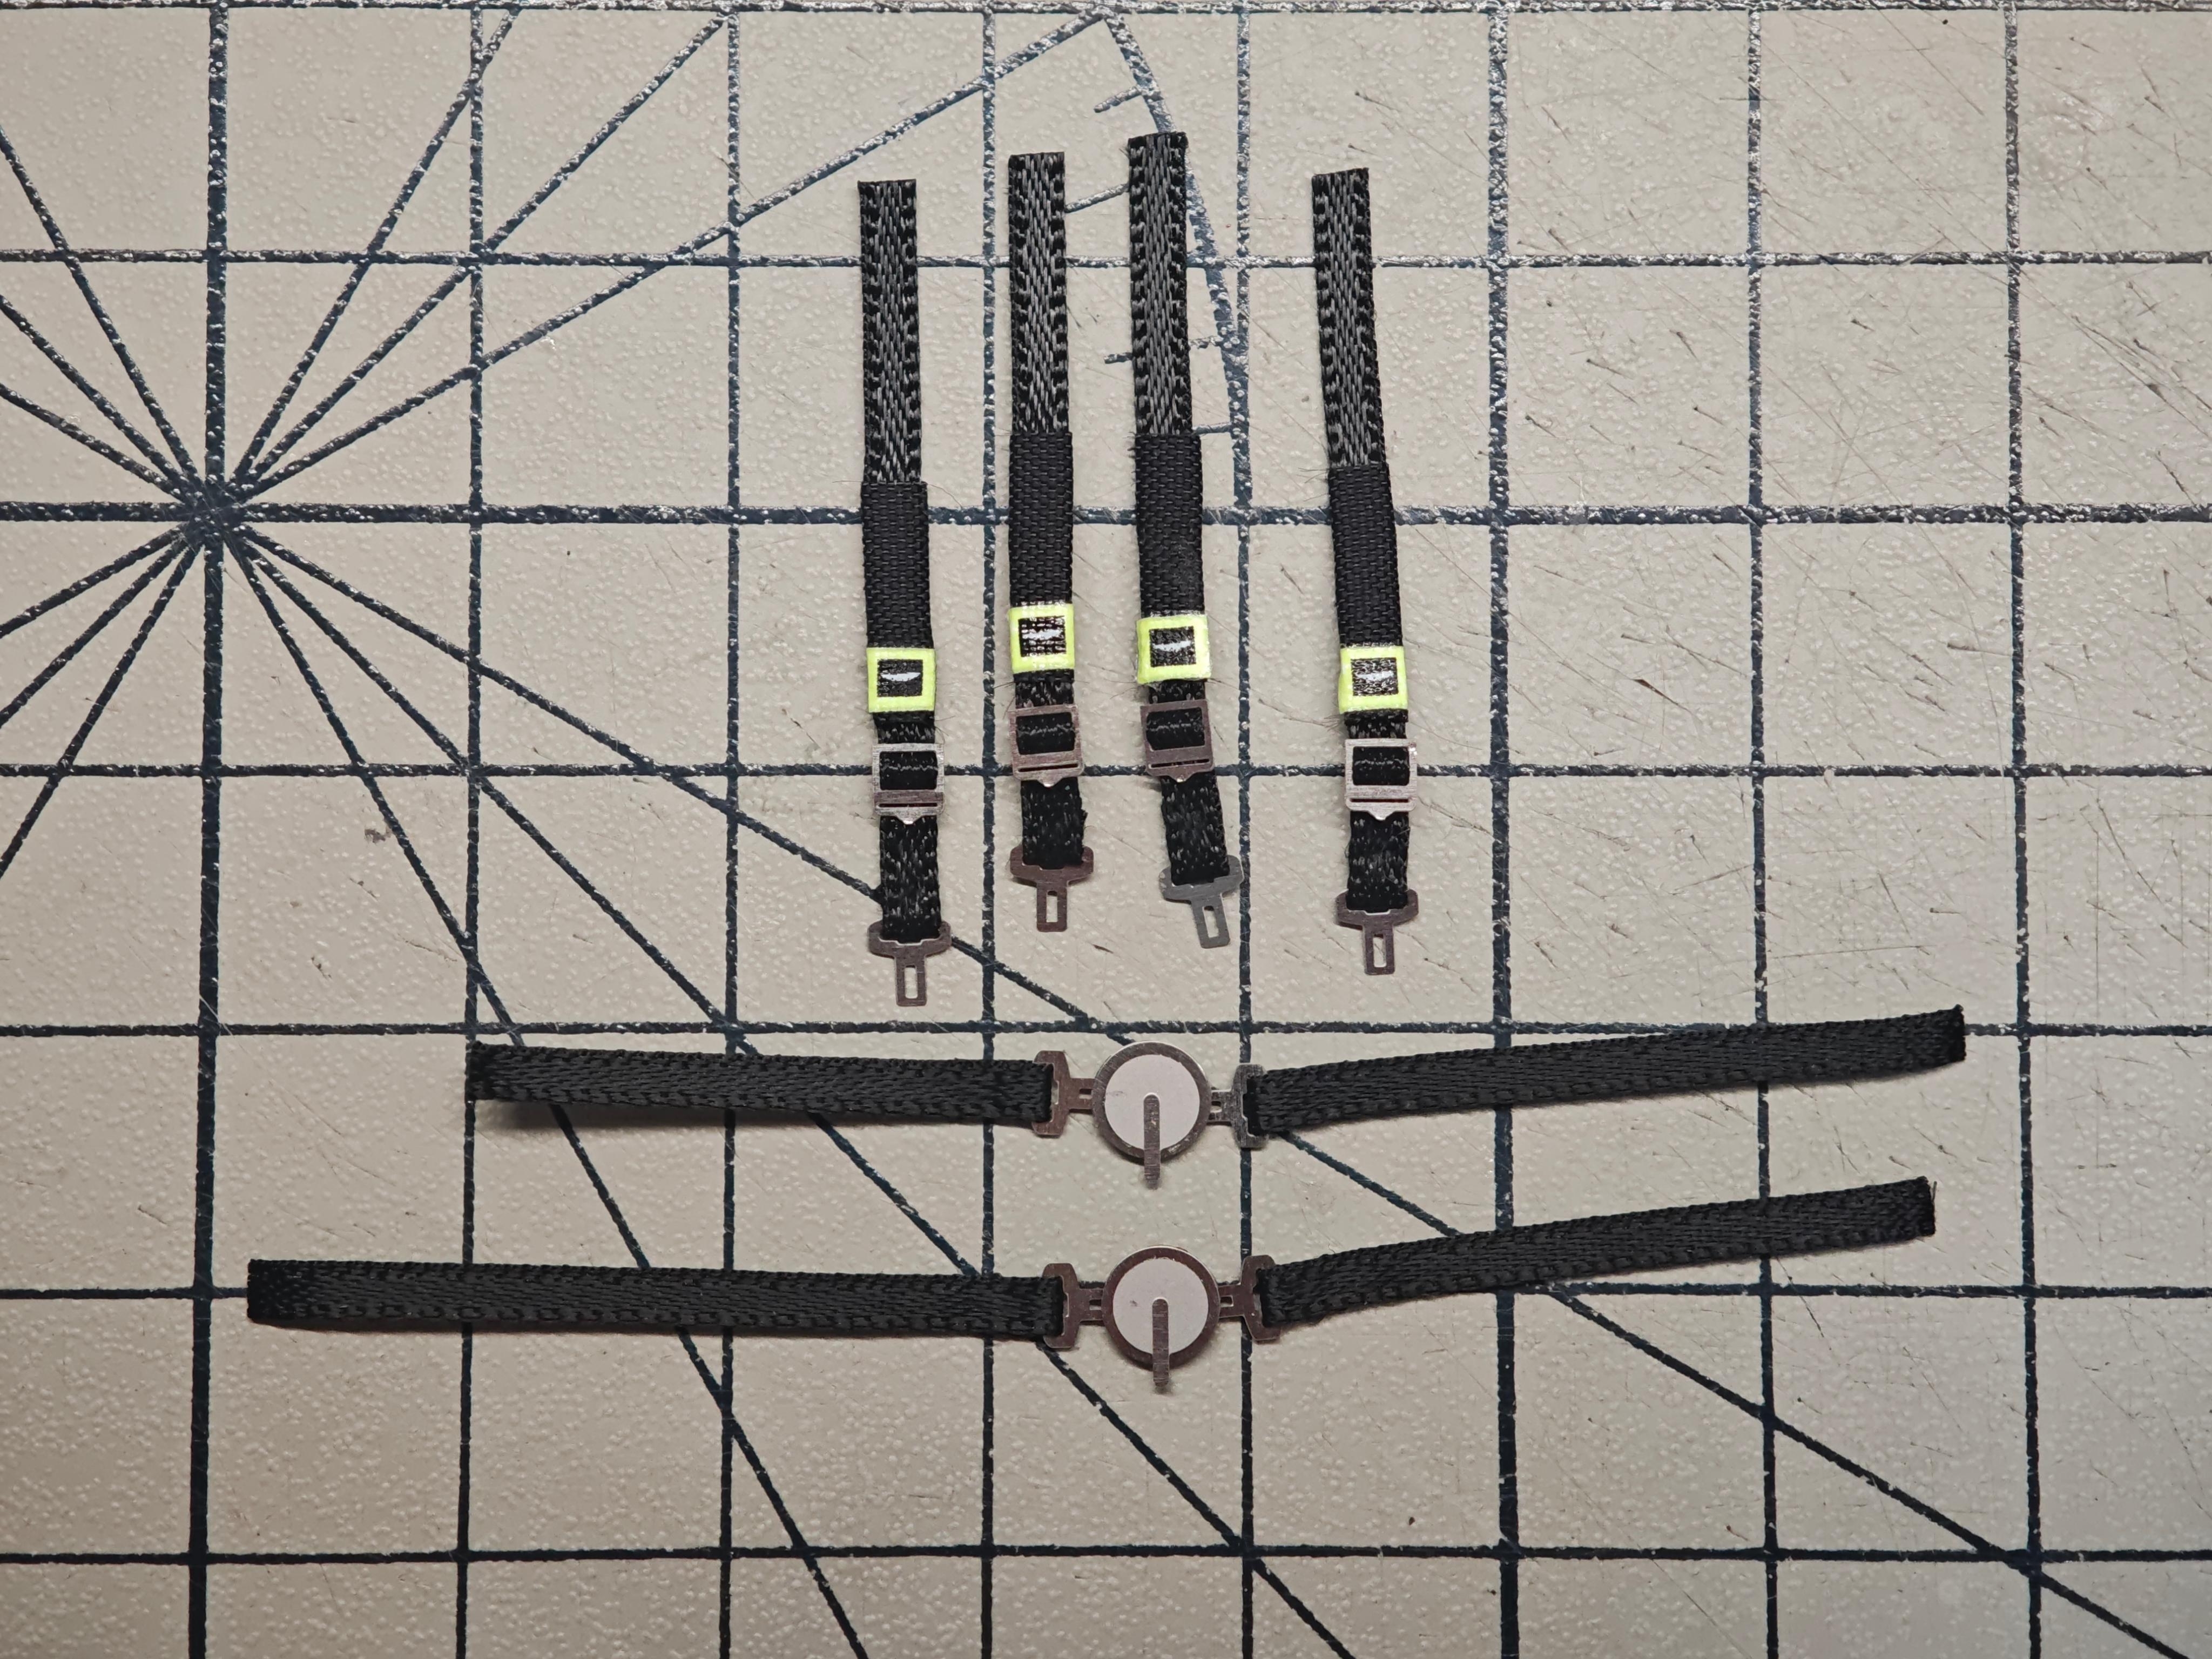
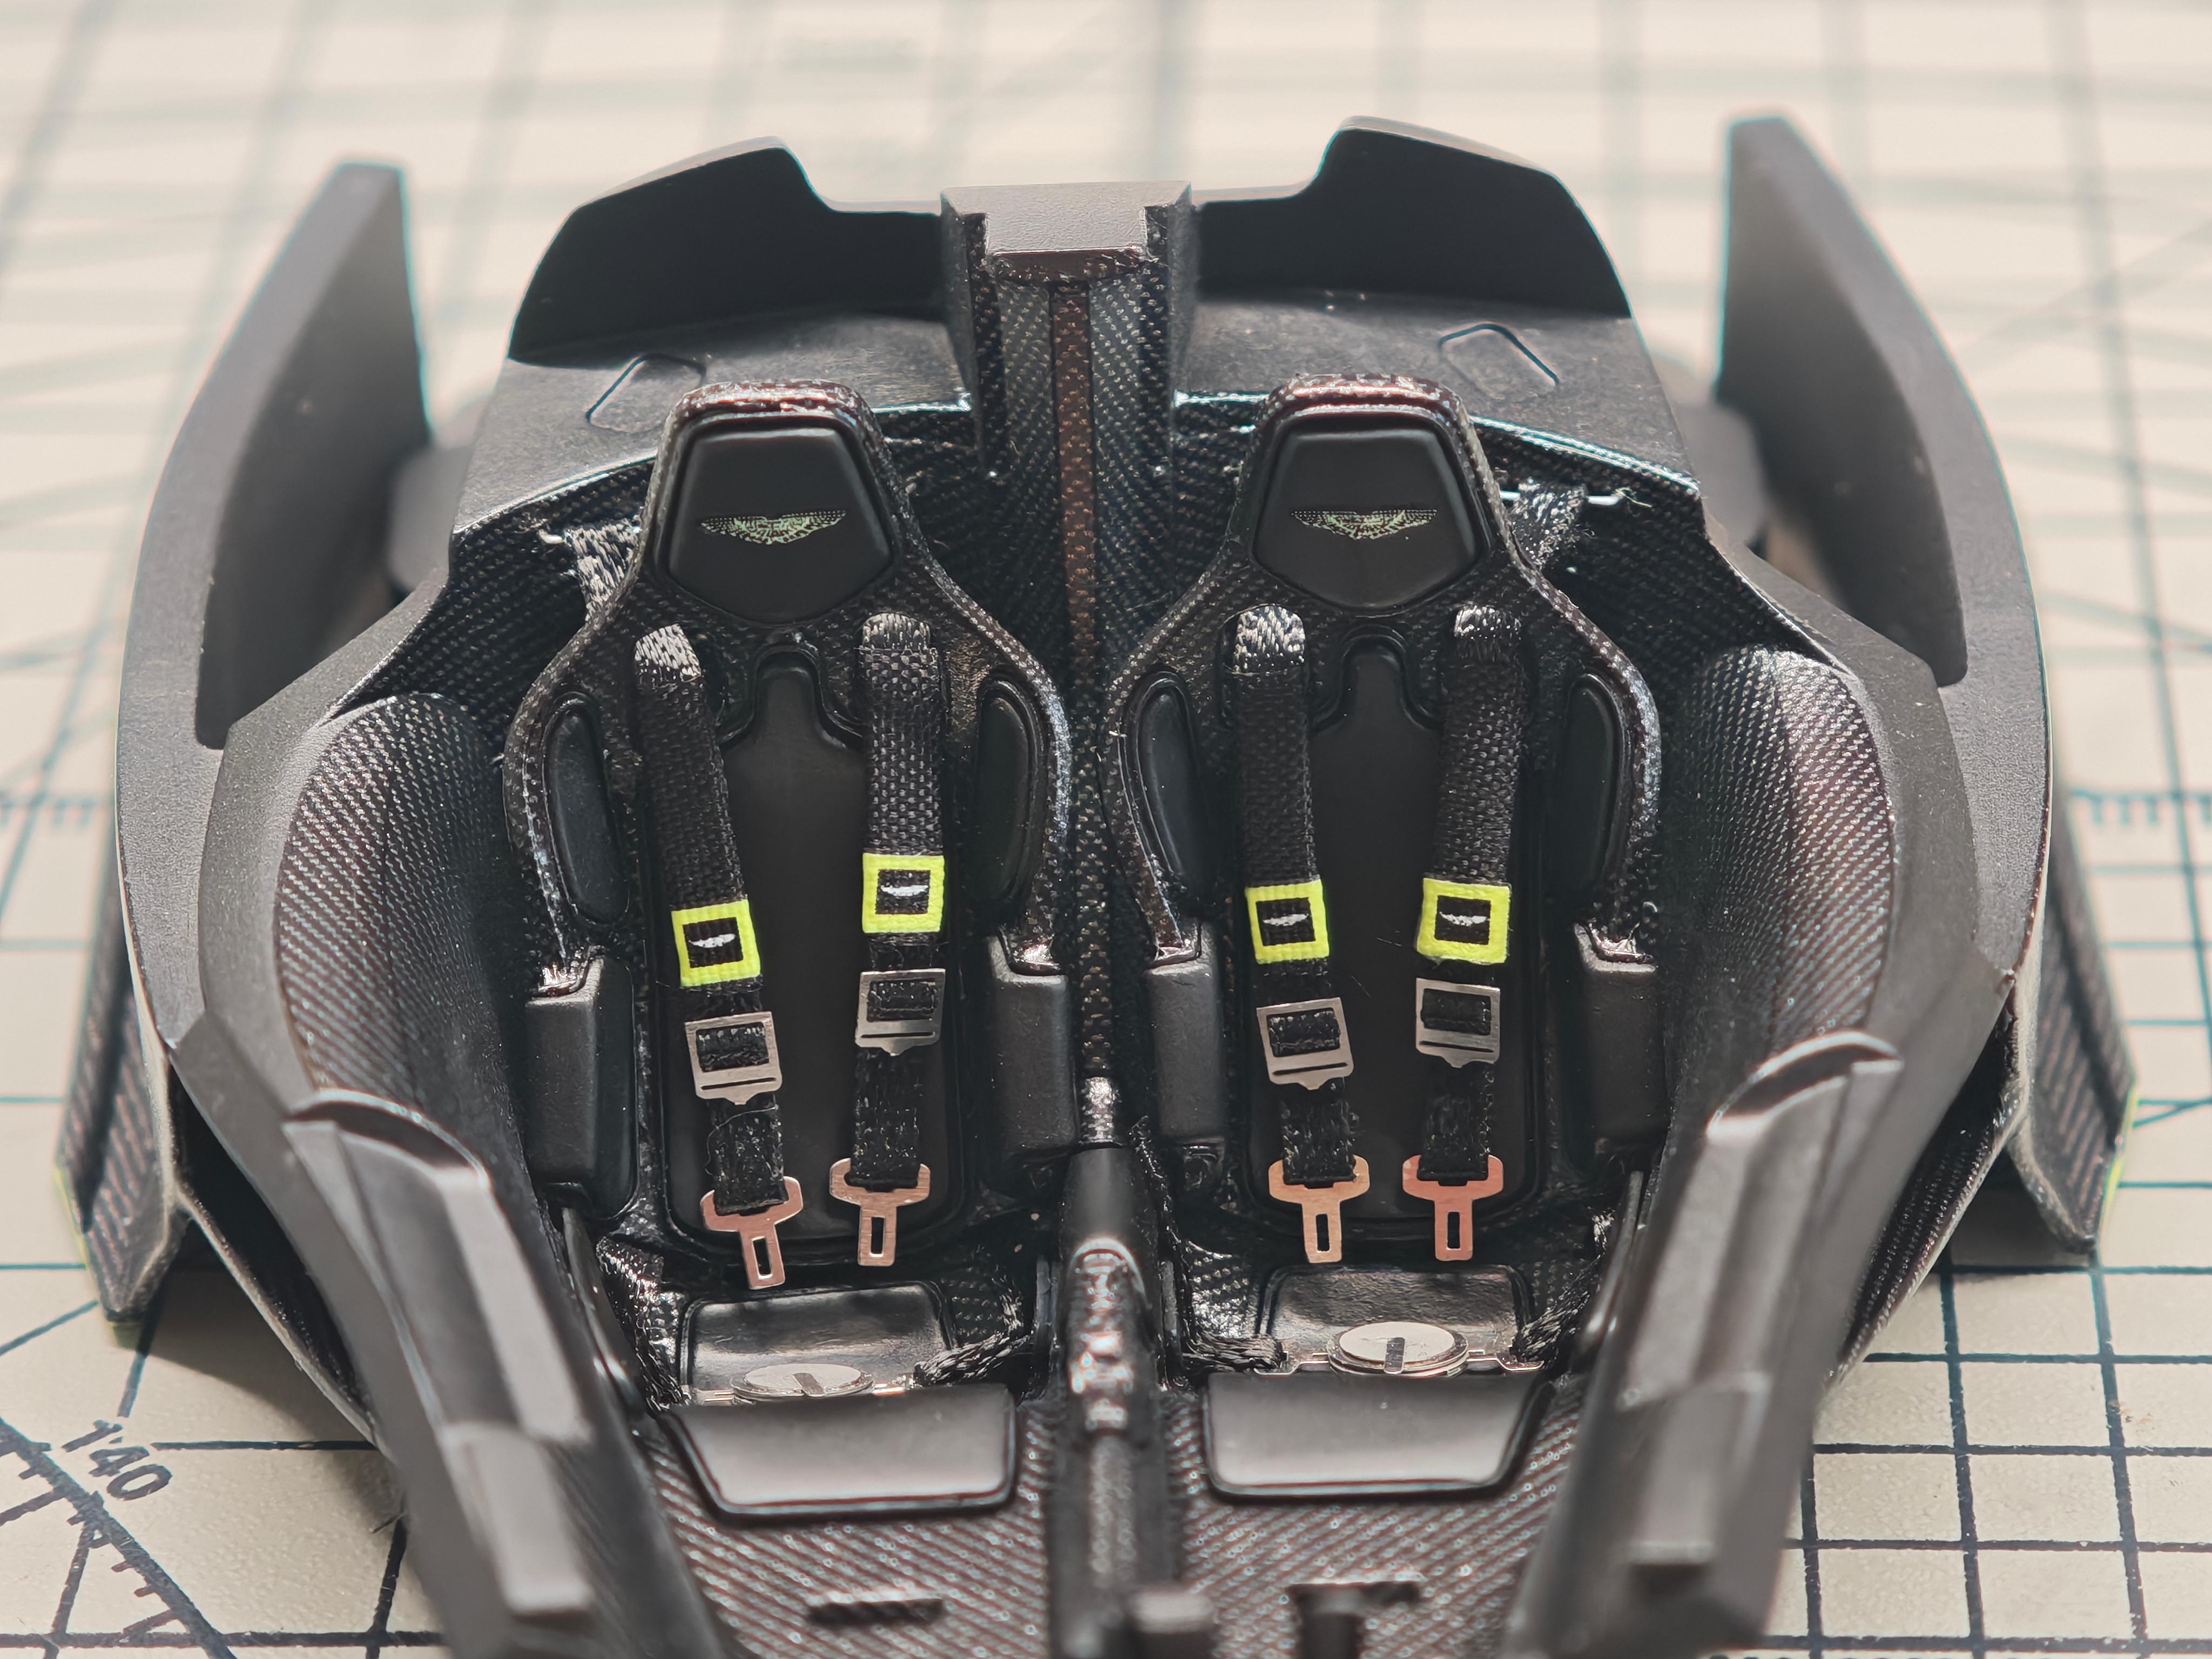
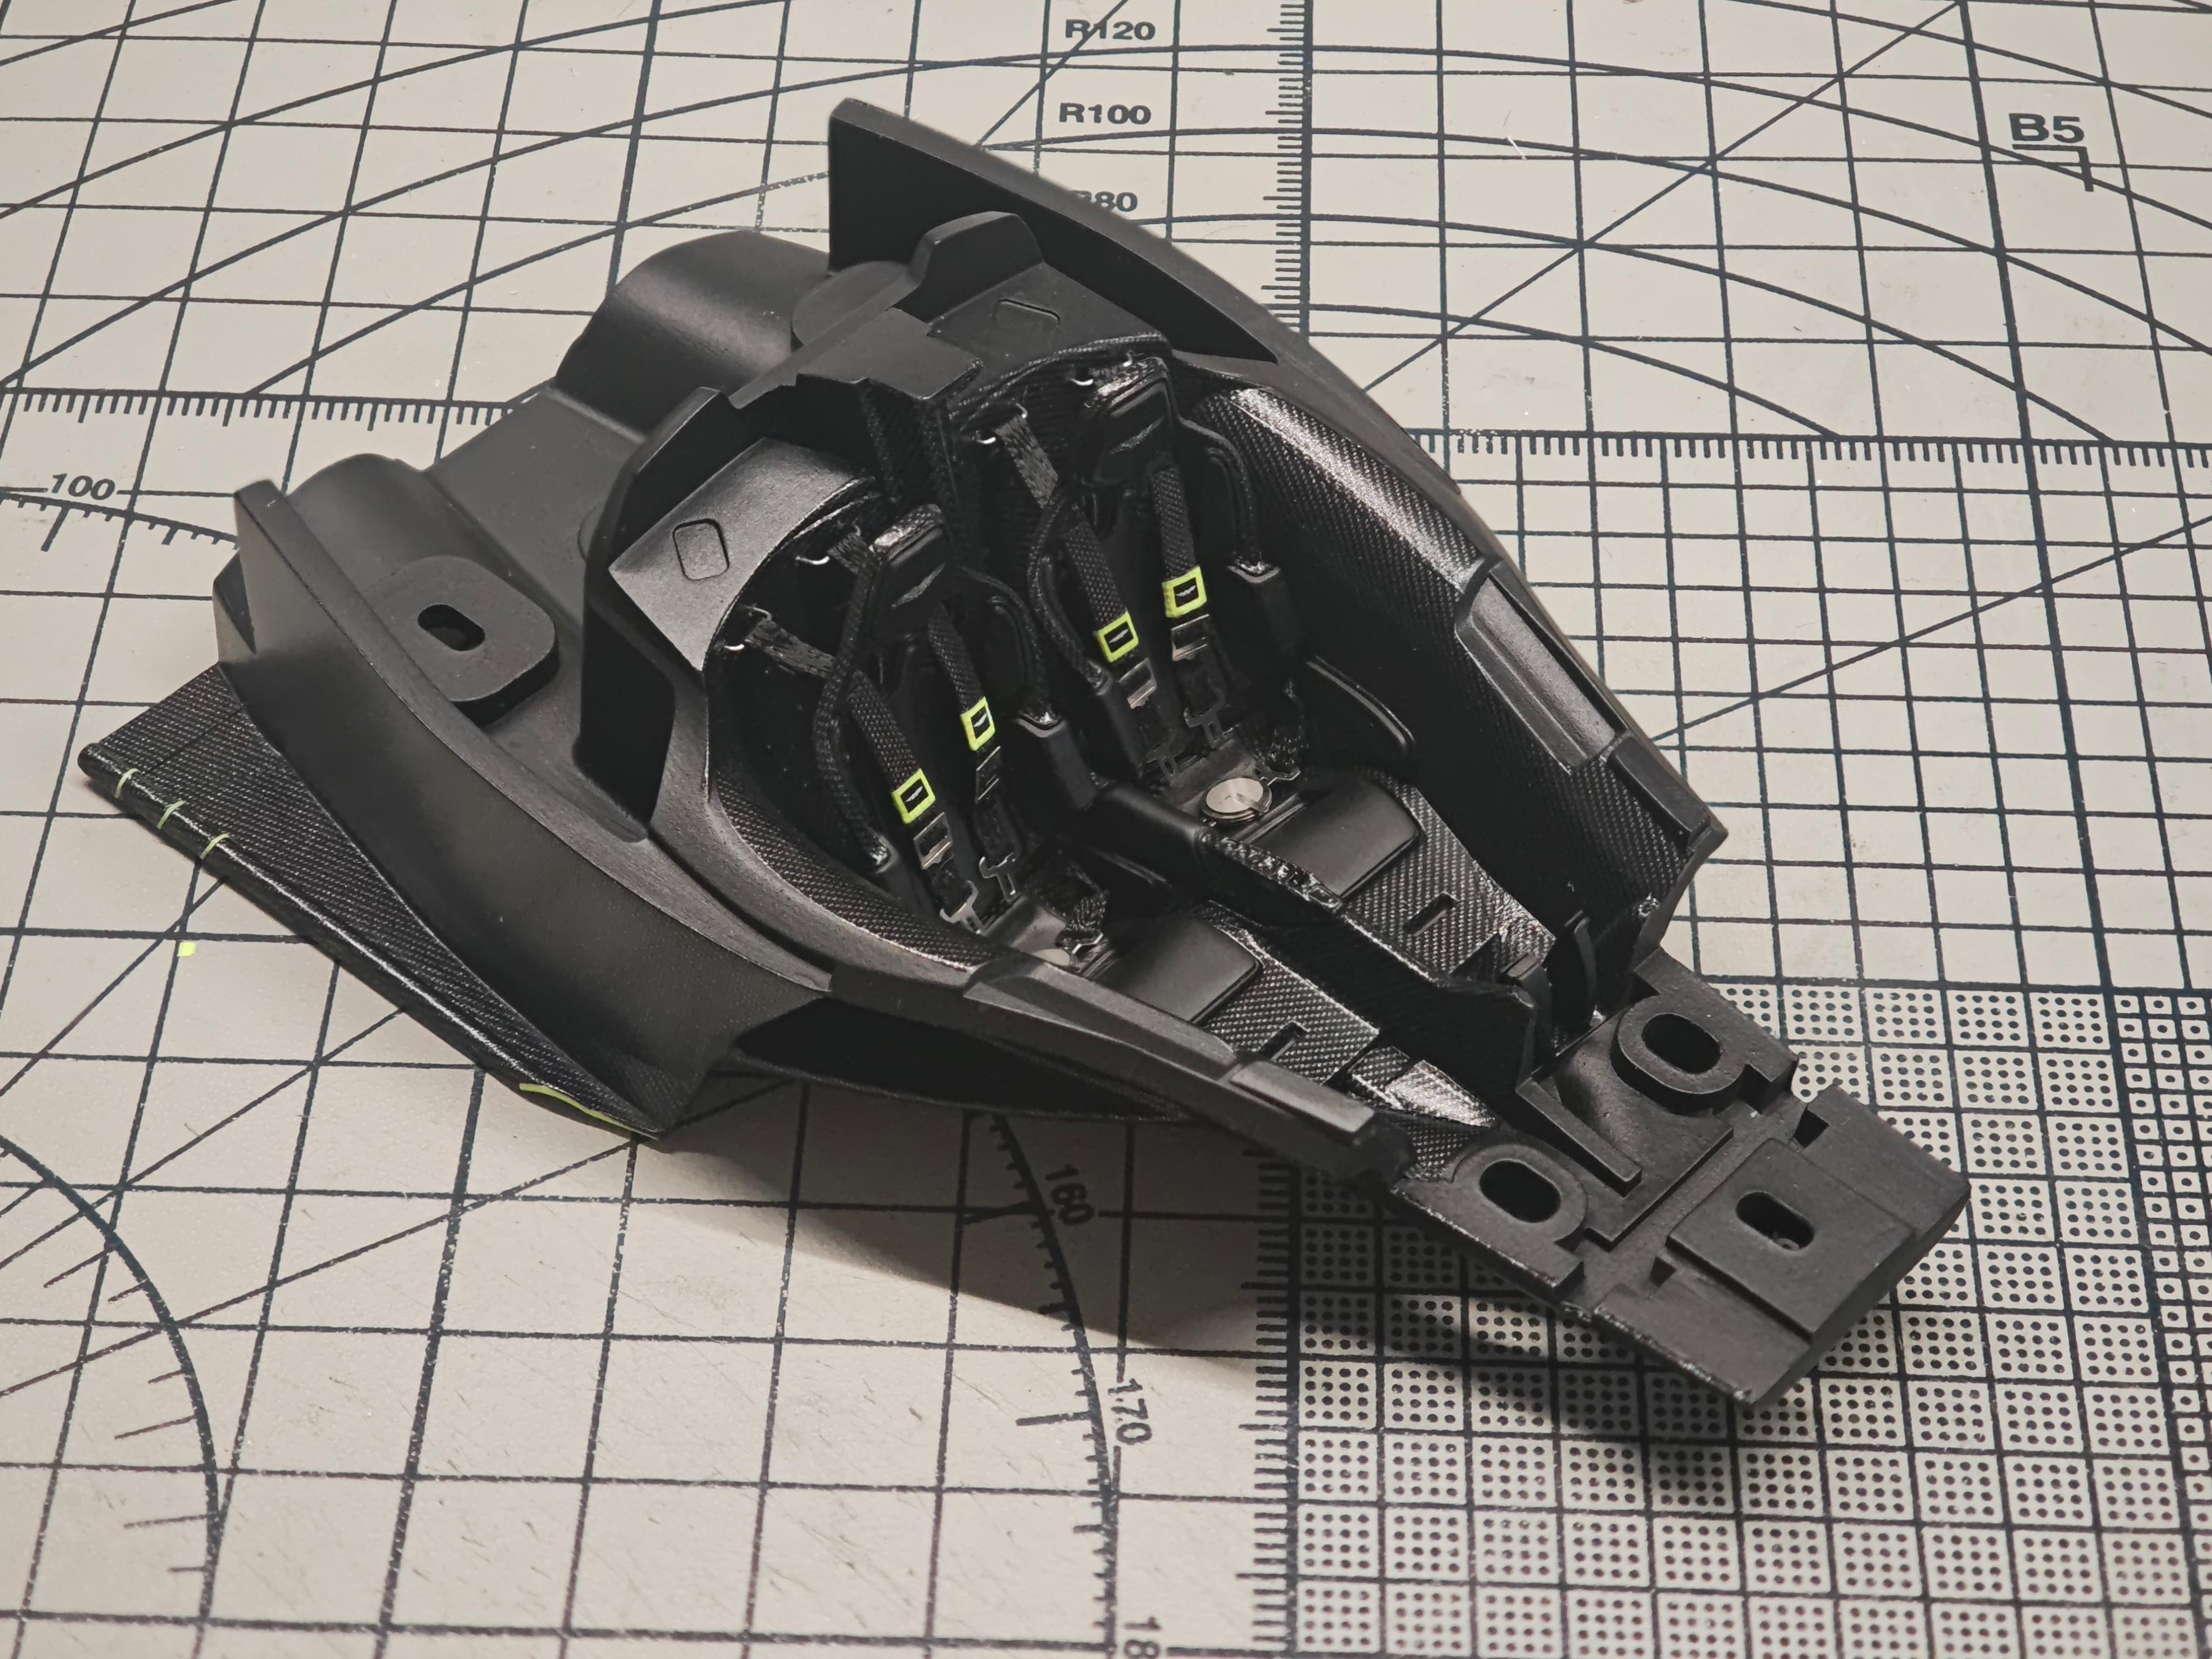
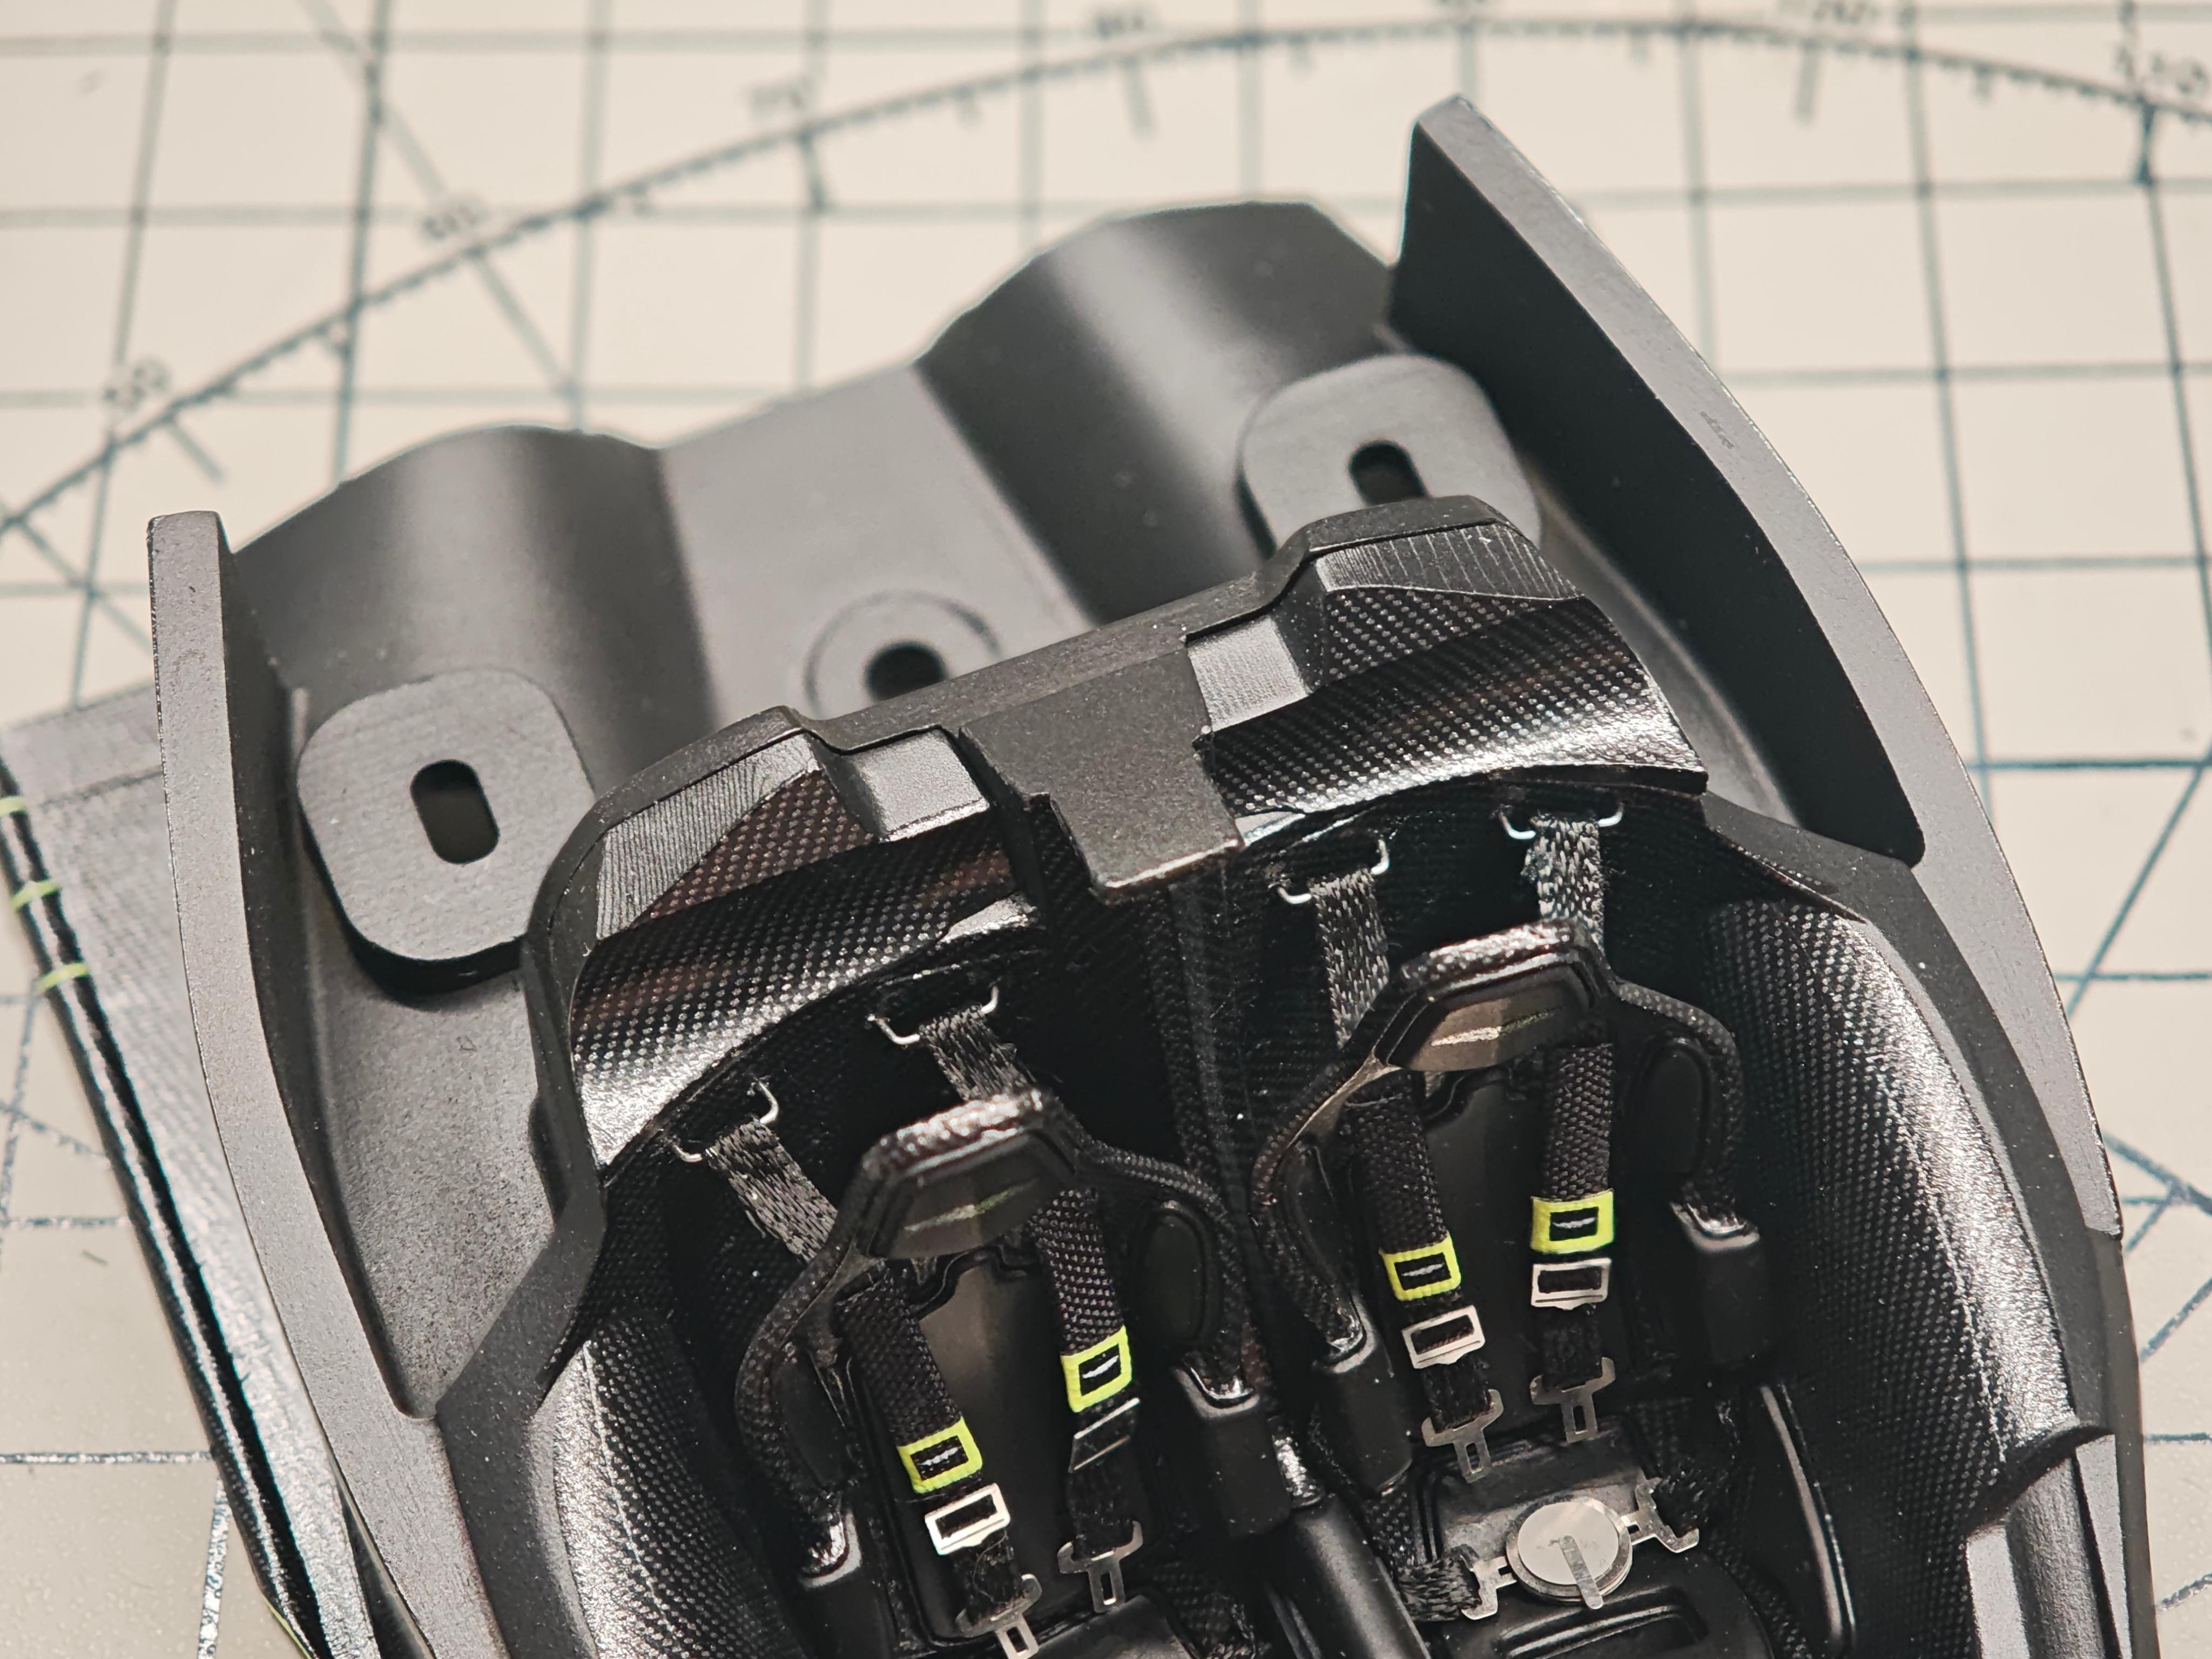
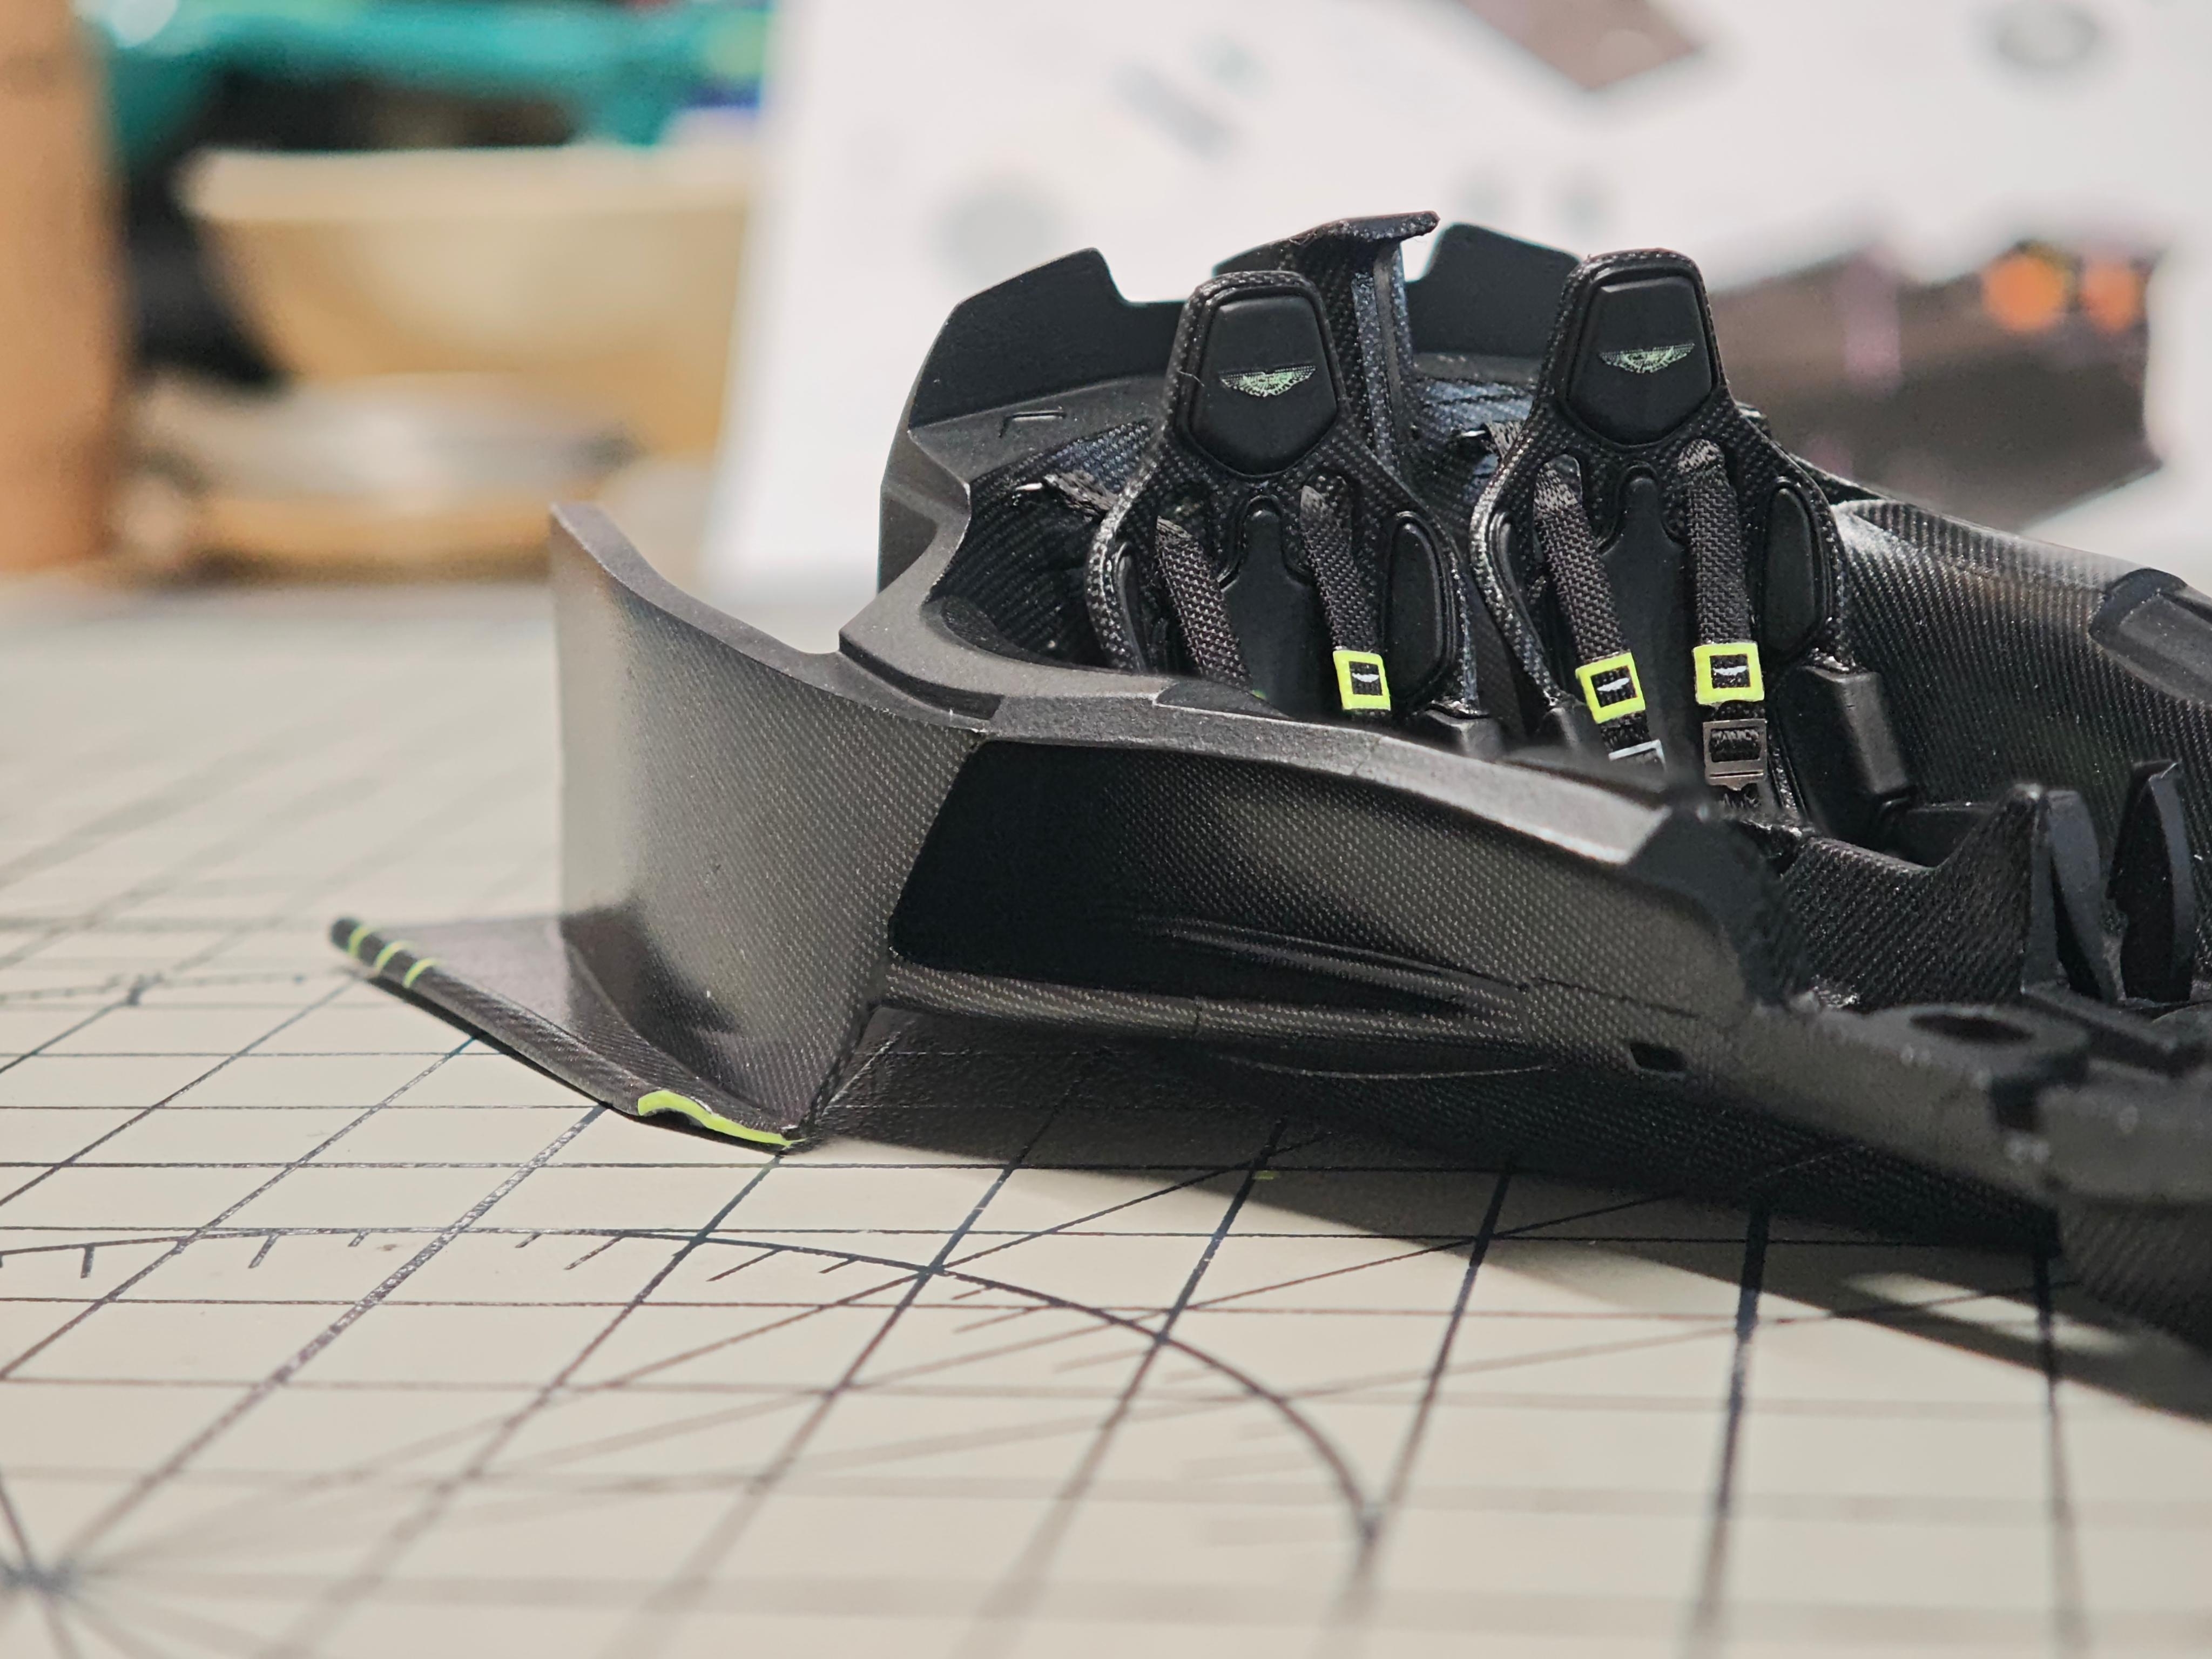
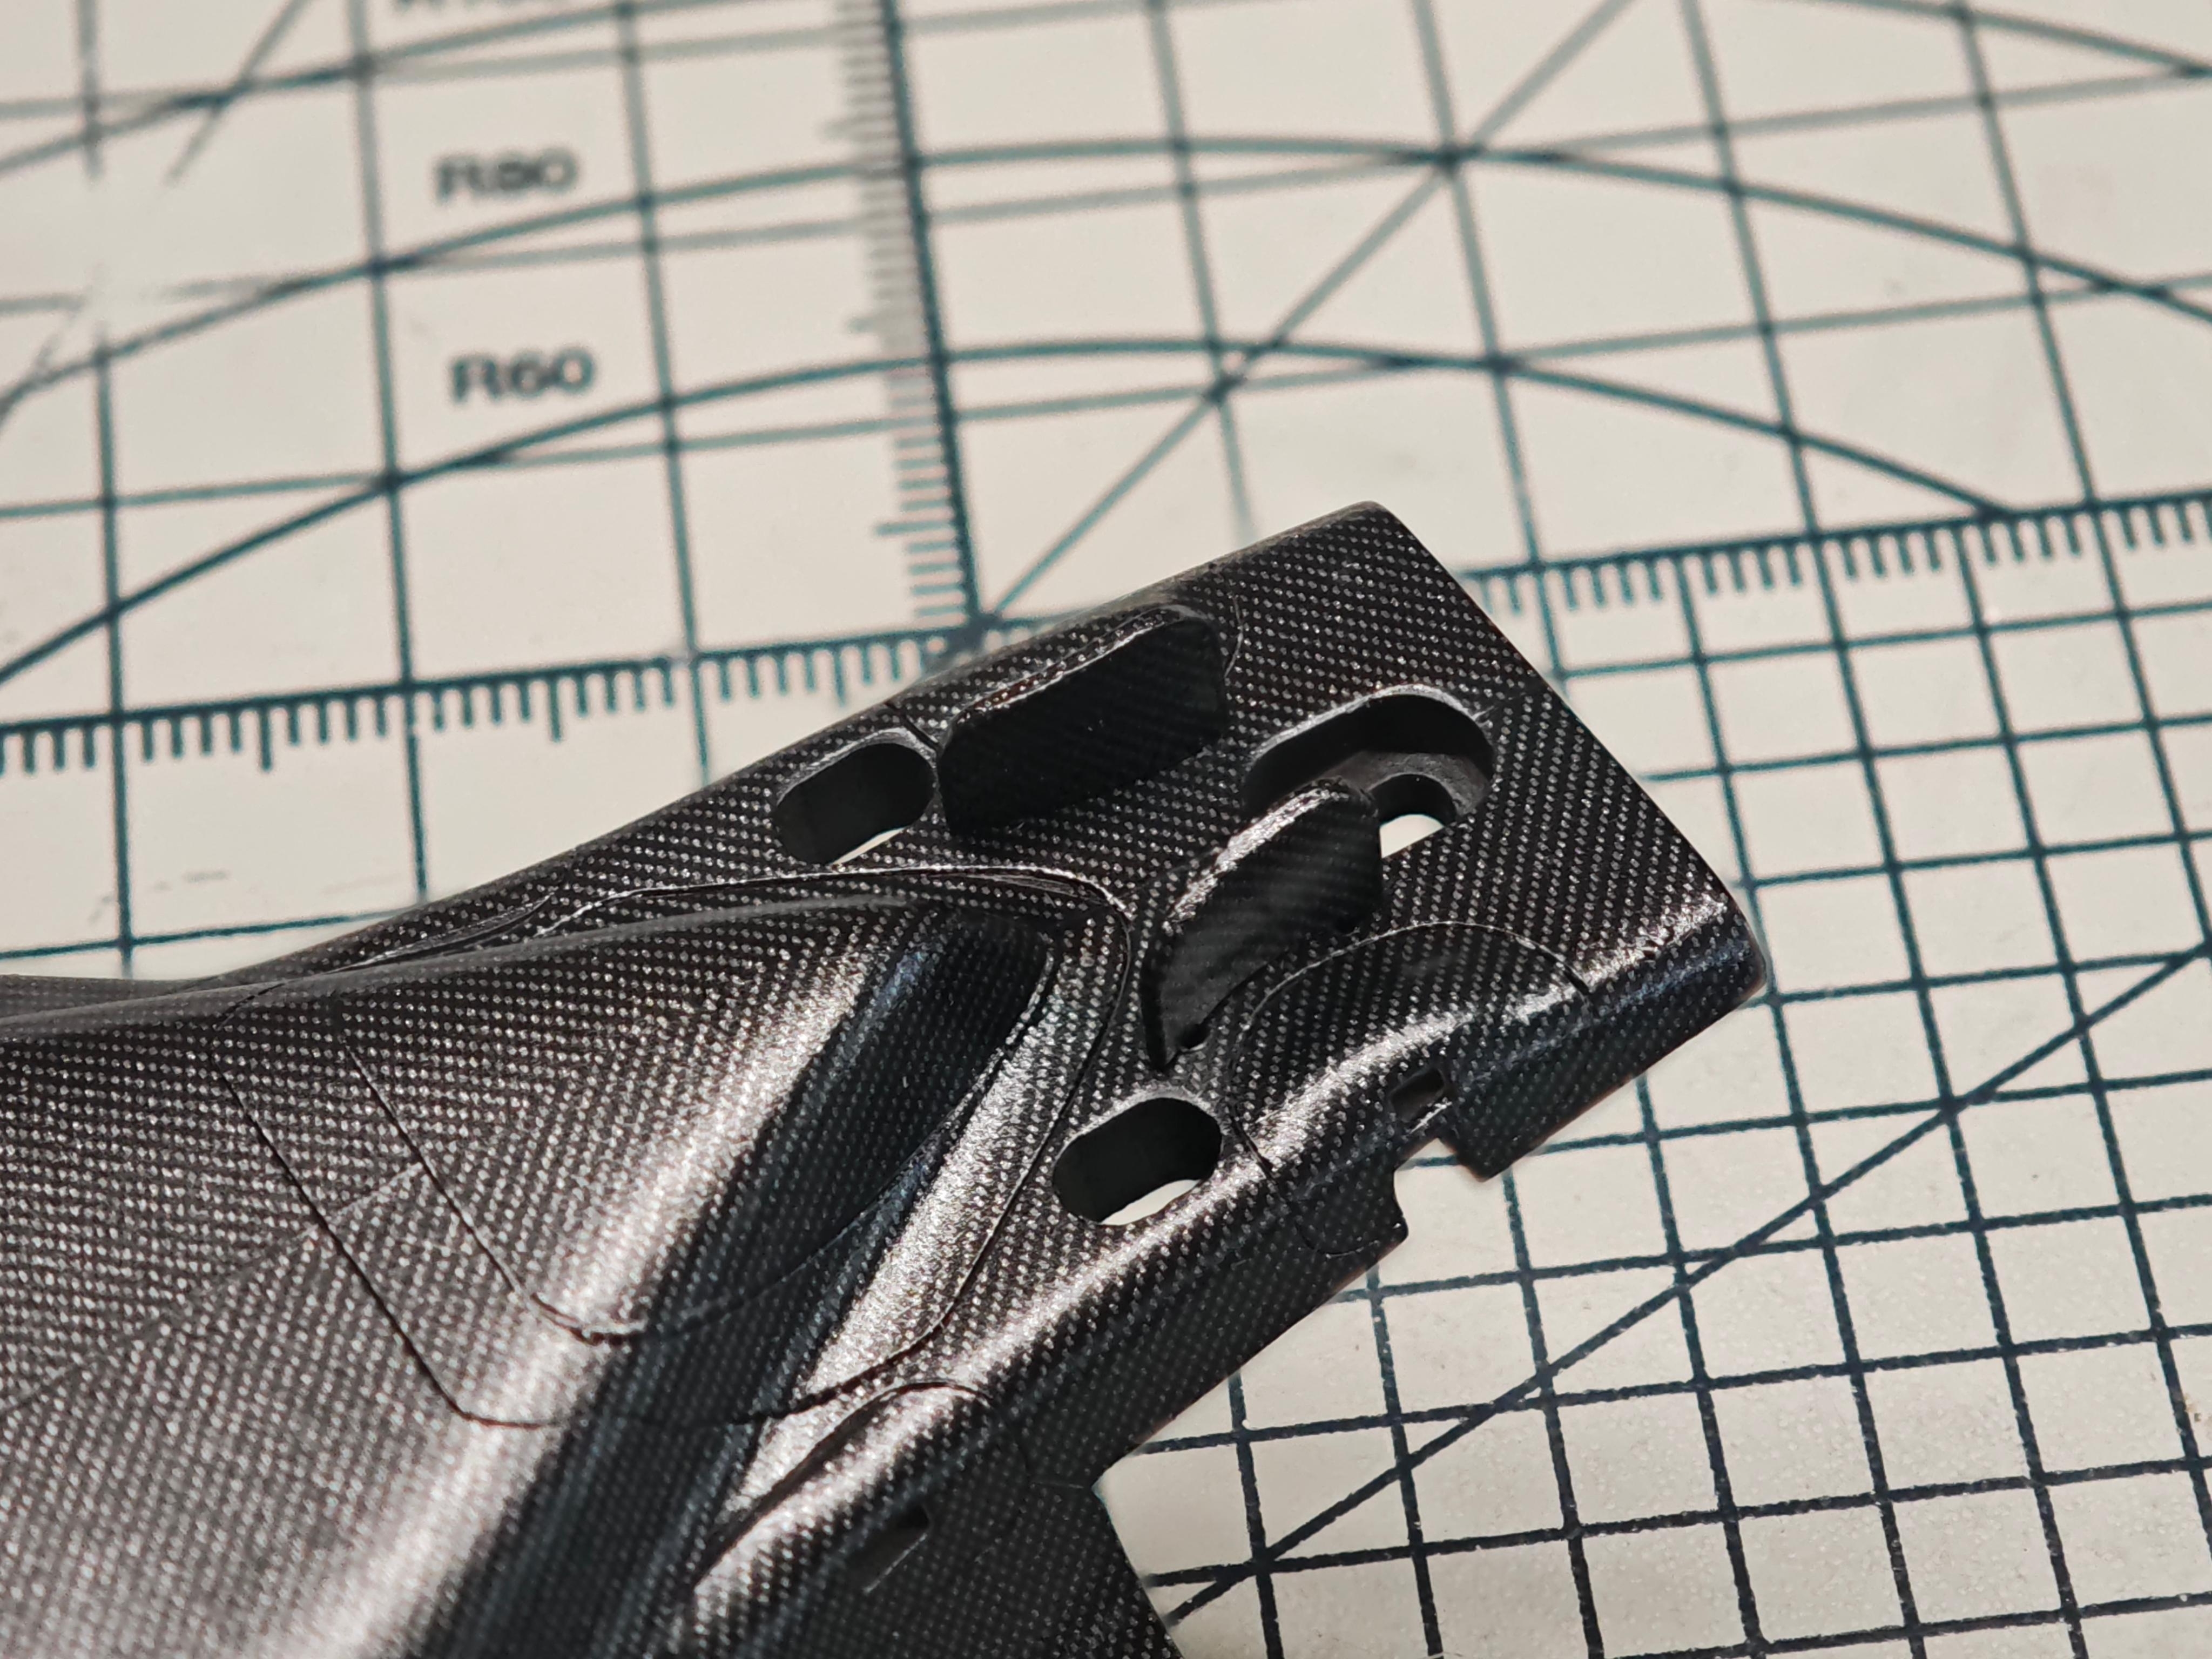
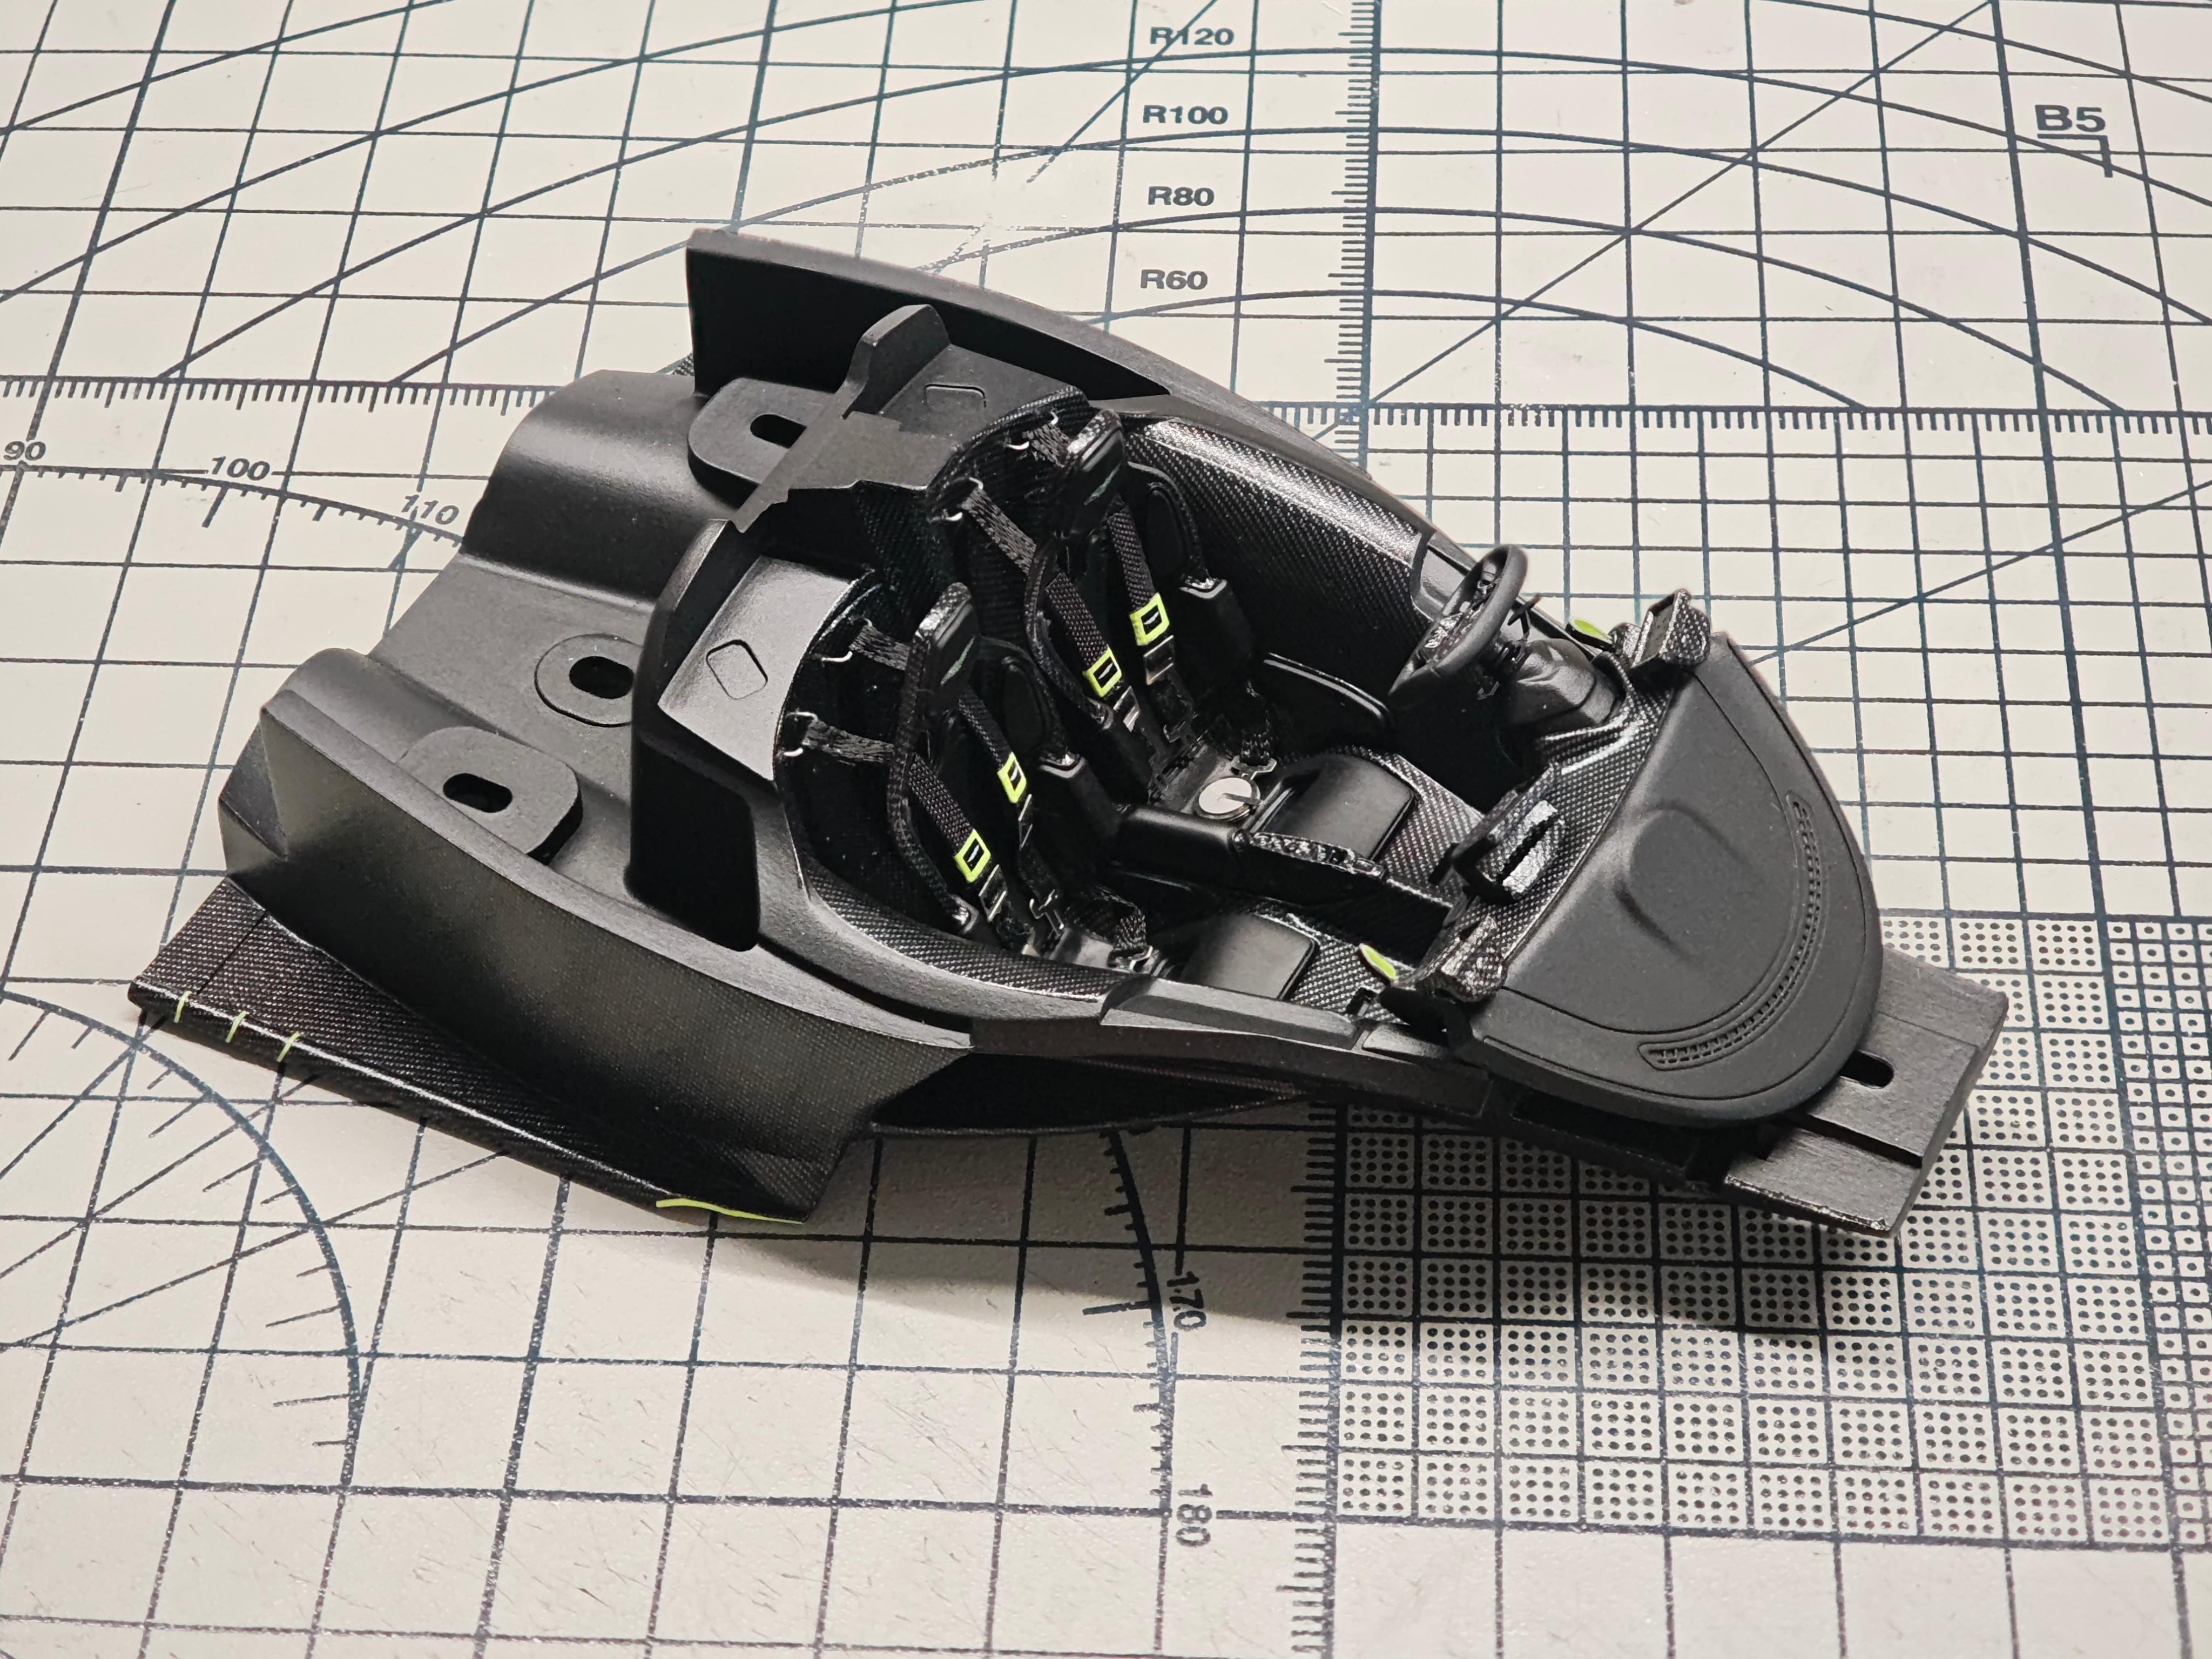
⚠️ Sequencing trap: install R70 and R71 only after fully assembling the interior components — these small carbon covers block access slots in the tub.
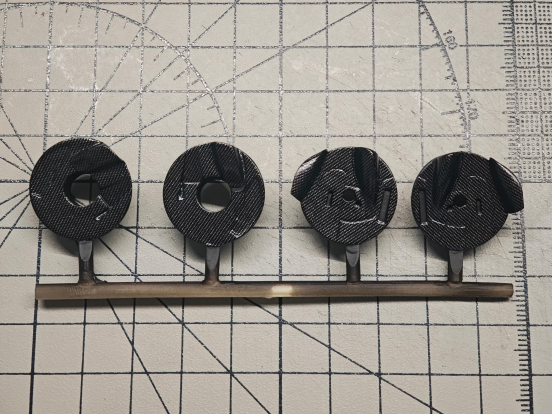
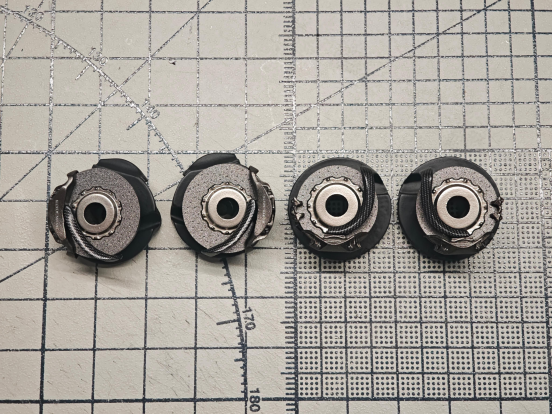
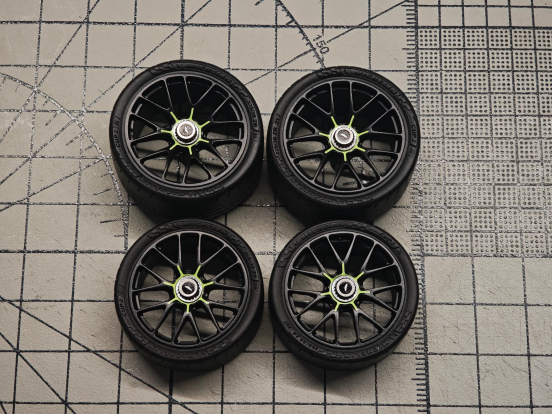
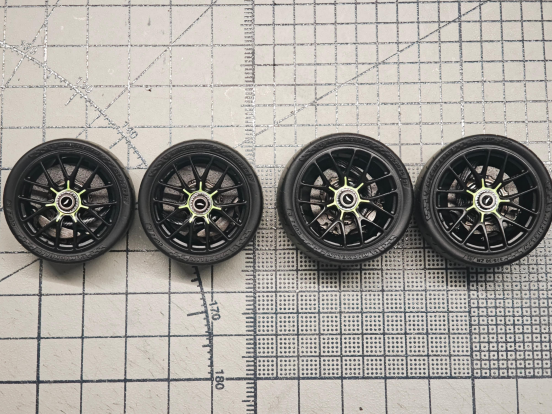
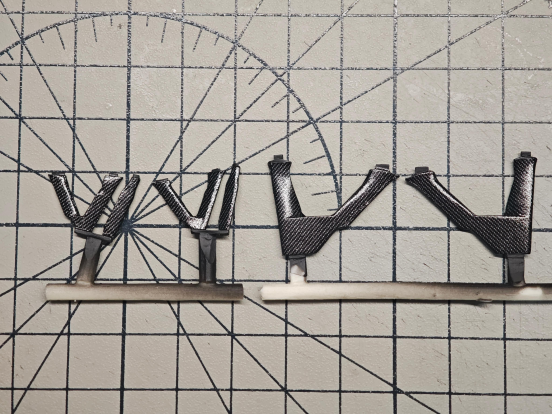
Wheels, Brakes, Tyres & Carbon Suspension Arms
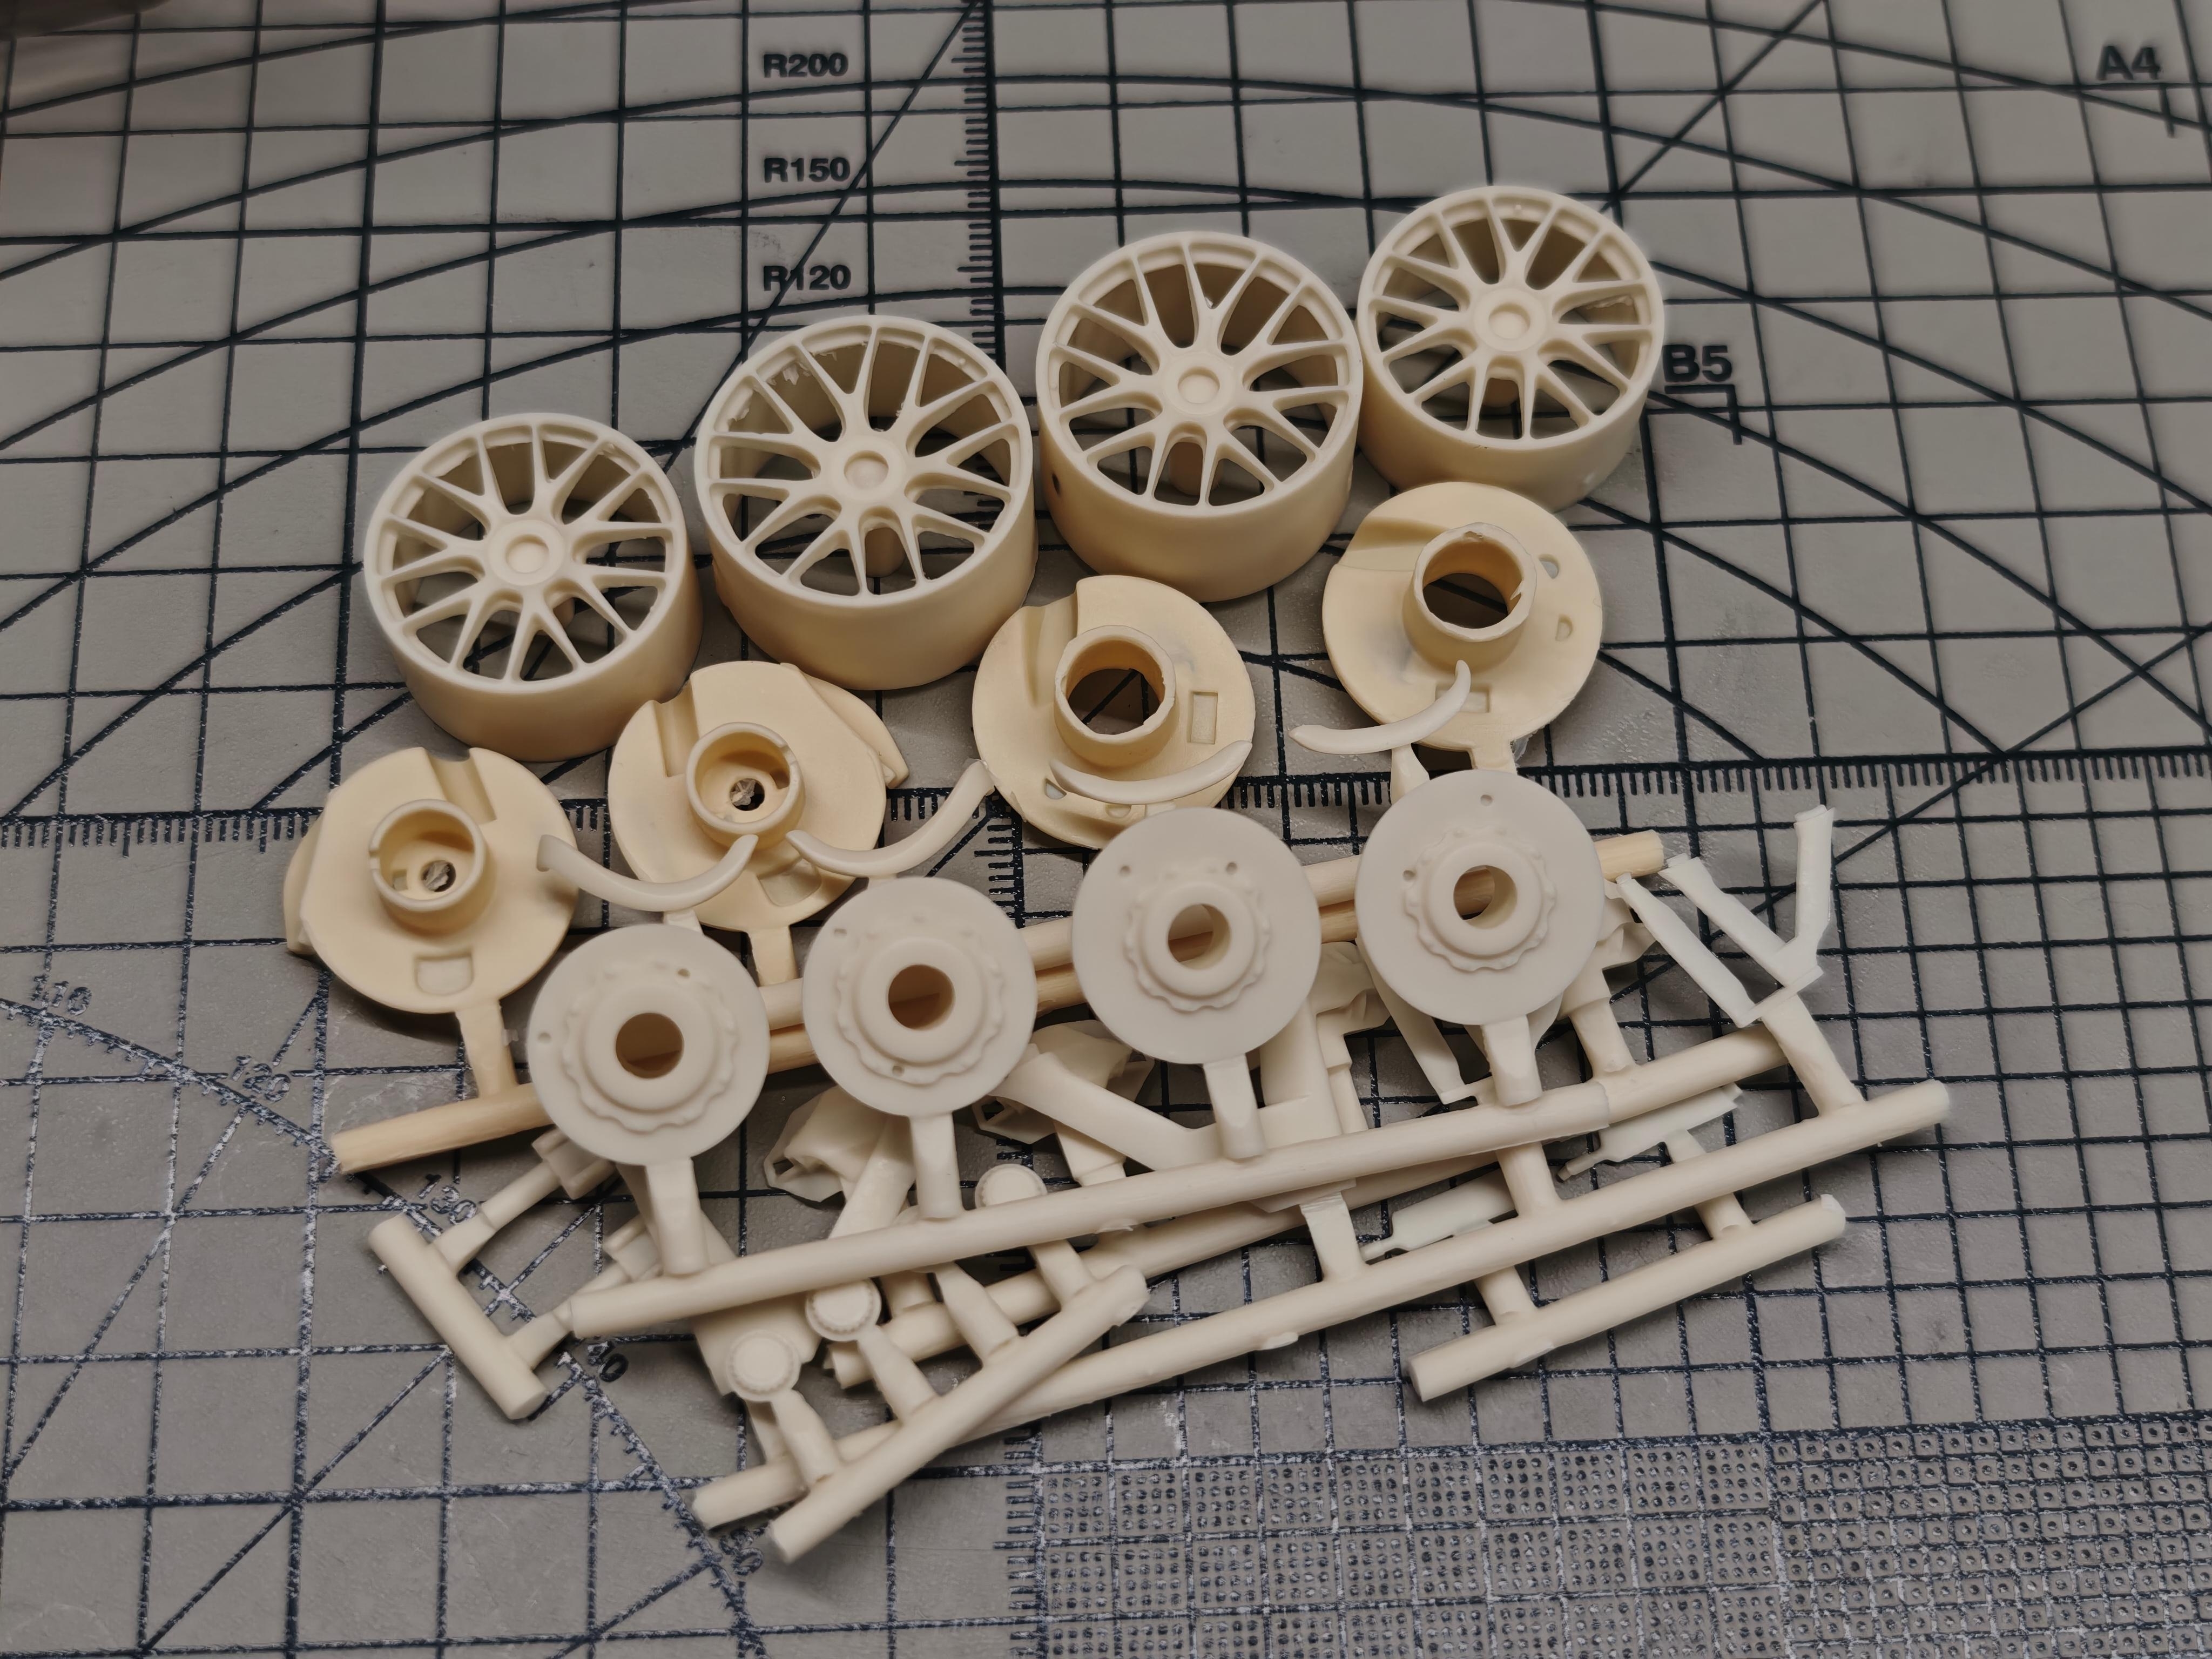
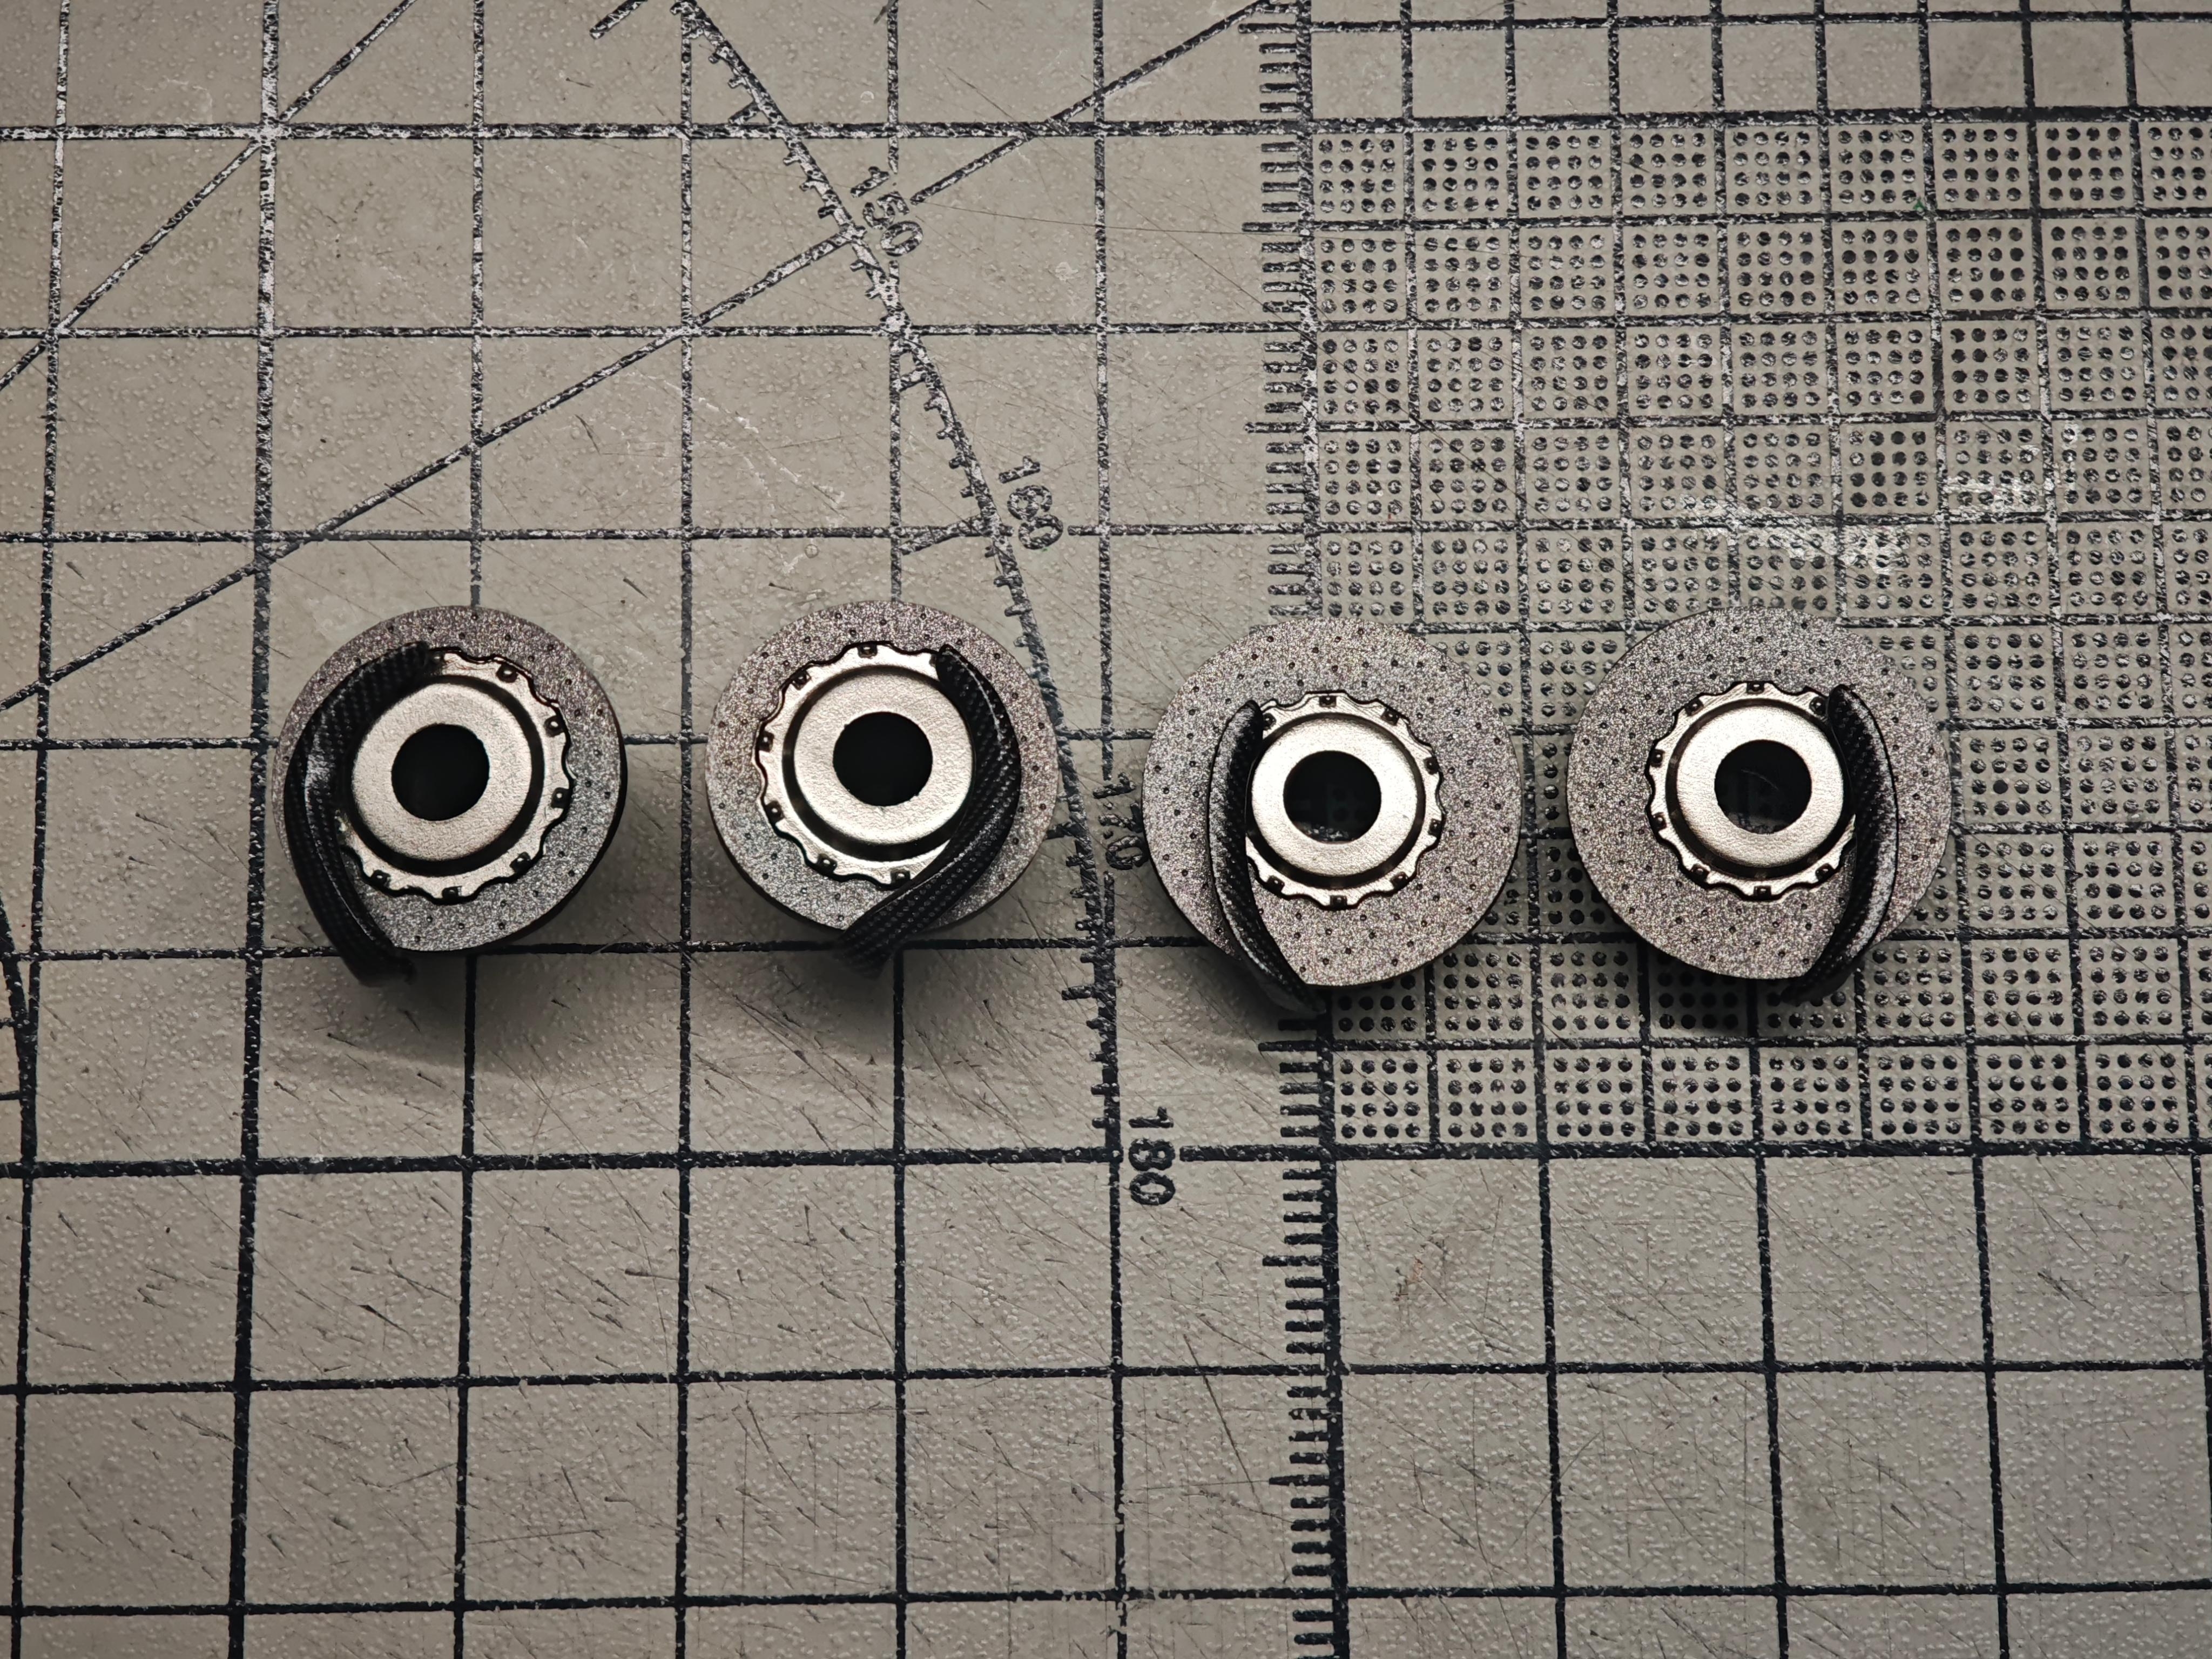
The Valkyrie uses centre-lock open-spoke wheels to vent massive carbon-ceramic discs, with satin-dark rims, lime lock rings and Michelin Pilot Sport Cup 2 R tyres.
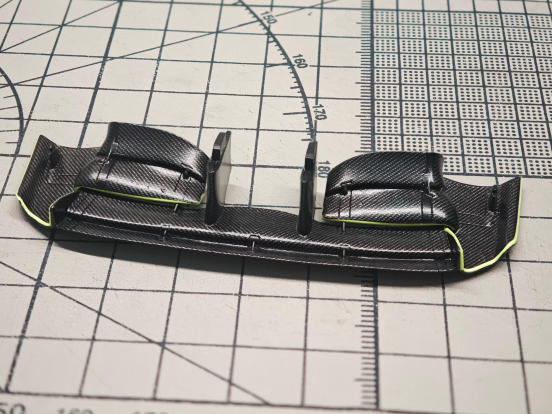
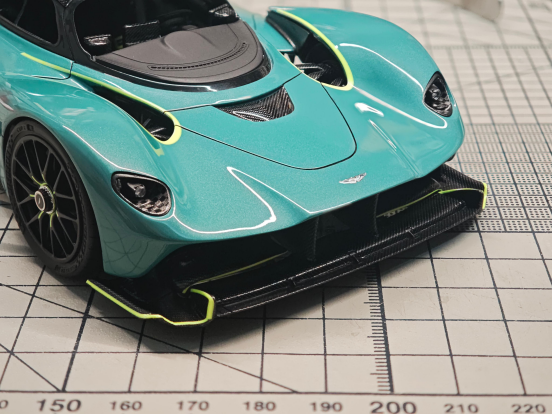
Final Assembly — Splitter, Lights, Winglets, Mirrors & Rear Wing
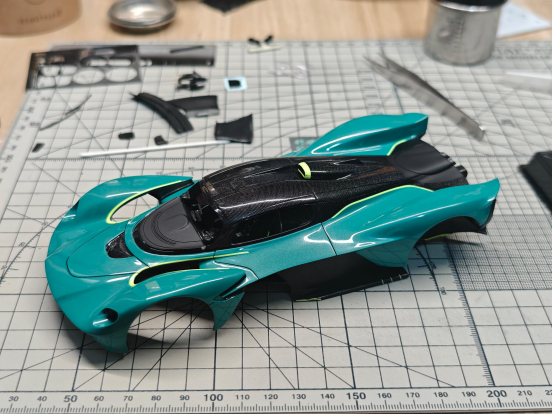
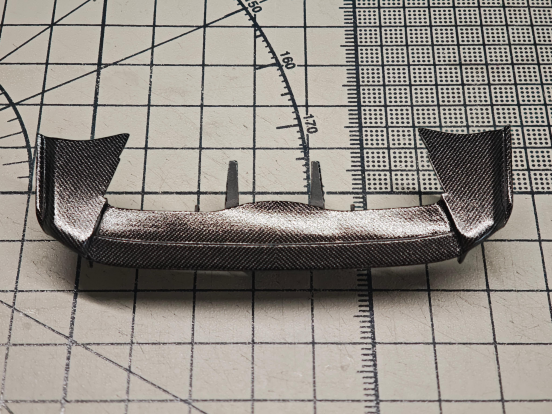
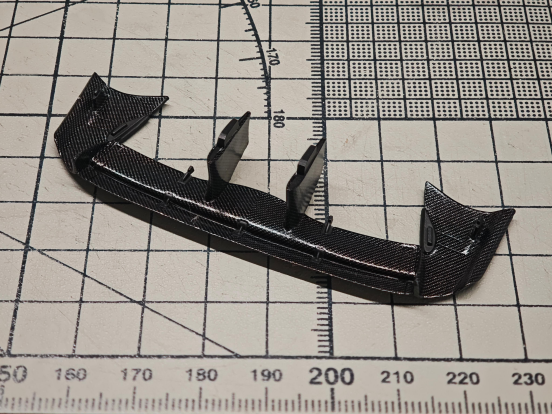
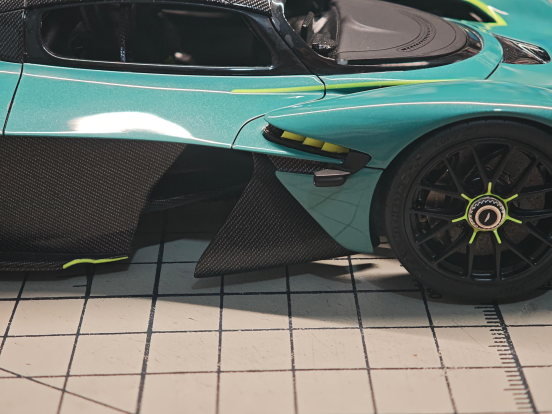
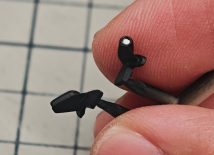
With every subassembly painted and decalled on its own, the Valkyrie finally becomes a car. This stage is mostly sequencing and alignment — delicate mirrors and linkages go last.
The Finished Model
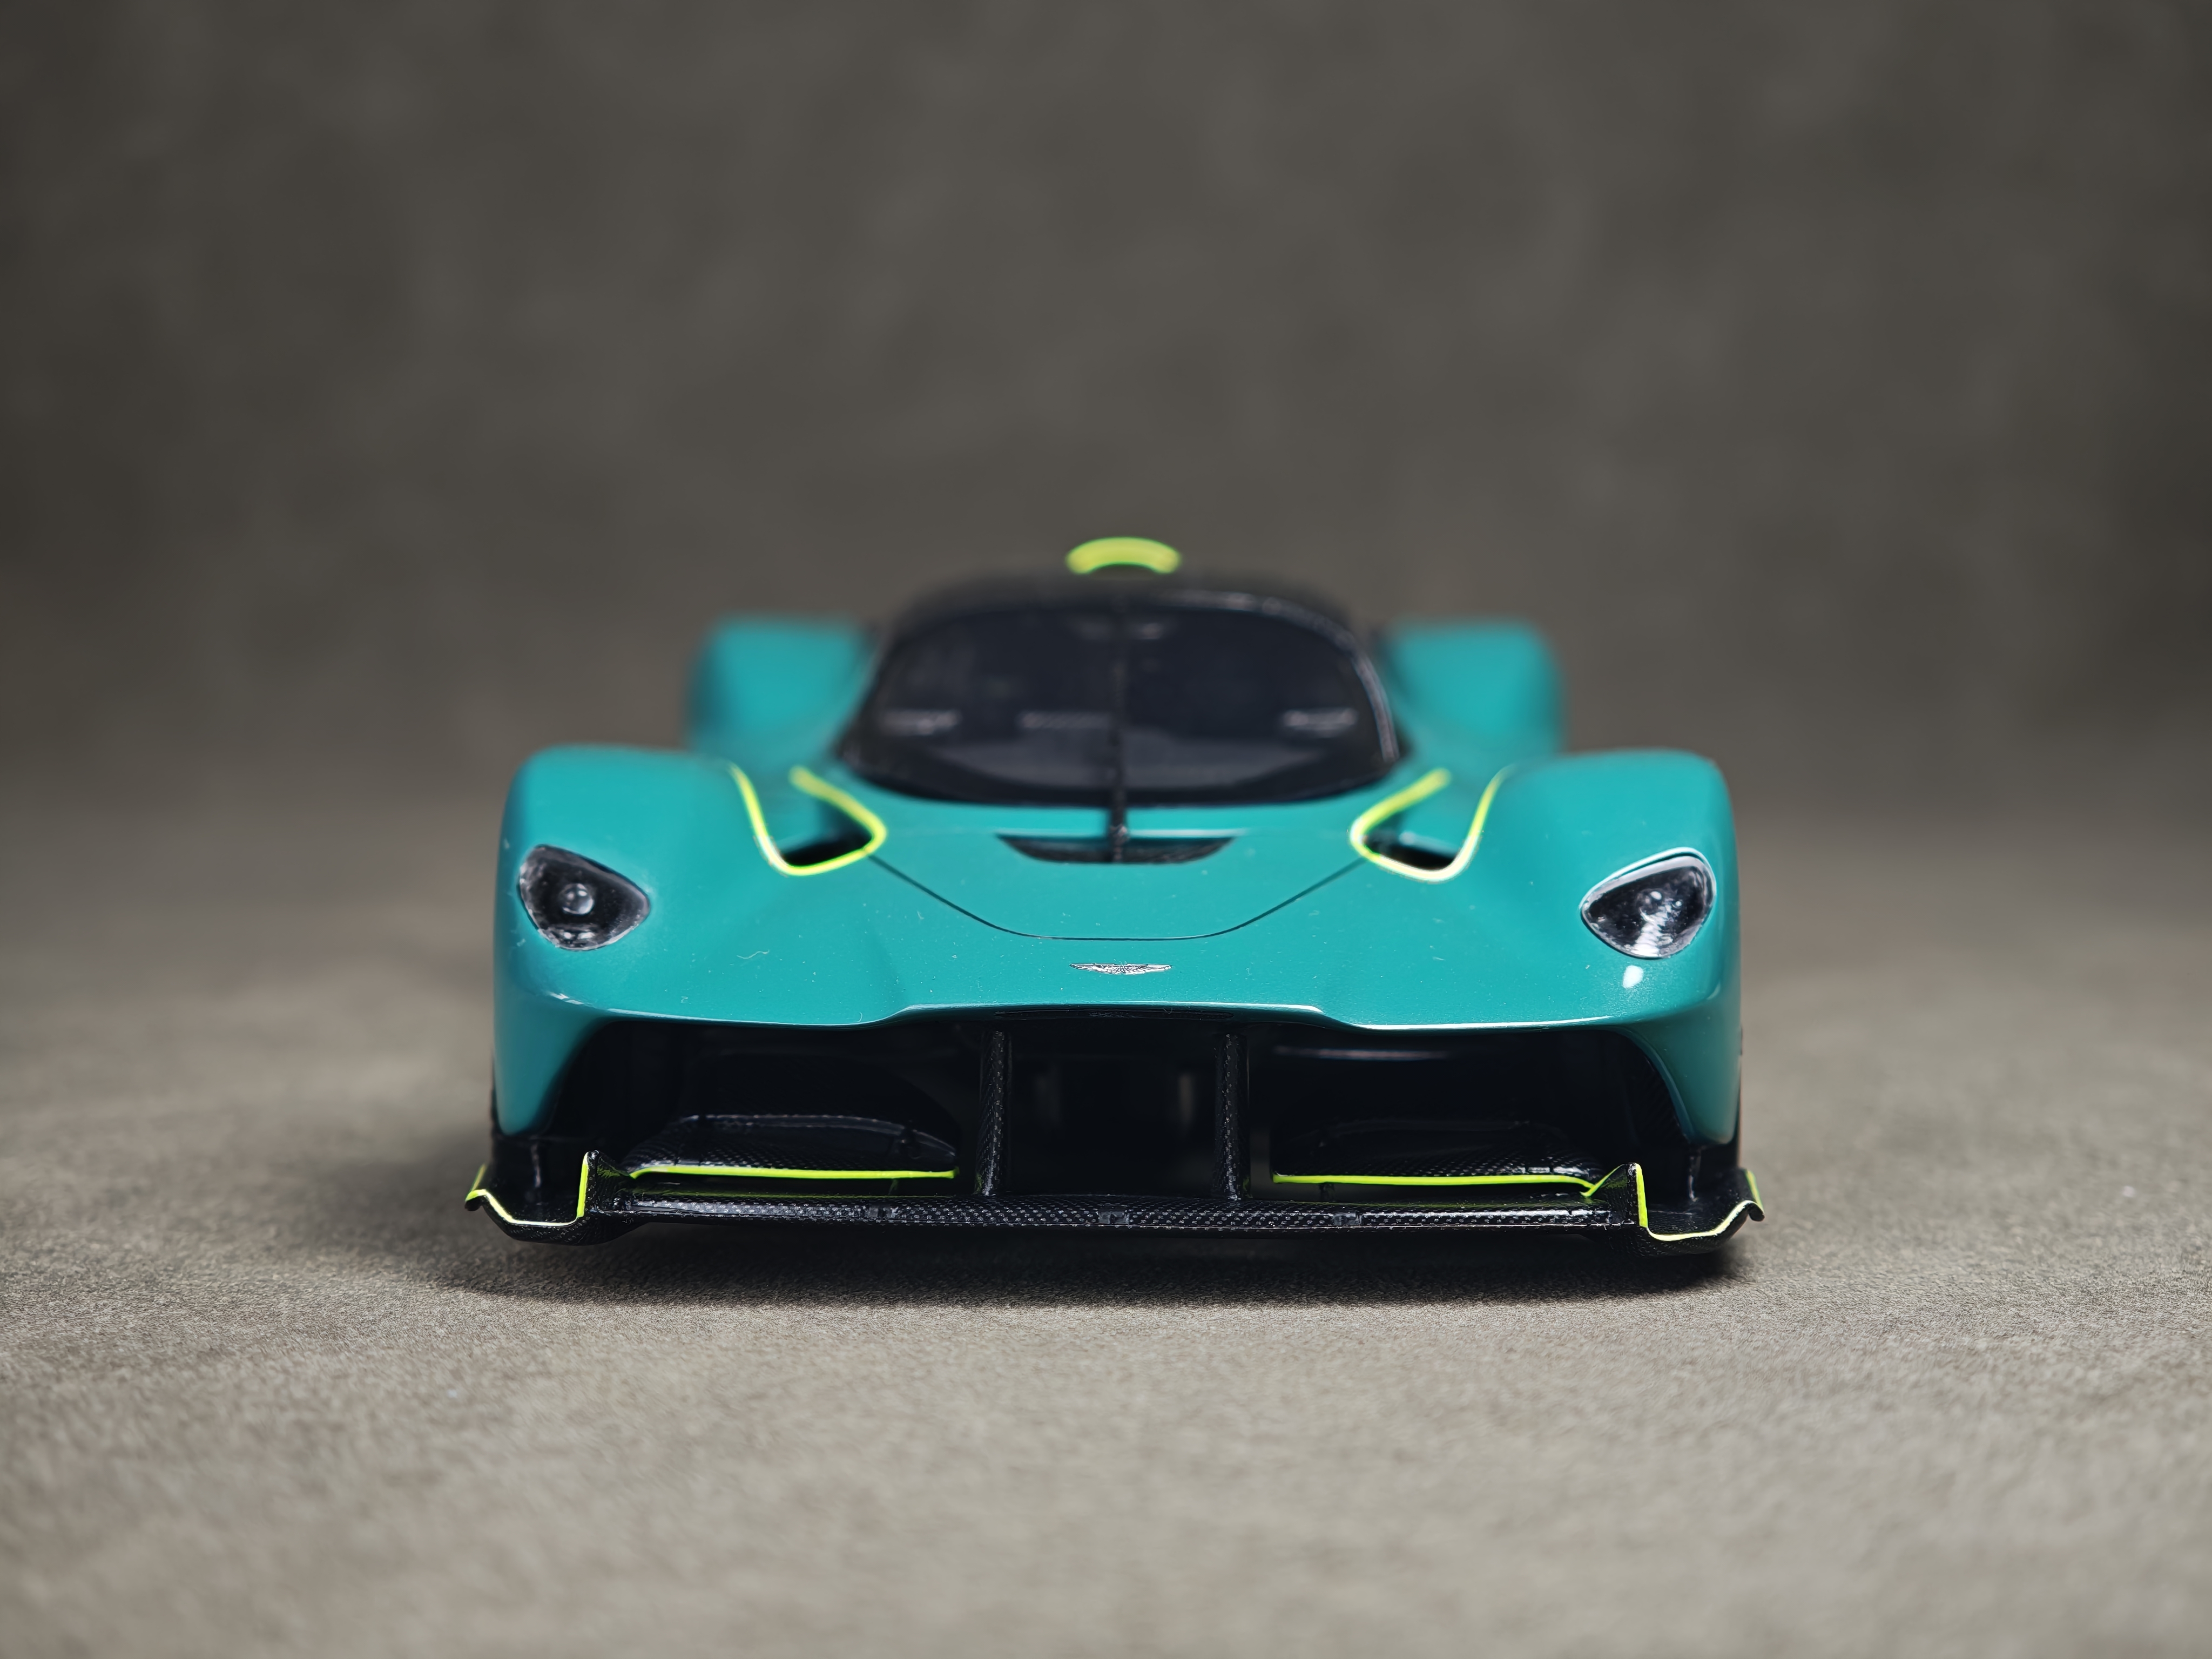
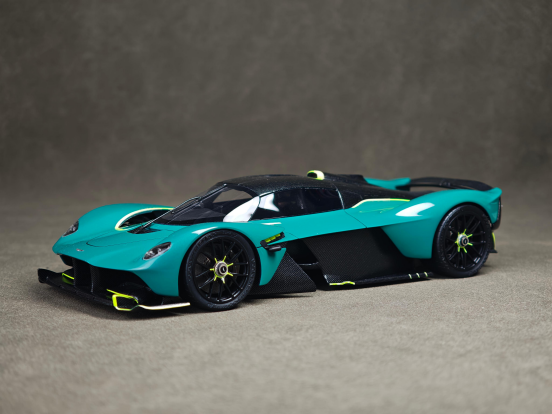
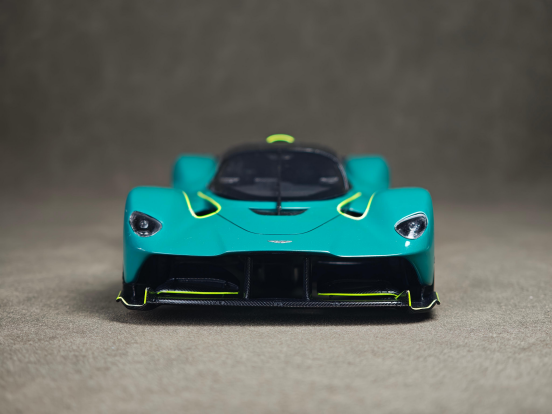
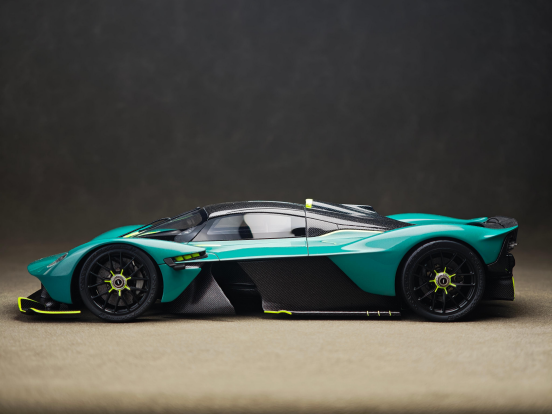
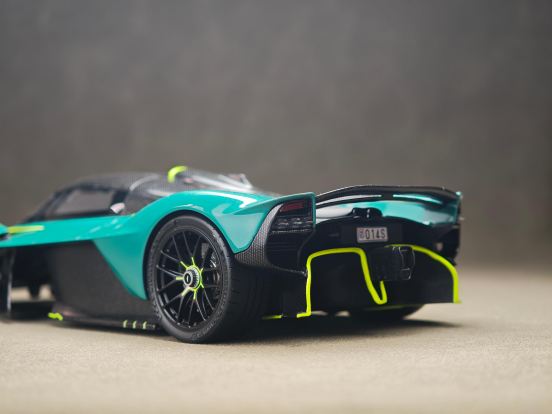
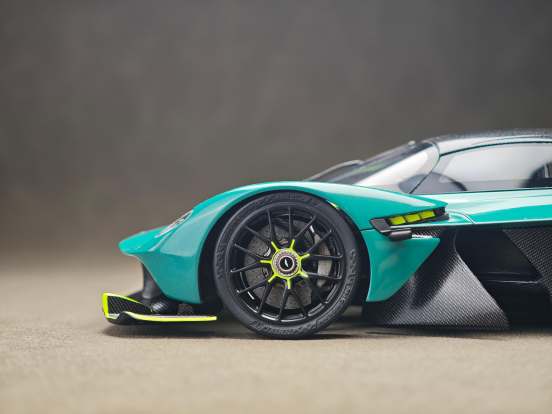
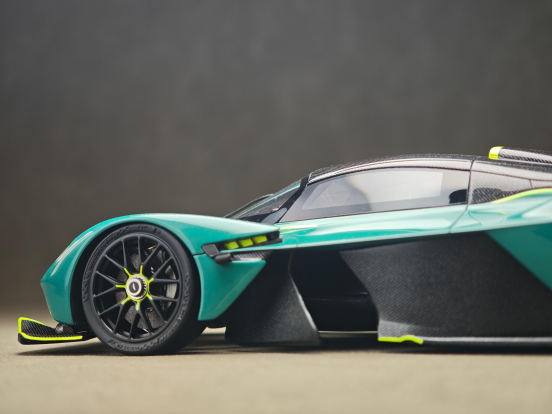
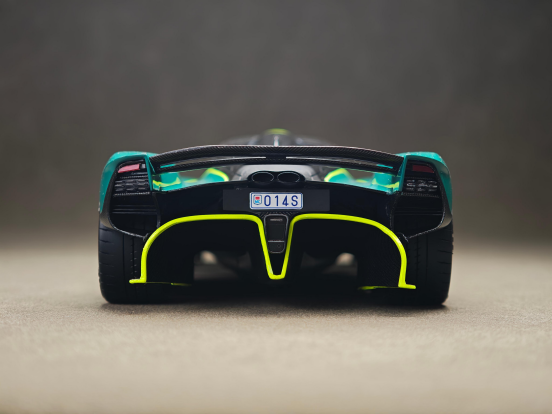
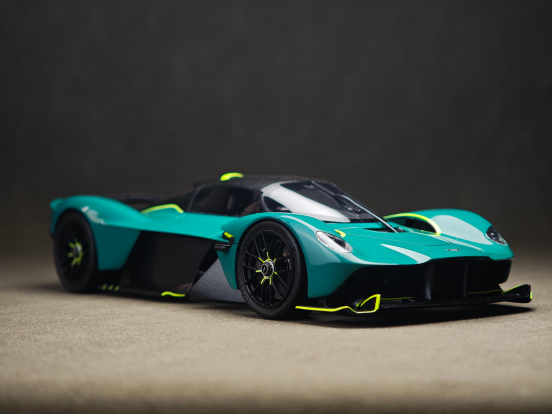
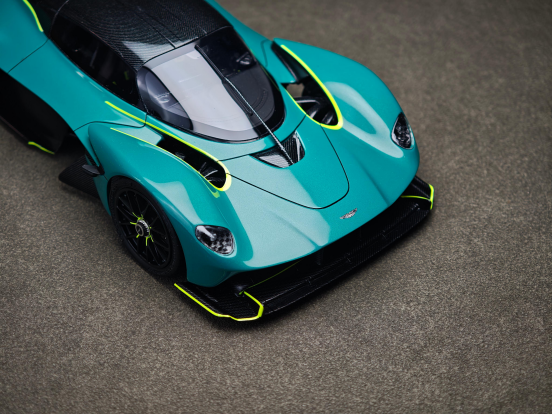
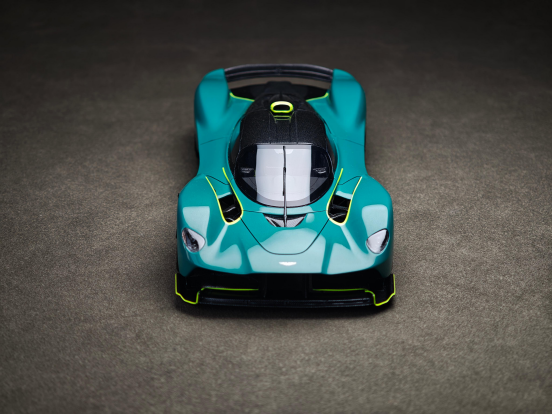
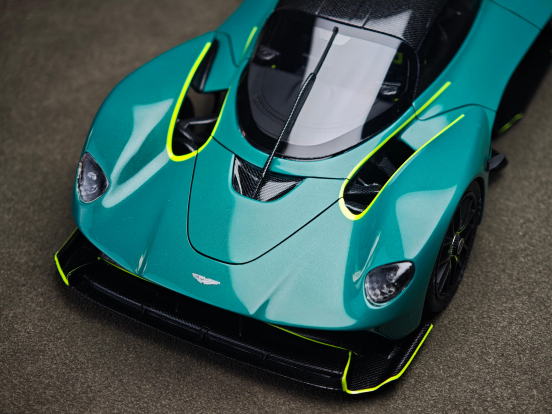
Off the cutting mat and onto a neutral studio sweep, the finished Valkyrie reads less like a scale model and more like a shrink-wrapped slice of a motor show stand: satin Racing Green body, gloss-black visible carbon, and one disciplined lime accent family — harness tags, wheel lock rings, splitter and diffuser edges.
Build Summary
| Item | Detail |
|---|---|
| Kit | Alpha Model AM02-0102 · Aston Martin Valkyrie · 1/24 high-detail resin kit ($160) |
| Builder | Break Wong |
| Body Finish | Custom satin racing teal-green (Mr. Color C6 + yellow/blue/silver) over black primer; 2K clear (BASF Glasurit 335) with cut-and-polish |
| Carbon Fibre | Hundreds of segmented waterslide decals over Mr. Color C-33 flat black, gloss-cleared per section — body, tub, aero blades, wheels, suspension |
| Accent Colour | Fluorescent lime pinstripes and lock rings (CD-series decals), matching harness tags |
| Brakes | Textured carbon-ceramic discs, photo-etched centre bells and caliper/mesh parts |
| Interior | Full carbon tub, twin fixed buckets, fabric six-point harnesses with PE buckles, three-screen dash |
Join the discussion at the Alpha Model Forum · Browse more Alpha Model build guides


 USD
